Love this no-knead, pantry-friendly English Muffin Bread? Visit our Bread Recipes page for more wonderful homemade bread recipes!
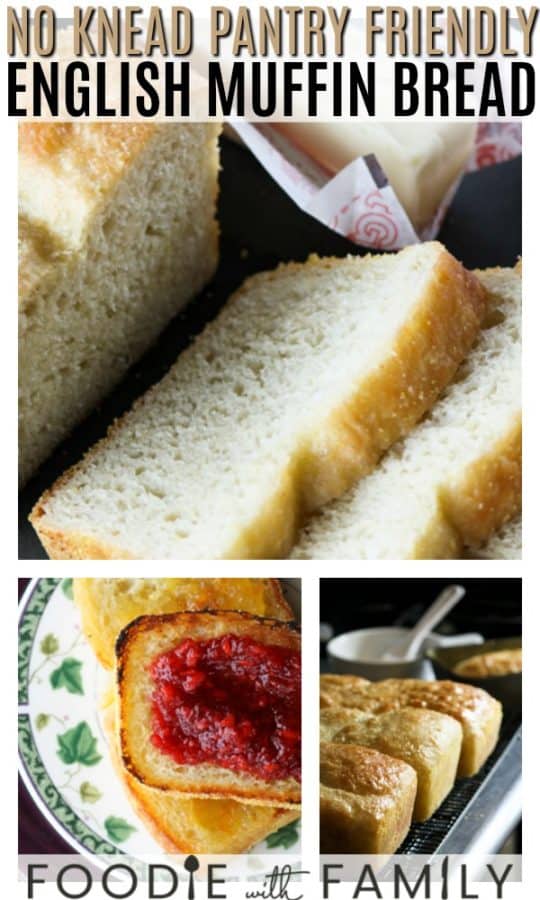
English muffins hold a very special place in my heart. How could you possibly not love the craggy, full-of-holes, moist bread and the crunchy, toasty bits of cornmeal stuck to the outside that transfer to your fingers when you grip it?
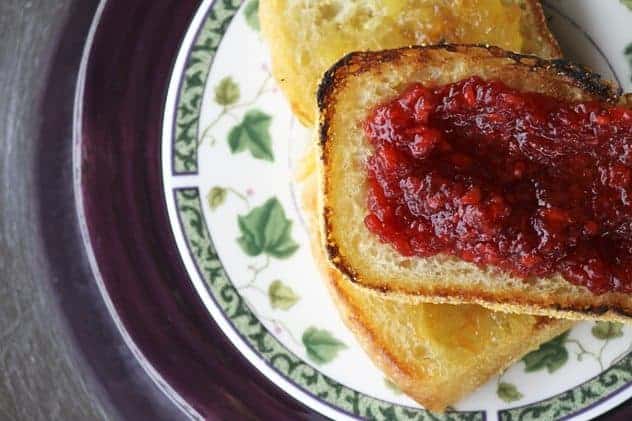
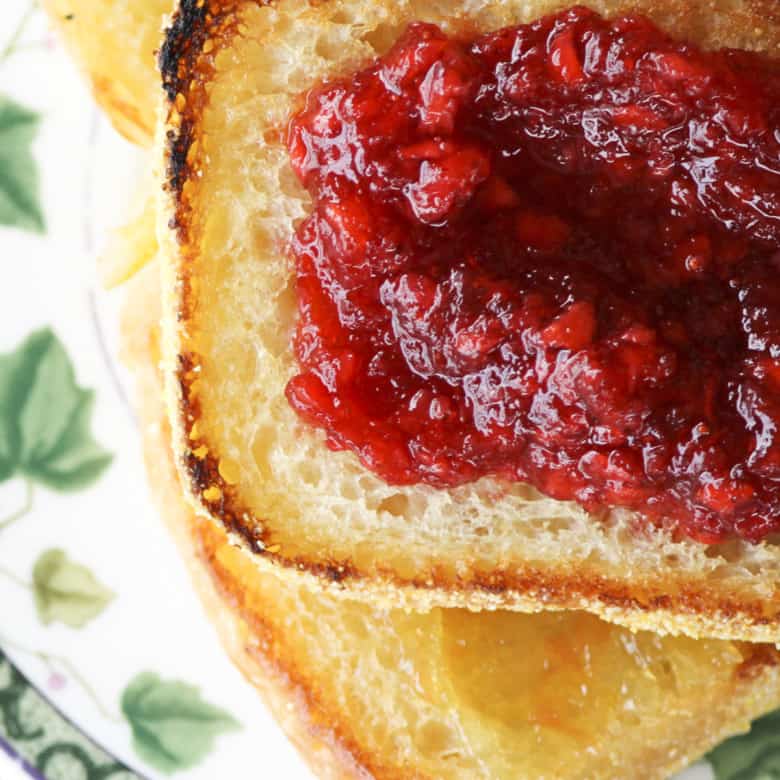
I love them every which way, from the English muffin pizzas my mom used to make as after-school treats, to dripping with butter and slathered with berry jam or marmalade, to topped with a fried egg and a good squeeze of rooster sauce.
I can’t imagine my life without English muffins.
Yet, as much as I love English muffins, that is how much I love this English Muffin Bread. I know, it feels kind of disloyal to say it, but it’s true. This bread is everything that an English muffin is, but more convenient. And way-hay-hay-hay less expensive.*
*Unless, of course, you’re making your own, in which case it’s no less expensive but a heckuva lot more convenient and far less time consuming. Carry on.
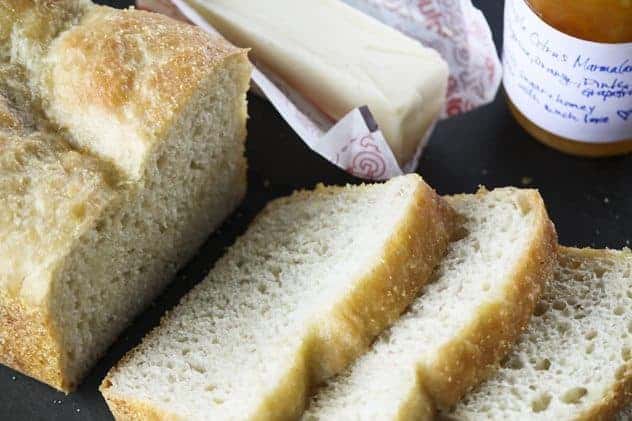
What I mean to say is that this bread has the crags, the holes, (*cough the nooks and crannies cough*) the moistness, the crunchy, toasty bits of cornmeal that transfer to your fingers and the incomparable ability to carry sinful amounts of butter and jam, or sauce and cheese, or egg and hot sauce just like its namesake muffins.
Let me tell you something. This bread is so easy, so DEAD easy, that there is no reason a complete beginning baker can’t successfully make it. It doesn’t require any exotic ingredients or specialty equipment.
The hardest part of the whole process is waiting for it to cool. Because cool completely it must. If you cut into this gorgeous, tempting, incredible bread before it is one-hundred-percent cooled, you will cry many bitter, salty tears of regret.
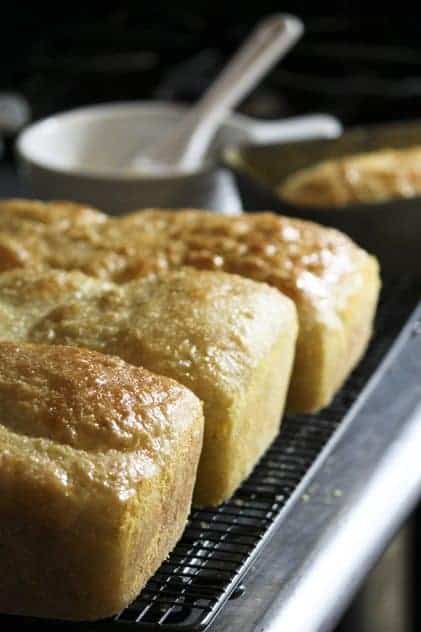
There is a very good scientific reason to this. The bread continues to cook and set up as it cools.
Unlike some other breads where it’s a-okay to wrench large fistfuls of warm bread and stuff them into your mouth, this will simply assume a gummy texture and stay there when sliced warm. That’s where your crocodile tears would flow.
Sigh. But if you wait, your wildest dreams will come true. Kind of like if you vote for Pedro. In short, LET IT COOL!
And then when it has finally cooled and you slice it and toast it…
There have to be little blackened parts around the edges. You can’t half-heartedly toast an English muffin, right? Well, you can’t be meek about toasting English Muffin bread, either. You have to go all-in, full-throttle; you have to commit to toasting it.
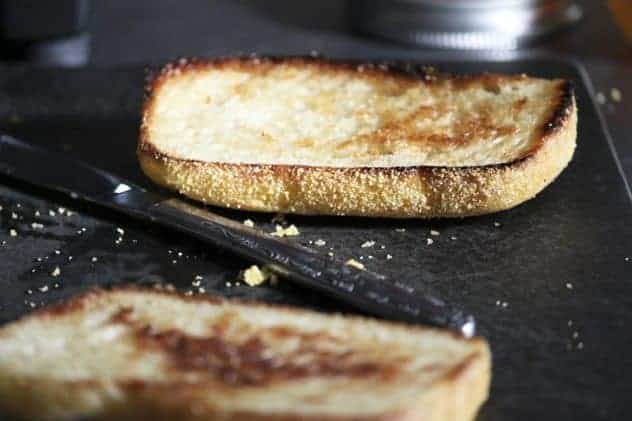
For heaven’s sake, don’t let a toaster anywhere near this bread. Toast this bread in a good puddle of melted, salted butter in a cast-iron (or other heavy-bottomed) frying pan or on a griddle over medium high heat. Does this really make a difference?
Let me answer it this way. Does breathing make a difference in your quality of life?
When it’s browned in the middle and black around the edges, flip it over with a fork. Oh, yes. It is far more hands-on than a toaster, but the results will speak for themselves.
Salted, crispy, buttery on the outside and moist and soft on the inside. We’re talking about toasty, crunchy, bready nirvana.
If this doesn’t make you happy, I just don’t know how to help you.
I never, ever make this in quantities less than four loaves, but I am feeding a regiment here with my five boys and their buddies and, let’s be honest, my husband and I can eat impressive quantities, too…
If you have a wee bird appetite, or are feeding fewer people than we are, I’ve included a halved recipe in the printable recipe. If you want to make more and freeze it, you can use the handy-dandy converter in the recipe, too!
Nothing in the method changes, so choose your level of consumption and let’s get baking!
I love this toasted under creamed peas or as English muffin bread pizza. I also love it madly with strawberry freezer jam.
Are you looking for more delicious bread based brunch or breakfast offerings? Look no further than our Bostock Pastry and Ham and Cheese Melt Egg Bake.
What you need for English Muffin Bread
-all-purpose flour
-yeast
-salt (My recipe calls for kosher salt. If you’re using table salt, reduce to 2 teaspoons.)
-sugar
-water
-cornmeal or semolina
-butter or oil
-a mixing bowl
-a mixing spoon or sturdy spatula
-a couple of loaf pans

English Muffin Bread
Rate RecipeIngredients
For a Standard Recipe (3-4 loaves):
- 5 1/2 cups warm-to-the-touch water not hot
- 2 tablespoons kosher salt
- 3 tablespoons sugar
- 2 tablespoons plus 3/4 teaspoons instant yeast or 3 packages
- 11 1/2 cups all purpose or bread flour 3 pounds 1 1/2 ounces by weight, I often do a half and half combination of the two.
For a Half-Size Recipe (1-2 loaves):
- 2 3/4 cups warm water not hot
- 1 tablespoon kosher salt
- 1 tablespoon plus 1 1/2 teaspoons sugar
- 1 tablespoon plus 1 1/4 teaspoons instant yeast or about 1 1/2 packages
- 5 3/4 cups all-purpose or bread flour 1 pound 9 ounces, by weight
Also Needed:
- Non-stick cooking spray
- cornmeal
- plastic wrap
- melted butter for brushing the bread mid-way through and after baking
Instructions
To Prepare the Dough:
- Stir all of the ingredients together by hand in a large mixing bowl (or in the bowl of a stand mixer fitted with a paddle) just until combined. The dough will be shaggy and very sticky.
- Spray a piece of plastic wrap with non-stick cooking spray and lay it loosely over the mixing bowl. Let the dough rise in a warm, draft-free place for about an hour or until it looks bubbly and puffy.
- Spray 3 standard loaf pans (8.5" x 9.5") with non-stick cooking spray and sprinkle in a fistful of cornmeal. Tilt the pans, tapping gently, until the interiors are coated with a thin layer of cornmeal. Tap out any excess cornmeal.
- Spray your hands with non-stick cooking spray and use them to divide the dough evenly between the pans. The pans should be no more than halfway full. If you need to, spray and cornmeal an additional loaf pan for any excess.
- Spray more pieces of plastic wrap with non-stick cooking spray and lay them loosely over each loaf pan. Let rise in a warm, draft-free place until the dough looks bubbly and puffy again, and has risen with the top of the dough dome just peeking above the edge of the pan.
- While the dough is rising, preheat the oven to 350°F.
It is possible to let this dough rise too long, so be sure the oven is waiting for you rather than you waiting for the oven.
- Evenly space the loaf pans in the oven and set the timer for 30 minutes. After 30 minutes, take out one bread pan at a time and brush the tops of the loaves with melted butter. When you place the bread pans back in the oven, rotate their positions from front to back. Bake for an additional 10 minutes or until they are just lightly golden brown.
- Immediately turn the loaves out onto a cooling rack and brush again with melted butter. Cool completely before slicing.
- The bread can be stored, tightly wrapped, at room temperature for up to a week. If you do not think you can eat it in that time, wrap the cooled, unsliced loaves with two layers of plastic wrap and cover that with one layer of foil before storing in the freezer for up to 3 months. They can be thawed or simply sliced from their frozen state before toasting.
Nutrition
Nutritional information is an estimate and provided to you as a courtesy. You should calculate the nutritional information with the actual ingredients used in your recipe using your preferred nutrition calculator.
did you make this recipe?
Make sure to tag @foodiewithfam on Instagram and #hashtag it #foodiewithfamily so I can check it out!
This post originally published February 2012, updated March 2020 with improved notes.


Reader's Thoughts...
Linda says
What size loaf pans? Your directions have “8.5×9.5” thanks fir your help.
Rebecca says
Hi there! I use standard sized loaf pans which are 8.5 x 4.5 x 2.75 inches. 🙂
Tina says
This is the best recipe! I’ve been making it for months. and my family loves it. Its perfect for grilled cheese sandwiches.
Rebecca says
Thanks so much for taking the time to rate the recipe and let me know you love it, Tina!
Rahel Moore says
My husband’s favourite bread. This one gets eaten almost immediately when I make it. So good and toasts up so crispy.
Rebecca says
Thank you for taking the time to rate the recipe and let me know you and your husband both love it, Rahel! That makes me so happy!
Kathy Brockson says
This is the bread my husband asks me to make. We make breakfast sandwiches with it or just use it for toast. You are totally right about the toaster…waste of time. Use a cast iron skillet to really make an amazing piece of toast
Rebecca says
Thank you for taking the time to rate the recipe and let me know you and your husband love it, Kathy! I’m so glad you do!