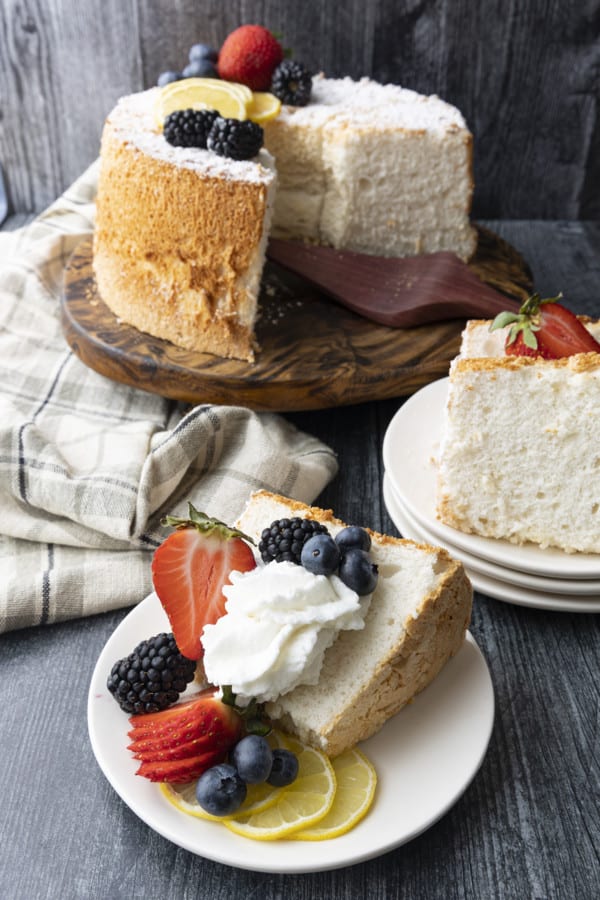
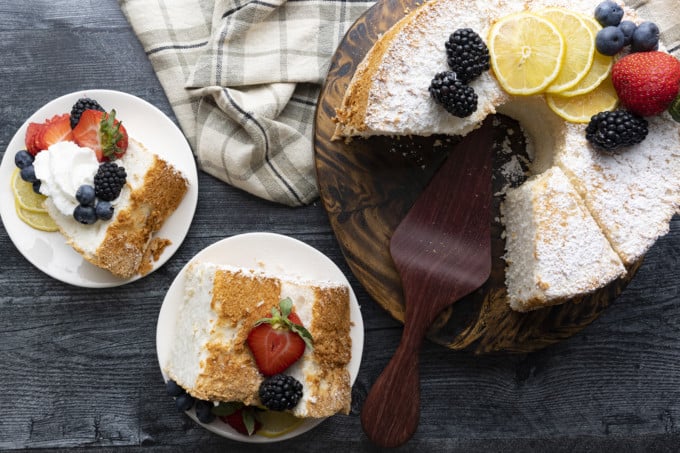
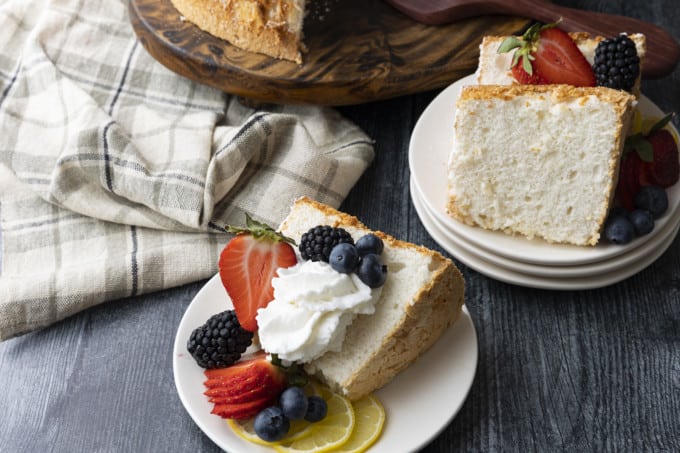
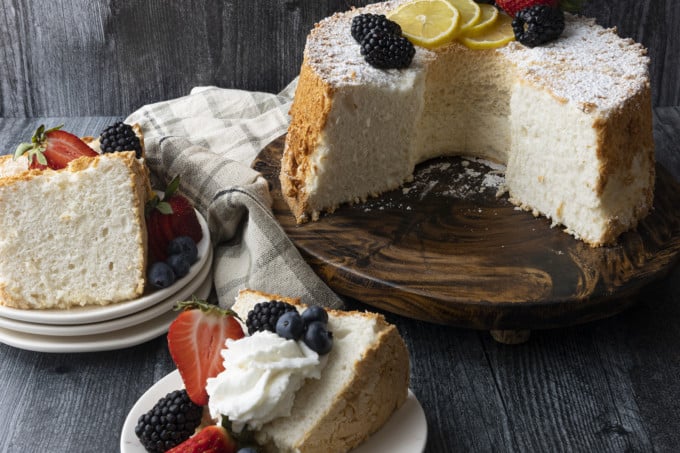
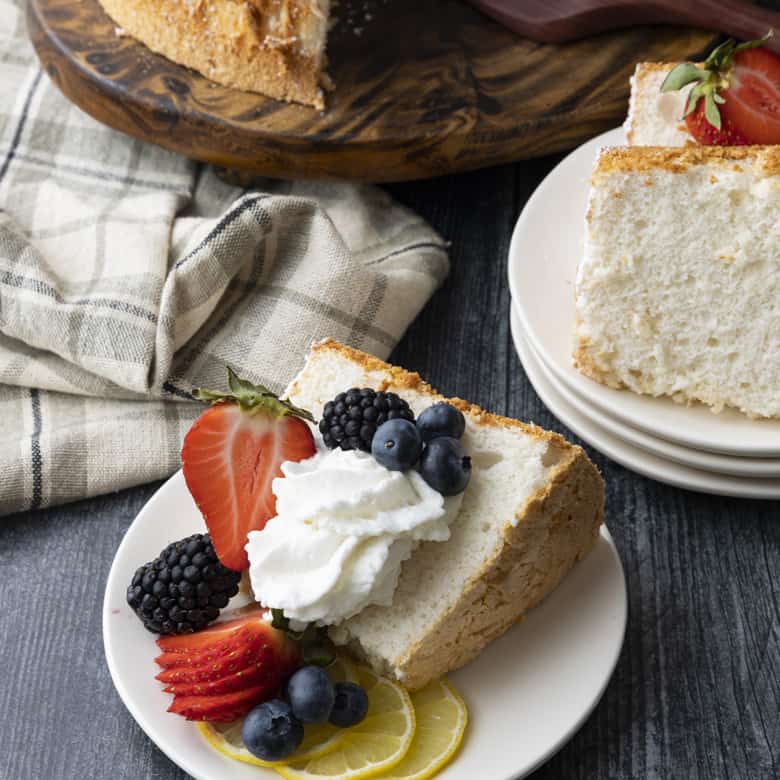
Delicate, light-as-a-cloud, fluffy Angel Food Cake is the ultimate way to showcase glorious summer berries and fruit curds. It is equally lovely, though, with a simple dusting of powdered sugar or dollop of whipped cream.
There is no box mix on earth that can come close to the ethereal perfection of a homemade Angel Food Cake, and thankfully it is easy to make. It just takes a little attention to detail and the ability to follow directions.
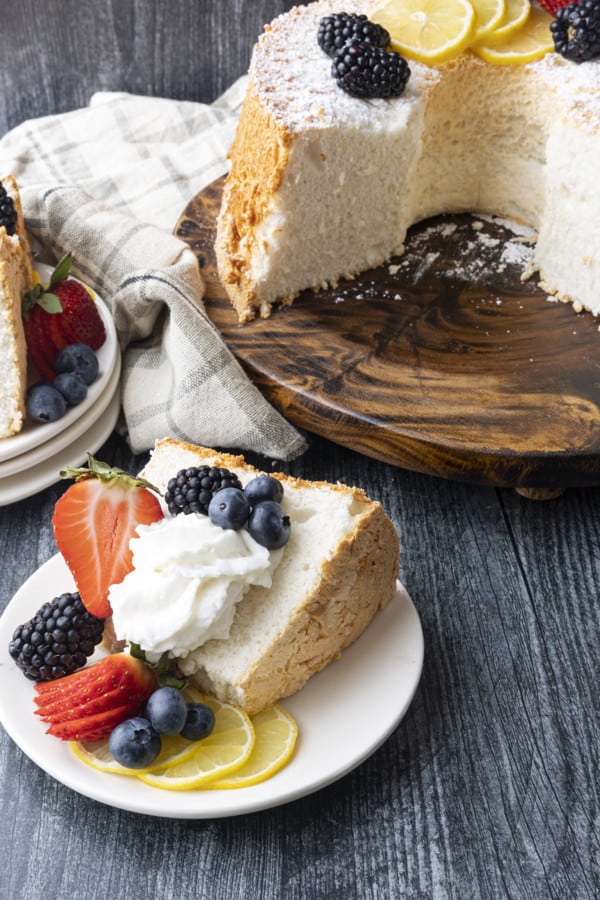
You will be repaid handsomely for that little extra attention with the most towering, pillowy, diaphanous Angel Food Cake you’ve ever tasted! While they have a reputation for being a little fiddly to make, I promise it isn’t that difficult to create a delicious angel food cake.
I’ll walk you through all of the best tips to making the tallest, fluffiest Angel food cake of all time. Spoiler alert: all of the fussiness in the recipe goes toward one goal. That goal is keeping your egg whites as lofty as possible to make the airiest best angel food cake.
How to Make Angel Food Cake
Here’s a handy, dandy ingredient list to be sure you have everything on hand before you start baking. We’ll get into quantities later, but this is what you’ll need:
- Cake flour
- Cream of tartar
- Eggs
- Sugar
- Salt
- Vanilla Extract (and/or almond extract)
Do you need any special equipment to make angel food cake? Need is a strong word, so I’m going to say that technically you don’t need any other special equipment, but you’ll quite likely want some.
Since we’re talking lists, here is a complete list of equipment that’s helpful to have when making an Angel Food Cake. Most of this is likely already in your kitchen. I’ll explain why each is helpful or necessary later!
- 9.5 to 10-inch Tube Pan (or two standard loaf pans)
- Egg Separator (optional but helpful)
- Stand Mixer or Hand MixerFood Processor or BlenderFine Mesh Strainer or Sifter
- Silicone or Rubber Spatula
- Cooling Rack or Wire Rack (optional but helpful)
- Flexible or Offset Spatula or Butter-knife
Alrighty then… Get ready for everything you ever needed to know about making angel food cake! (If you’re a seasoned baker or just want the recipe without the whys and wherefores, use the handy dandy ‘JUMP TO RECIPE’ button near the top of the page.
Angel Food Cake Pan
When you set out to make angel food cake, you need to be sure, first of all, that you have the right pan. For the perfect angel food cake, you need a tube pan.
A tube pan is specially designed to be the perfect vessel for angel food cake. It’s a straight-sided, deep pan with a tube in the center. This inner tube delivers heat up into the center of the cake pan, making it bake evenly.
A bundt pan is not a suitable substitute for a tube pan, unfortunately. Conversely, a tube pan can make a perfectly good substitute for a bundt pan. If you can only have one, I’d opt for the tube pan!
Ideally, the tube pan you have will not be non-stick coated. This is because you want the cake to climb up the walls of the tube pan to become impossibly fluffy, and if the walls are slippery, it won’t rise quite as high.
That said, this particular 9.5 inch tube pan with a removable bottom is the one I use and it is advertised as being non-stick. I have never experienced an issue with my angel food cakes not rising high in it, though, and it has handy little feet on it that make it easy to cool the cake upside down. More on why this is important shortly…
If you positively cannot lay your hands on a tube pan, though, don’t despair. Grab a loaf pan (actually, grab two!) and remember that non-stick coating is not our friend here.
When using the loaf pans, you’ll want to line the bottom with a little rectangle of parchment paper to make it easier to remove from the pan. You don’t want to line the sides, but since the loaf pans don’t have removable bottoms, you’ll be grateful for having something to help you remove your cake from the pan with the bottom intact.
Angel Food Cake Recipe
You can certainly separate a dozen eggs without an egg separator, but the little gadget makes quick work of the job. I like this stainless steel one because it separates the yolks from the whites quickly and cleanly.
It’s important that the whites be cleanly separated from the yolks because any little bit of yolk present in the whites will keep them from whipping to lovely soft peaks. This in turn will keep your angel food cake from reaching the lofty heights that make angel food cake so irresistible.
I recommend separating cold eggs over a small bowl and putting the egg yolks into a container to use for another purpose later. Pssst. How about some Lemon-Lime curd?
You can then transfer each egg white to the clean and dry bowl of a stand mixer or a large bowl. The egg whites can then come to room temperature in the bowl.
Strangely, cold eggs are the easiest to separate neatly while room temperature eggs are the easiest to whip to soft peaks. You can, of course, substitute liquid or carton egg whites for fresh ones if you prefer.
If you really enjoy the sensation that your forearm is going fall off and dig whipping a dozen egg whites to soft peaks by hands, be my guest! If, on the other hand, you’d like to be able to use your arm the next day without shooting pain, I recommend using a stand mixer/electric mixer or hand mixer for the job. Whipped egg whites are crucial to delivering the airy texture we all want!
The food processor or blender is needed to break the granulated sugar down to a finer powder. This is important because otherwise, the sugar crystals may prevent the egg whites from (you had to know this was coming) expanding to the best of their potential.
All you need to do is pulse the sugar several times to make it a little more powdery. You cannot substitute powdered sugar, though, because it has cornstarch mixed into it.
You’ll measure out some of the sugar for the egg whites. The rest of the sugar you’ll then pulse with the cake flour and salt to combine it thoroughly and aerate it.
The fine mesh strainer or sifter comes in handy when it is time to add the flour to your whipped egg whites. In keeping with our goal of preserving as much air in those egg whites as possible, we sift the flour mixture over the whites in three installments, gently folding in the flour after each addition.
Strictly speaking, you don’t need a cooling rack if your pan has feet. I prefer to use it anyway because it gives it more space for air to circulate around to cool more quickly.
And here’s where the offset or thin, flexible spatula comes in handy. Run it along the sides of the pan and around the inner tube. This will help loosen your completely cooled cake before removing the bottom of the pan.
This will help prevent chunks of the cake from being stuck to the ungreased angel food cake pan. And if you used the loaf pans, you’ll still want to run it along the sides. The parchment rectangle in the bottom should make it a breeze to get out of the pan once the sides are loosened.
One final thing to remember and that’s to use a serrated knife to cut your cake. Any other knife will tear or crush the cake as you cut it.
Angel Food Cake Tips and Tricks
Because there’s a lot of information in this post, I want to remind you of a couple of important tips. Just remember these and your angel food cake will be amazing!
- Make sure not to get any egg yolks mixed in with your egg whites. This will keep them from whipping to soft peaks. And if you have enough egg yolk in there, it may keep them from whipping to any peaks at all!
- Sift and fold in the flour mixture in installments to avoid deflating your egg whites.
- Do not grease your cake pan! (Related: avoid non-stick pans unless you know they’re made for angel food cakes!)
- Cool the cake upside down completely before removing from the pan.
- Use a serrated knife to cut the cake or you will crush it.
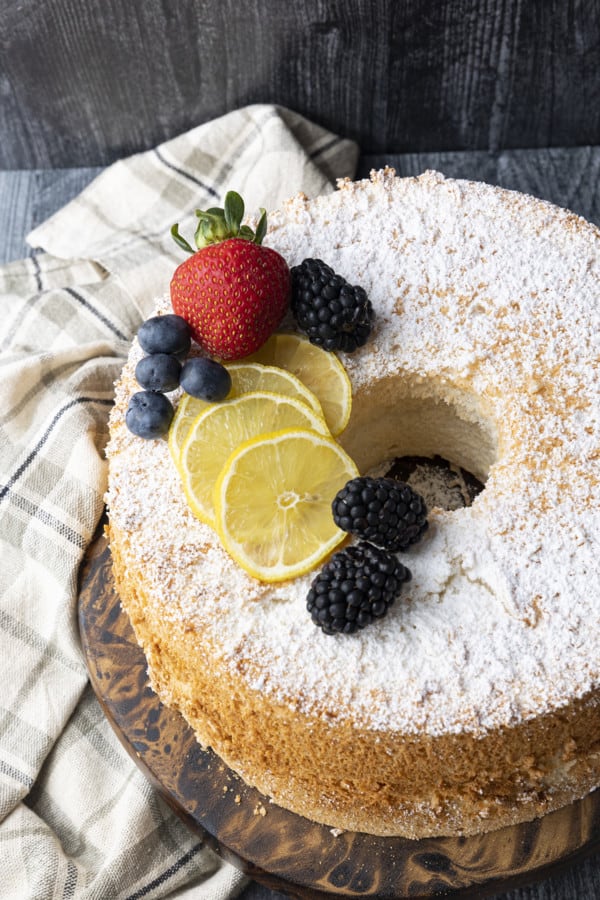
Homemade Angel Food Cake
Preheat the oven to 325ºF.
Add the sugar to your blender carafe or food processor bowl. Pulse about 20 times, or until the sugar is powdery. Let it rest in the blender or bowl until the powder settles down.
Use a spoon to transfer 1 cup of the sugar to a measuring cup and set it aside.
To the sugar remaining in the blender or food processor, add the cake flour and salt. Pulse 10 times to combine and aerate the mixture. Set this aside.
Add the room temperature egg whites and the cream of tartar to the work bowl of a stand mixer fitted with a whisk attachment. If you do not have a stand mixer, you can use a large mixing bowl with a hand mixer.
Beat the eggs on medium low until they’re foamy. With the mixer running, slowly add the reserved sugar completely then raise the speed to medium high. Beat until soft peaks form.
When you lift the whisk from the egg whites, it should raise up a little mountain of egg white that slumps over at the top and slowly sinks down. This is the soft peaks stage. It will not be disastrous if you accidentally whip your egg whites to medium peaks or even firm peaks. Your cake will just not rise as high while baking.
Add the vanilla and almond extracts and whisk in just until incorporated.
Position a fine mesh sieve over the top of the bowl or use a sifter and sift about ⅓ of the flour mixture over the top. Fold in gently using a silicone spatula.
Repeat this twice more, folding just until the flour is combined. Spoon this into your ungreased tube pan. Gently shake and shimmy the pan side to side to help smooth out the surface of the cake batter.
It does not need to be perfectly smooth, just mostly even.
Bake for 40 to 45 minutes, or until the cake is lofty and golden brown. A toothpick inserted near the center of the cake should come out clean. You can also check to see if the top springs back when gently pressed.
Invert cake upside down in the pan over a cooling rack or a glass soda bottle. Let the cake cool completely; about 3 hours. If cooled upright, the cake will collapse under its own weight. When we cool upside down we keep it lofty and airy and delicate!
When the cake is cool, run a thin, flexible spatula or butter knife around the edge of the cake. Invert cake onto a serving plate.
Use a serrated knife like a bread knife to cut the cake. It is too delicate to hold up to being cut by a chef’s knife or butter knife. That will just crush it.
This cake will store well, wrapped thoroughly but gently, in the refrigerator for up to a week.
Serve with a dusting of powdered sugar, berries tossed in granulated sugar, your favourite jam, a dollop of lemon or lime curd, or any combination of these goodies!
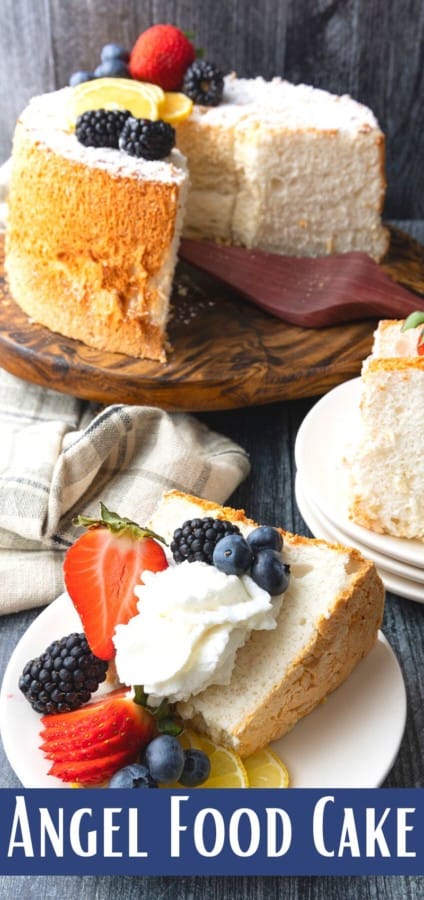
Homemade Angel Food Cake
Rate RecipeEquipment
- 1 9.5 or 10-inch tube pan (or 1 10-inch springform pan with a can in the center per these instructions) or 2 (8.5” by 4.5”) loaf pans
- 1 blender or food processor fitted with a metal blade
- 1 Cooling Rack
- 1 silicone or rubber spatula or butter knife
- 1 offset spatula or thin, flexible spatula
Ingredients
- 1 ¾ cup granulated sugar see notes
- 18 tablespoons cake flour 1 cup plus 2 tablespoons or 133 grams
- ¼ teaspoon kosher salt
- 12 egg whites room temperature, save yolks for lemon lime curd, or 1 cup liquid egg whites
- 1 ½ teaspoons cream of tartar
- 1 ¼ teaspoons pure vanilla extract
- ¼ teaspoon almond extract
Instructions
- Preheat the oven to 325ºF.
- Add the sugar to your blender carafe or food processor bowl. Pulse about 20 times, or until the sugar is powdery. Let it rest in the blender or bowl until the powder settles down.
- Use a spoon to transfer 1 cup of the sugar to a measuring cup and set it aside.
- To the sugar remaining in the blender or food processor, add the cake flour and salt. Pulse 10 times to combine and aerate the mixture. Set this aside.
- Add the room temperature egg whites and the cream of tartar to the work bowl of a stand mixer fitted with a whisk attachment. If you do not have a stand mixer, you can use a large mixing bowl with a hand mixer.
- Beat the eggs on medium low until they’re foamy. With the mixer running, slowly add the reserved sugar completely then raise the speed to medium high. Beat until the egg white mixture reaches soft peaks.
- When you lift the whisk from the egg whites, it should raise up a little mountain of egg white that slumps over at the top and slowly sinks down. This is the soft peaks stage.
- Add the vanilla and almond extracts and whisk in just until incorporated.
- Position a fine mesh sieve over the top of the bowl or use a sifter and sift about ⅓ of the flour mixture over the top. Fold in gently using a silicone spatula.
- Repeat this twice more, folding just until the flour is combined. Spoon this into your ungreased tube pan. Gently shake the pan side to side to help smooth out the surface of the cake batter.
- It does not need to be perfectly smooth, just mostly even.
- Bake for 40 to 45 minutes, or until the cake is lofty and golden brown and a toothpick inserted near the center of the cake comes out clean.
- Invert the tube pan over a cooling rack or a glass soda bottle and let the cake cool completely; about 3 hours. If cooled upright, the cake will collapse under its own weight. Cooling upside down keeps it lofty and airy and delicate!
- When the cake is cool, run a thin, flexible spatula or butter knife around the edge of the cake and turn it out onto a serving plate.
- Use a serrated knife like a bread knife to cut the cake. It is too delicate to hold up to being cut by a chef’s knife or butter knife; that will just crush it.
- This cake will store well, wrapped thoroughly but gently, in the refrigerator for up to a week.
- Serve with a dusting of powdered sugar, berries tossed in granulated sugar, your favourite jam, a dollop of lemon or lime curd, or any combination of those!
Notes
Nutrition
Nutritional information is an estimate and provided to you as a courtesy. You should calculate the nutritional information with the actual ingredients used in your recipe using your preferred nutrition calculator.
did you make this recipe?
Make sure to tag @foodiewithfam on Instagram and #hashtag it #foodiewithfamily so I can check it out!


Reader's Thoughts...
Booklover247 says
A friend visited me last week and left me with a whole lot of egg whites to use up. (This is what happens when you’re lucky enough to have a friend willing to make homemade pasta for you!) Guess I know what I’ll be baking tomorrow. I can hardly wait to try your recipe.
Rebecca says
Thanks so much, Booklover247! I hope you love this cake as much as we do!