Visit our Bread Recipes page for more fantastic homemade breads!
Bread with soup. Bread for toast. Bread to sop up the last streaks of sauce or gravy or pan juices. I suppose you might be able to survive without bread, but you sure can’t live without it. A big, fat, puffy, chewy, golden loaf of homemade bread is just about the best thing that could possibly happen to your day.
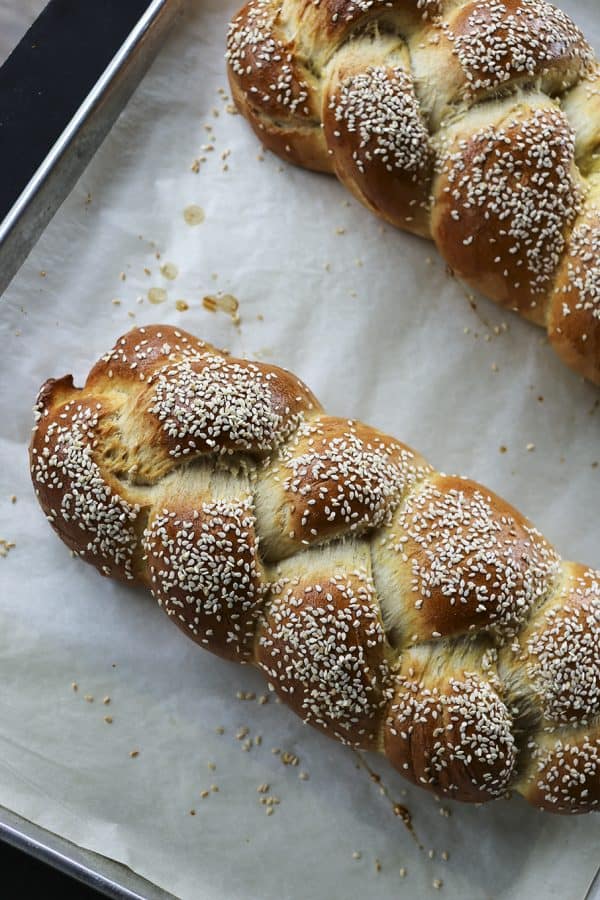
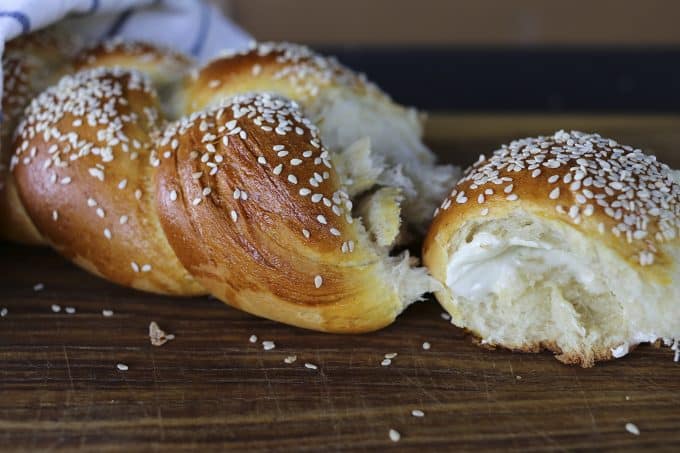
This is not one-hour or no-knead, but is so worth your time. This is another one of those foods that make you want to gnaw off your own foot while it’s cooking; It smells so good that you just can’t help yourself. When you tear a hot corner from this loaf and watch a cold pat of salted butter melt down into the soft crumb you’ll go weak in the knees. Assuming you haven’t eaten past your knees, that is…
Fresh from the oven and ripped into hunks, this bread is exactly what you want to sop up soups, sauces, dressings, gravies and pan juices. If you are a patient, forbearing, big-picture type person and you let it cool completely, this slices beautifully for sandwiches or toast.
This is The Minions’ favorite bread. They like that it yields two mega-sized loaves. They love that I top one with just sesame seeds and the other with sesame seeds, poppy seeds, onion flakes, and garlic flakes. They live for the times I tell them they can tear off industrial sized pieces from the loaf that’s dressed like an everything bagel. Butter is applied liberally. There are animal noises. Crumbs fly. They wait, slightly more patiently, for the sesame loaf to cool. They slice quarter-inch thick pieces of bread and like them toasted on one side with a top-hat of blueberry jam.
On the nights that I make them wait, they mill around the kitchen aimlessly, standing silently behind me like little ghosts waiting… waiting… waiting… making their way to the table and half-heartedly helping themselves to the whatever-else-I’m-serving then pouncing when the bread basket gets to them.
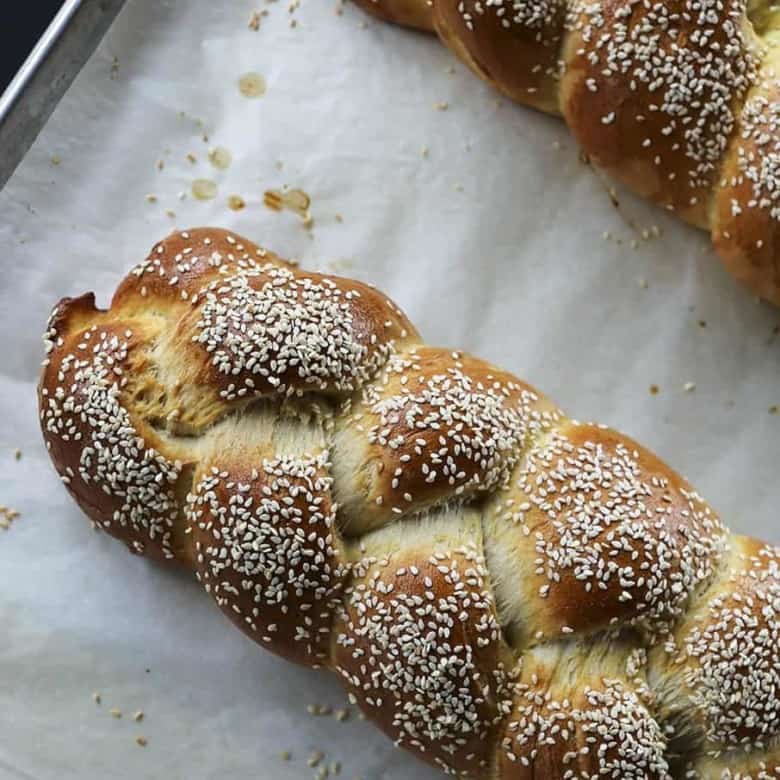
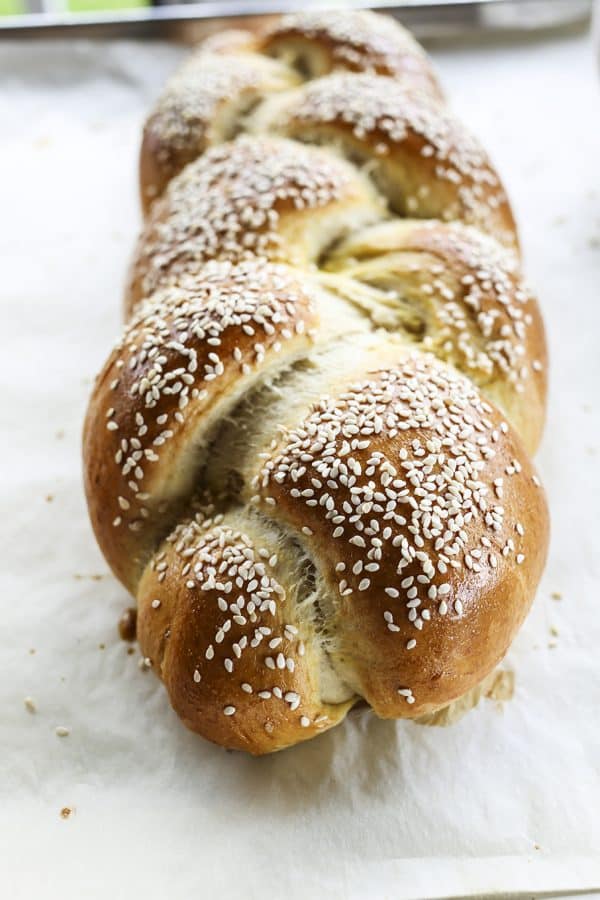
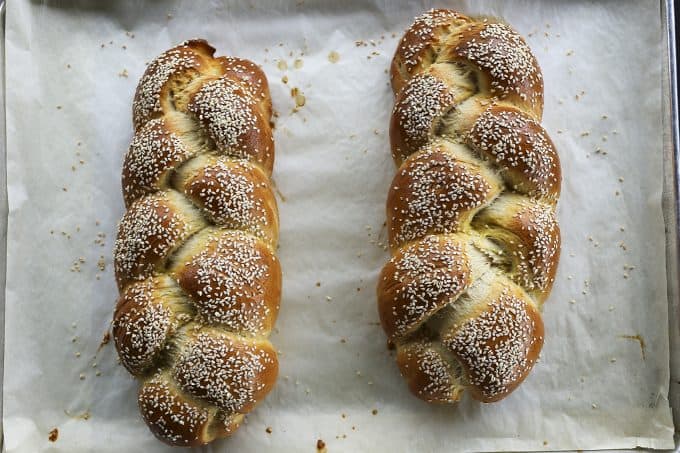
This is a bread of beauty; golden brown, crispy crust topped with crunchy seeds (and perhaps spices) and a soft, yielding interior. It is another gem of a recipe from the King Arthur Flour Company and their top notch baker’s test kitchen.
I’ve been making this bread for somewhere near ten years- ever since this recipe appeared printed in the pages of their horribly tempting catalogue. It’s a hard recipe to mess up beyond edibility. I’ve accidentally left the dough to rise overnight. I’ve hurried it along and forgotten the second rise.
I’ve brushed and topped it with exactly nothing at all. I’ve substituted bread flour for all-purpose flour out of necessity. And every single time it’s wonderful.
It’s a very forgiving bread to make if you’re nervous about working with yeast or dough, as I have accidentally proven time and again.
Here’s a comforting bit of knowledge about yeast. If you don’t have a warm place to let the dough rise, don’t worry! It will still rise, it’ll just take longer.
Sometimes much longer. Just be sure to keep it lightly covered to prevent the surface of the dough from drying. Do you want to see how very easy the whole process is? Watch this quick video!
Please try this. Pretty please. With sesame seeds on top.
Sesame Semolina Bread
Gently adapted from King Arthur Flour Baker’s Catalogue.
Scroll to the bottom for an easy-print version of this recipe!
To Shape the Dough:
Turn the dough out onto a clean surface and form into a neat mass. Divide the dough in half, then divide each half into 3 pieces. Cover three of the pieces with a towel while working with the other three.
Pat one piece into a rough oval. Use the side of your hand to press an indentation along the length of the dough piece.
Fold the dough together along the length of the indentation.
Roll lightly with the hands to form a thick rope between 12 and 14 inches long. Repeat with the other two pieces so that you have 3 ropes of roughly equal length. Line them up in parallel with the ends facing you.
To Braid the Dough:
Gently grasp the end of the rope on the far left. Lift it to about the center, leaving the far end on the counter, cross it over the rope nearest to it and lay it down. Now grasp the end of the piece on the far right and lift it to about the center, leaving its far end on the counter, cross it over the (now) center rope (which is the first one you moved) and lay it down.
This is the manoeuver you will repeat – far left over center, far right over center, and so on- until you have ends too short to continue. At that point, pinch the ends together and tuck under the braid. Now go back to the center of the loaf and finish braiding the loaf toward the top. When you reach the ends, pinch together and tuck under.
The whole process looks like this:
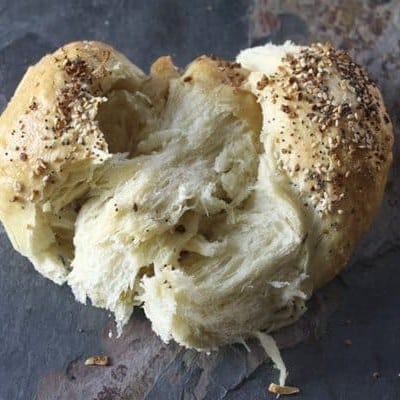
Braided Semolina Bread
Rate RecipeIngredients
- 4 cups all-purpose flour 1 pound, 1 ounce, by weight
- 2 cups semolina flour 11 1/2 ounces, by weight
- 3 teaspoons SAF or instant yeast
- 3 teaspoons kosher salt
- 4 tablespoons sugar or non-diastatic malt powder
- 4 tablespoons extra virgin olive oil
- 2 cups lukewarm water 16 ounces, by weight or volume
- 1 beaten egg
- Optional Toppings:
- Sesame seeds
- Poppy seeds
- Onion flakes dehydrated
- Garlic flakes dehydrated
- Coarse salt
Instructions
To Mix Dough By Hand:
- Add all ingredients except the egg and toppings to a large mixing bowl and stir together with a sturdy wooden spoon until you form a shaggy but cohesive dough. Let the dough rest for 30 minutes, covered with a clean towel. Turn out onto a lightly floured counter top and knead until smooth and elastic, about 10 minutes. Transfer dough to a clean bowl, cover with a damp towel and let rise in a warm, draft-free place until doubled in size, about 2 hours.
- !To Mix Dough By Stand Mixer:
- Add all ingredients except the egg and toppings to the work bowl of your stand mixer fitted with the dough hook. Turn mixer onto the lowest setting and mix until a shiny, elastic dough forms. Remove the bowl from the mixer, cover the bowl with a damp towel and let rise in a warm, draft-free place until doubled in size, about 2 hours.
- !To Mix Dough By Bread Machine:
- Add all ingredients except the egg and toppings to the pan of your bread machine that has been fitted with the dough paddle(s). Set the bread machine on the dough setting and press start. When the cycle is completed, proceed with shaping...
- !To Shape the Dough:
- Turn the dough out onto a clean surface and form into a neat mass. Divide the dough in half, then divide each half into 3 pieces. Cover three of the pieces with a towel while working with the other three.
- Pat one piece into a rough oval. Use the side of your hand to press an indentation along the length of the dough piece. Fold the dough together along the length of the indentation and roll lightly with the hands to form a thick rope between 12 and 14 inches long. Repeat with the other two pieces so that you have 3 ropes of roughly equal length. Line them up in parallel with the ends facing you.
- !To Braid the Dough:
- Either line a half sheet pan with parchment or set a baking stone out to use.
- Gently grasp the end of the rope on the far left. Lift it to about the center, leaving the far end on the counter, cross it over the rope nearest to it and lay it down. Now grasp the end of the piece on the far right and lift it to about the center, leaving its far end on the counter, cross it over the (now) center rope (which is the first one you moved) and lay it down. This is the manoeuver you will repeat - far left over center, far right over center, and so on- until you have ends too short to continue. At that point, pinch the ends together and tuck under the braid. Now go back to the center of the loaf and finish braiding the loaf toward the top. When you reach the ends, pinch together and tuck under. Transfer the braid to the parchment lined sheet or the baking stone. Cover the loaf lightly and let rise in a warm place until puffy in appearance and about doubled in size.
- Preheat oven to 400°F. Whisk the egg until very loose. Paint generously onto the risen bread braids and sprinkle the braids with desired toppings.
- Bake for 18-26 minutes or until your preferred shade of golden to deep brown and firm on top. Turn the oven off, prop the door open a little (two inches, if you can make your door behave) and let cool for at least an hour. Or tear into the loaves with your teeth. I won't tell.
Nutrition
Nutritional information is an estimate and provided to you as a courtesy. You should calculate the nutritional information with the actual ingredients used in your recipe using your preferred nutrition calculator.
did you make this recipe?
Make sure to tag @foodiewithfam on Instagram and #hashtag it #foodiewithfamily so I can check it out!
This post was first published March 4, 2011.


Reader's Thoughts...
Hailey Roselli says
We have made this a staple for sure! SO delicious. Our favorite ways to use it are with a garlic butter glaze with our Sunday sauce, and as French toast with a cinnamon sugar glaze for breakfast! It is so versatile, and easy to make. And as a braided load the presentation is fabulous. Thank you for this gem of a bread recipe!
Rebecca says
I’m so glad you love it, Hailey! It’s a fave around here, too!! Thank you for taking the time to rate the recipe and let me know you love it!
Evelyne says
Best semolina bread ever🥰😎…have been making it fir a few years now and always comes out great…wish I could post a pic with the ones I just made…
Rebecca says
Thank you so much for taking the time to rate the recipe and let us know you love it, Evelyne! Please feel free to post them on the foodie with family facebook page or email me the pictures; I sure love a beautiful loaf of bread!
Christine says
How long is the second rise about once it’s braided? Just says when it’s doubled in size
Rebecca says
Hi Christine- I’m sorry that I can’t get more specific than that. It’s truly just until it’s doubled in size. There are so many variables that go into it: humidity, room temperature, etc… Just keep an eye on it and stay patient the first time you make it so you can watch how long it takes!
Shelley says
I’ve been looking for a great semolina bread recipe & this one looks terrific; I’d love to make it this weekend. I do need at least 1 rise in the fridge so I can make it over 2-3 days. Which rise would work better: the 2 hour rise or after it’s shaped for the final rise?
Rebecca says
Hey there, Shelly! I’d do the bulk rise (the beginning one) in the fridge!
Cheryl says
It looks like you add a beaten egg to the flour mixture however the written instructions say except the egg then shows you brushing the loaves before going into oven, can you verify?
Rebecca says
Hi Cheryl- You definitely do not add the beaten egg to the flour mixture. You brush the risen loaf with it before you put the loaves in the oven just as directed. If you’re referring to the video, the yellowish/greenish liquid that goes in is the olive oil. Happy Baking!
Giovanna says
Good afternoon! I am making this today. Just wondering if the pizza stone gets warmed up when preheating the oven?
Rebecca says
Hi Giovanna- Yes indeed! Please pre-heat the pizza stone along with the oven. 🙂
Nancy Antonino says
This is the answer to my prayers. I’ve been trying bread recipes for 5 years, and I didn’t find one that was easy, tasty, and bullet proof. EUREKA
Rebecca says
Thank you so much for taking the time to rate the recipe and let me know you love it, Nancy!
Giovanna says
Thank you so much! I am making the bread tomorrow 😋
Michael S Kaplan says
Hello Rebecca, Thank you for the recipe. Will try very soon. I saw the video and it looks like a egg was mixed in with the flour.?
Have you tryed the recipe without braiding? Maybe i will make one with braid and one without. Have you tryed a starter instead of yeast.? I put the sesame seeds inside the dough so none fall off. Thank you. Mike Kaplan
Rebecca says
Hi Michael- There is no egg mixed into the flour- that’s semolina providing the gentle yellow colour. And I have not tried using starter vs. yeast. I HAVE actually tried without braiding and it’s fine. I prefer the pull-apart nature of the braided loaf, though. 🙂
Michael S Kaplan says
Hello Rebecca, Thank you for your quick reply. I going to use a egg in dough and no egg and see which i like better. The best to you, Mike
Jessica Marrero says
Made this yesterday for my family and had to stop my husband from eating a whole loaf by himself with butter, lol. He did not care about the dinner I cooked to pair, just the bread that is how good it was. This recipe was so simple and delicious. I decided to knead by hand and it was such an easy dough to work with. Thank you so much for this recipe. I am sure it will be at our family table for many meals to come.
Rebecca says
Thank you so much for taking th time to rate the recipe and let me know you and your husband love it, Jessica! It’s a keeper of a recipe, for sure, and I’m glad you love it as much as we do!
Rosina Villella says
Can i use gluten free all purpose flour in place of your normal flour
Rebecca says
Hi Rosina- I have not actually tried that! But semolina is made from durum wheat, so you’d have to replace that, too.