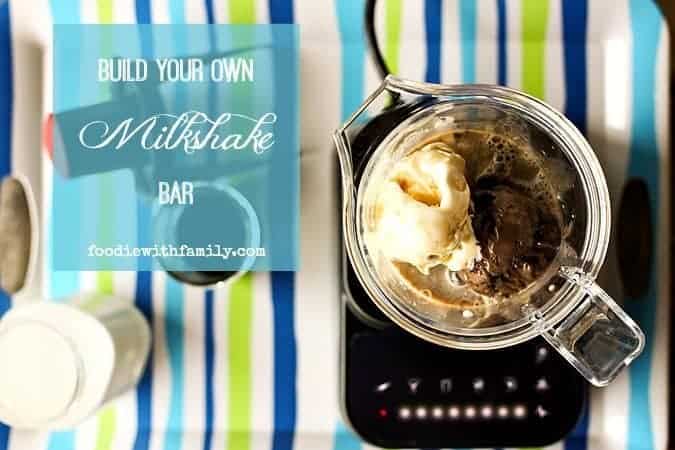
Can you think of a better way to kick off summer than a Build Your Own Milkshake Bar? Make everyone smile for miles with this crowd-pleasing dessert idea. This is a guest post I wrote for Blendtec Blenders. This is NOT a sponsored post, but I did receive a Blendtec Blender for review.
We are officially just days away from the official start of summer. It’s time to get your sundresses out of the storage bins, your fishing poles dusted off, and your grill fired up. It’s time for outdoor activities, fresh produce, and entertaining family and friends.
Entertaining doesn’t have to take on epic proportions of preparation work to be memorable. Some of the best parties I’ve ever attended or thrown were ones where the focus was on simple dishes that gave ample time for visiting with loved ones. I’m talking REALLY simple, folks. As in deli meats on a tray, sliced bread, condiments and a pickle tray… Baked potatoes with a plethora of toppings in bowls… Cheeses, fruits, crackers, and a variety of mustards and honeys… Fresh, crusty bread with several jars of jam… These are the get-togethers I remember fondly.
Do you see the commonality in each of those parties I remember so fondly? It’s the build-your-own aspect! It’s truly a please them all scenario. The host or hostess puts some effort into providing options for everyone, lays them out, and lets everyone construct the dish the perfect dish for her or himself. It’s win/win.
The sure-fire party maker I’m sharing with you today is a Build Your Own Milkshake Bar. It’s so simple, but guaranteed to make everyone at your party ooh and aah.
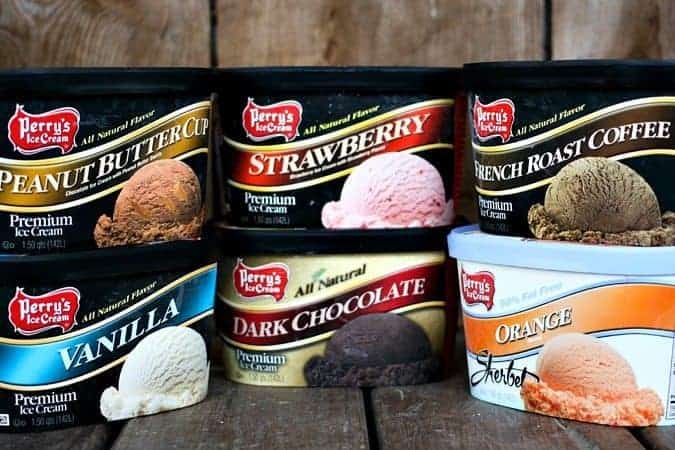
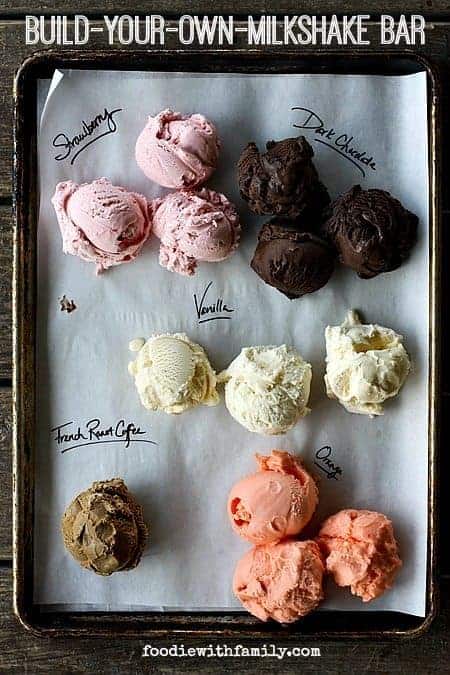
- Buy a variety of ice cream flavours and pre-scoop them for ease. Arrange them by type on a parchment lined cookie sheet and freeze until very firm. It’s a nice touch if you can find out your guests’ favourite ice cream flavours ahead of time. Accommodate dietary restrictions by having a separate tray for special ice creams (such as vegan, nut-free, lactose-free, etc…) to avoid any issues. When you’re ready to party, place the tray on another tray that is filled with ice sprinkled with salt. This helps lower the freezing temperature of water which makes the ice stay frozen longer.
- Pour your milk into a glass jar or pitcher with a lid and a jar of strongly brewed, chilled coffee, and set them in a bucket or bowl of ice to keep cold. You can even put out chilled Guinness beer, rum, Grand Marnier, bourbon, or other ‘adult’ beverages for a more grown-up milkshake. Keep it up high if there are kiddies around though!
- Provide a variety of add-ins: Brownies, cookies, cake… Chocolate, butterscotch, caramel, coffee, or strawberry syrups… Fruits like strawberries, blueberries, raspberries, peaches, bananas, or pineapple chunks… Frozen and crushed candies like malted milk balls, Snickers, M&Ms, and Butterfinger bars… Marshmallow crème, and whipped cream.
- If you have a spare jar for your Blendtec, this is the time to break it out. You can wash one while the other is being used.
To keep reading this post and get the free printables for your own “Build Your Own Milkshake Bar” party, please visit the Blendec Blender Blog.


Reader's Thoughts...
Maddison says
This is not good advice
Maddison says
Sorry it auto corrected
This website is not good it’s great
Kathryn says
Forget about having extra blender tops! The base of most blenders will fit nicely on a standard-mouth mason jar. Just provide a mason jar for each guest.
Kristen says
This is such a great idea!
Happy Valley Chow says
What a great idea, thanks for sharing!
Rachel Cooks says
BEST IDEA EVER. (and gorgeous pics!!!) Headed over to read the rest!
Amy @Very Culinary says
This is awe.some.