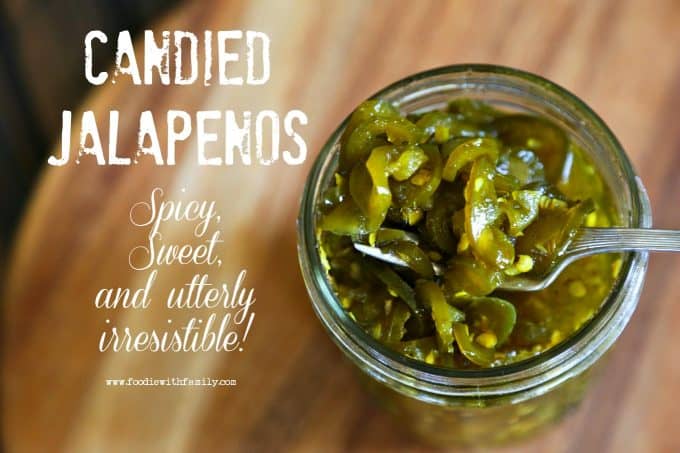
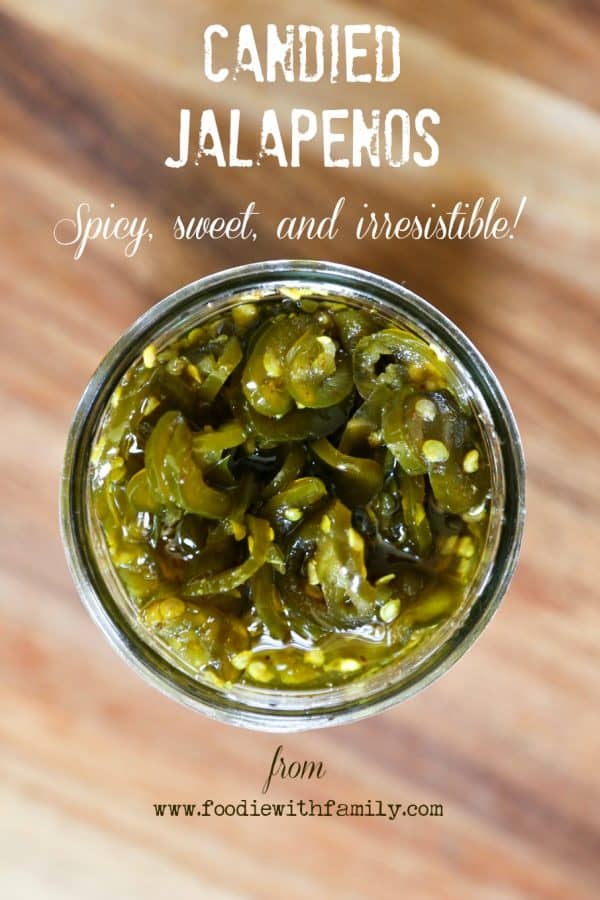
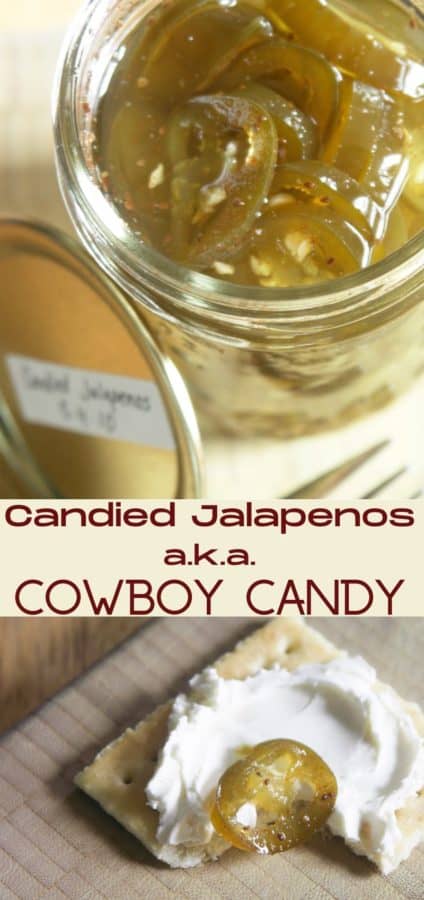
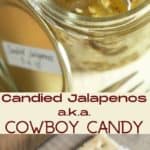
Candied Jalapenos are an easy to make sweet and spicy jalapeño pickle that make sandwiches, salads, tacos, and everything sing! These are a long time favourite recipe of our family and readers alike!
Find out why everyone loves Candied Jalapenos so much, and if you need independent verification, read the many happy reviews in the comment section below the post.
Once upon a time, my friend Katie casually mentioned eating a sandwich made with Candied Jalapeños. She enthusiastically sang the praises of what she described as an addictive jar of goodies.
I spent a couple of weeks working on how to recreate these. After carefully examining close to thirty recipes on Candied Jalapeños, also known as cowboy candy (who KNEW there were so many people candying jalapenos?) I called my local Cooperative Extension office to pick the brain of their home food preservation specialists.
Since jalapeños are a low-acid food, some precautions need to be taken when canning them. You have two choices for safely canning peppers of any kind; you can pressure can them or you can acidify (i.e. add vinegar, lemon juice, etc…) the liquid in which you pack the peck of pickled peppers.
I opted for acidifying the pepper liquid instead of pressure canning. I wanted to maintain some of the texture of the peppers through the process and I knew pressure canning Candied Jalapeños would turn them to flavorful mush.
The result was gobsmackingly, head-spinningly, brain-addlingly delicious. Sweet, spicy and savory, Candied Jalapeño rings are way too easy to eat on just about everything.
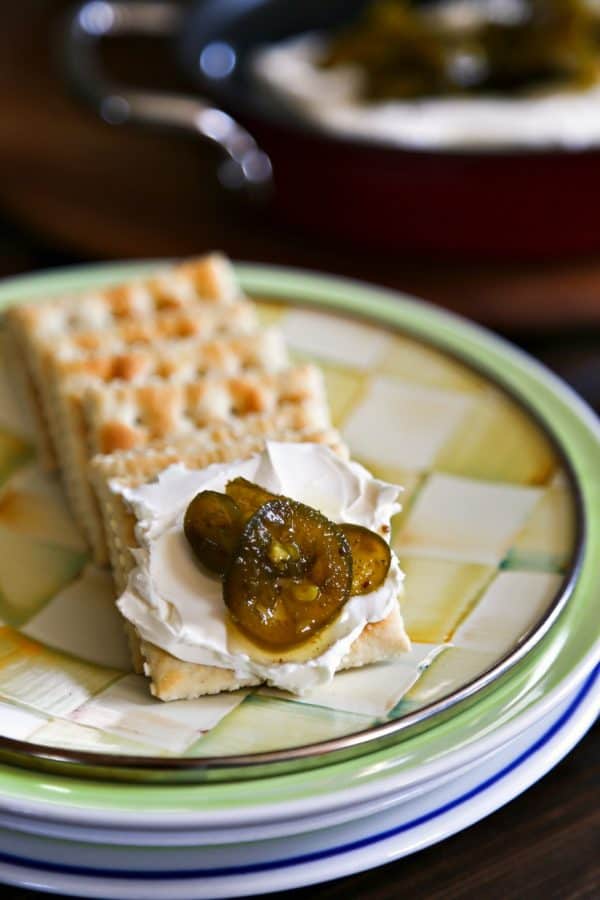
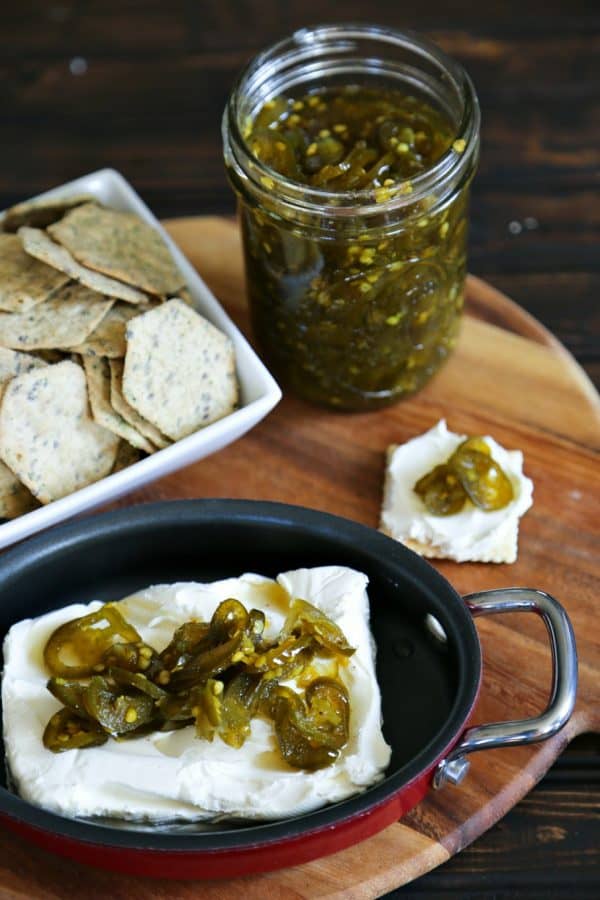
I’ve stashed them in sandwiches, chopped them up on baked beans, tucked them into tacos, used the syrup to brush meat on the grill. You’ll find them perched on top of a cream cheese laden cracker and all sorts of other evil things at our house.
There are even a significant number of readers in the comments section who advise putting the syrup on vanilla ice cream! Have you tried this?
For such a simple thing to can, these pack tons of flavor. You’re going to want to make as many Candied Jalapenos as you possibly can simultaneously.
Because once that first jar is cracked open you’re not going to be able to stop eating them. And I mean that.
Cowboy Candy Recipes
These are one of the things that I can annually without fail. Knowing that we have a few dozen jars of these makes my family happy at mealtime and makes holiday gift giving easier.
Do you hate canning? Or are you too afraid of canning to try?
For those of you who may be freaking out slightly or massively over the idea of canning, rest easy. You do not actually have to can these: you can refrigerate them instead.
To skip the canning portion simply do this. Follow all of the instructions up to the actual canning portion, then stash the jars of candied jalapenos in the refrigerator for up to three months.
If you can them, they’ll last for a year. That said, if an alternative is all that stands between you and making them, use your chill chest!
Candied Jalapeno Recipe
This is one case where there is no substitute for fresh peppers. Many folks have asked whether they can substitute frozen or canned jalapeños for the fresh ones in the recipe.
The bad news is that you cannot swap in an already cooked or frozen pepper in this cowboy candied jalapeño recipe. When you cook or freeze any produce, you are beginning the process of breaking down the cell walls.
If you cook them in the syrup again (which is necessary!), you’ll break down the walls even more. The extra cooking will make for mushy peppers, which we are trying to avoid.
Are Candied Jalapeños Hot?
Yes. They are.
One of the fun mysteries of jalapenos is you never quite know how hot your peppers are until you cut into them. I’ve read that the more tan veins a jalapeno has, the hotter it is, but I’ve not proven that to my satisfaction yet.
That said, how how your candied jalapenos will be is a little bit of a toss-up unless you know how hot your peppers are. Please remember that they’re going to be lava hot as soon as you’re done cooking them, but they’ll mellow a bit as they age.
On that note, wear gloves when working with the peppers. I’m not calling you a wimp.
It’s just that jalapeños have a notoriously wide range of heat on the Scoville scale. Trust me when I tell you that it’s a rude surprise when you process 3 pounds of wicked hot ones without wearing gloves!
This recipe is designed to be made with jalapeño peppers, but many readers have substituted serranos, habaneros, bell peppers, banana peppers, and all sorts of other peppers with good results. Please feel free to get creative here!
You can safely use any fresh pepper you’d like as long as you keep to the 3 pound quantity. Several readers have also reported chopping the peppers instead of slicing for candied jalapeno relish and I can confirm this is delicious!
How many jalapeño peppers are in 3 pounds? There isn’t perfect answer to this because the peppers vary so much in size naturally.
Three pounds of jalapeños is approximately 60 peppers. You’re much better of going by weight, though, because of the wide range of sizes in peppers.
Cowboy Candy Recipe
Let’s address slicing the peppers, because we’re going to be going through 3 pounds, folks. The quickest, easiest way to do so is with a slicing blade on a food processor, standing the peppers on their ends in the feed chute.
No food processor? Use a mandolin! No mandolin? Just take your time and slice by hand with a very sharp knife and gloved hands.
I’ve been asked many times whether you should discard the seeds. We like them so I don’t bother with removing them.
Contrary to the old wives’ tales, seeds do not contain the heat of a pepper. It is the membrane inside the pepper packs the most punch.
Since you’re not removing that, don’t sweat the seeds. Come for the cowboy candy recipe, stay for the bad jokes.
Cowboy Candy
Please do not reduce the sugar in our cowboy candy recipe. It is there both to improve the texture of the pepper and syrup as well as to help preserve the peppers.
I originally added turmeric to the recipe just to help improve the colour of the finished peppers. But I ended up loving the very subtle warm hint of mustard flavour the turmeric adds to the party, so it stayed.
I’m keen on using Bragg’s Apple Cider Vinegar, but any undiluted cider vinegar will work in our cowboy candy recipe. In a pinch, you could substitute white distilled vinegar, but it will have a slightly sharper taste to the syrup.
While I positively love granulated garlic in this recipe because it doesn’t clump like garlic powder does, you can substitute garlic powder if needed. It’s important to realize that granulated garlic is a much coarser product than powder so please remember to reduce it by half.
In other words, instead of using 3 teaspoons of granulated garlic, you’d use 1 1/2 teaspoons of garlic powder. Alternatively, if you have dried garlic flakes, you can use those. In this case, you’ll use 2 tablespoons of flakes in place of 3 teaspoons of the granulated garlic.
And finally, a word about the celery seed and cayenne pepper. The celery seed adds a little special umami to our cowboy candy that can’t be added any other way.
Don’t worry if you’re not a celery fan, these don’t eat like celery pickles. They’re a subtle addition that brings a little extra savouriness and they’re relatively easy to find in even moderately stocked grocery stores.
The cayenne pepper, unlike many other ingredients, is optional. It’s true that cayenne pepper packs a real punch heat-wise, but it’s a different heat and a different flavour than the super fruity fresh jalapeno brings.
Cayenne is earthy and a little smoky, and I really enjoy that in our candied jalapenos. If you’re looking to mitigate some of the heat, feel free to omit this.
Candied Jalapenos Recipe
Quite a few folks have asked WHEN exactly to start timing the boiling of the peppers. You begin timing them once the liquid has returned to a full rolling boil. That means that the liquid does not stop boiling when you stir it.
As soon as it reaches a full rolling boil, reduce the heat to a simmer and let it simmer gently for 4 minutes. To clarify further, you will not be boiling them hard for 4 minutes, you will bring them to a boil then drop the heat and simmer.
Many, many people have asked me whether they messed up the recipe because their peppers look all shriveled after simmering them in the syrup, packing them in jars, and canning them. The short answer is no.
But truly they WILL look shriveled when you jar them up if you’ve simmered them properly. They will re-plump as they spend their 4 weeks of rest time in the jar between processing and opening.
Yes, I said 4 weeks. My husband has been known to crack a jar at the two week mark out of desperation for candied jalapenos, but he will absolutely agree with me that they improve immensely in flavour and texture when left to mellow for at least 4 weeks after processing.
Try to be patient. You’ll be rewarded.
How to serve cowboy candy:
We love candied jalapenos a.k.a. cowboy candy on cream cheese and crackers, obviously… But we also love them in sandwiches, on Bacon Wrapped Hot Dogs, salads, taco soup, tortilla soup, tacos, and pizza. or chopped up in dips!
The sky is the limit. I kind of suspect my husband would eat them on breakfast cereal if he didn’t know I’d wonder about his sanity.
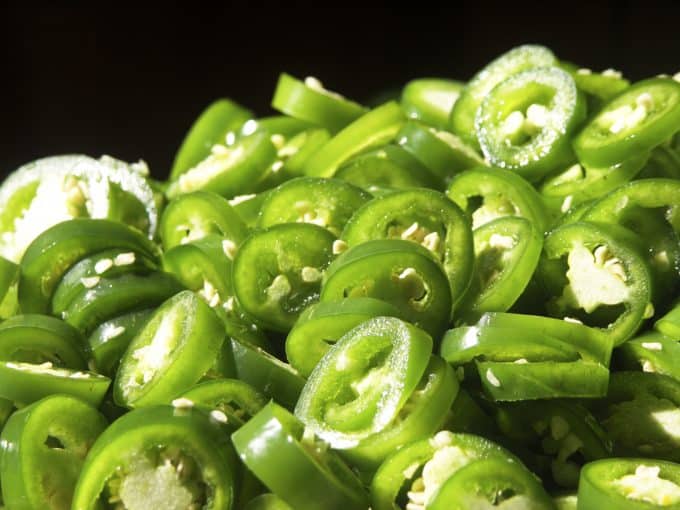
You will need this equipment to make Candied Jalapenos
large stainless steel stockpot
long handled stainless steel slotted spoon
And this equipment is helpful but not strictly necessary
rubber gloves or disposable gloves
food processor with a slicing disc
Connect with Foodie with Family
facebook | pinterest | instagram | twitter
Are you worried it will be too difficult? I promise it isn’t!
In fact, I have this video to show you just how easy the process is! Check it out!
Candied Jalapenos
Wearing gloves, remove the stems from all of the jalapeno peppers. The easiest way to do this is to slice a small disc off of the stem-end along with the stem.
Discard the stems. Slice the peppers into uniform 1/8-1/4 inch rounds using either a chef’s knife or a food processor fitted with a slicing blade. Set these aside.
In a large pot, bring cider vinegar, white sugar, turmeric, celery seed, granulated garlic and cayenne pepper to a full rolling boil. Reduce the heat and simmer for 5 minutes.
Raise the heat to HIGH, add the pepper slices, bring the contents of the pot to a hard boil, then reduce the heat once more and simmer for exactly 4 minutes. Use a slotted spoon to transfer the peppers, loading into clean, sterile canning jars to within 1/4 inch of the upper rim of the jar.
Return the pan full of syrup to the burner and once again turn heat up under the pot. Bring the syrup to a full rolling boil. Boil hard for 6 minutes.
Use a ladle to pour the boiling syrup into the jars over the jalapeno slices. Insert a chopstick or butter knife in down to the bottom of the jar two or three times to release any trapped pockets of air.
Adjust the level of the syrup if necessary. Wipe the rims of the jars with a clean, damp paper towel and fix on new, two-piece lids to finger-tip tightness.
Place jars in a canner carefully and cover with hot water by 2-inches. Bring the water to a full rolling boil.
When it reaches a full rolling boil, set the timer for 10 minutes for half-pints or 15 minutes for pints.
Let the jars rest in the hot water for 5 minutes, then use canning tongs to transfer the jars to a cooling rack.
*If you have leftover syrup, and it is likely that you will, you may can it in half-pint or pint jars, too. It’s wonderful brushed on meat on the grill or added to potato salad or, or, or… In short, don’t toss it out!
Leave them to cool, undisturbed, for 24 hours. When fully cooled, wipe them with a clean, damp washcloth then label.
Allow to mellow for at least two weeks, but preferably a month before eating.
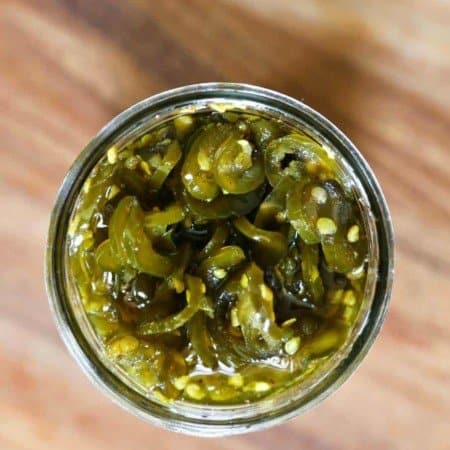
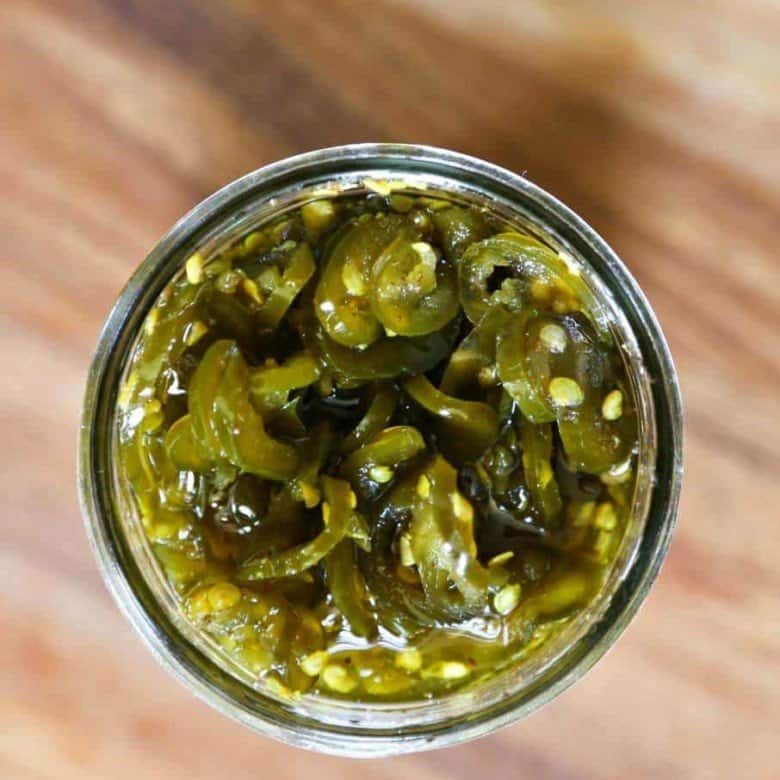
Candied Jalapenos
Rate RecipeIngredients
- 3 pounds fresh firm, jalapeno peppers, washed
- 2 cups cider vinegar
- 6 cups white granulated sugar
- 1/2 teaspoon turmeric
- 1/2 teaspoon celery seed
- 3 teaspoons granulated garlic
- 1 teaspoon ground cayenne pepper
Instructions
- Wearing gloves, remove the stems from all of the jalapeno peppers. The easiest way to do this is to slice a small disc off of the stem-end along with the stem. Discard the stems.
- Slice the peppers into uniform 1/8-1/4 inch rounds. Set aside.
- In a large pot, bring cider vinegar, white sugar, turmeric, celery seed, granulated garlic and cayenne pepper to a boil. Reduce heat and simmer for 5 minutes. Raise the heat to boiling again, add the pepper slices, return to a hard boil, then reduce the heat again and simmer for exactly 4 minutes. Use a slotted spoon to transfer the peppers, loading into clean, sterile canning jars to within 1/4 inch of the upper rim of the jar. Turn heat up under the pot with the syrup and bring to a full rolling boil. Boil hard for 6 minutes.
- Use a ladle to pour the boiling syrup into the jars over the jalapeno slices. Insert a cooking chopstick to the bottom of the jar two or three times to release any trapped pockets of air. Adjust the level of the syrup if necessary. Wipe the rims of the jars with a clean, damp paper towel and fix on new, two-piece lids to finger-tip tightness.
- *If you have leftover syrup, and it is likely that you will, you may can it in half-pint or pint jars, too. It’s wonderful brushed on meat on the grill or added to potato salad or, or, or… In short, don’t toss it out!
- Place jars in a canner, cover with water by 2-inches. Bring the water to a full rolling boil. When it reaches a full rolling boil, set the timer for 10 minutes for half-pints or 15 minutes for pints. When timer goes off, use canning tongs to transfer the jars to a cooling rack. Leave them to cool, undisturbed, for 24 hours. When fully cooled, wipe them with a clean, damp washcloth then label.
- Allow to mellow for at least two weeks, but preferably a month before eating. Or don’t. I won’t tell!
Notes
Nutrition
Nutritional information is an estimate and provided to you as a courtesy. You should calculate the nutritional information with the actual ingredients used in your recipe using your preferred nutrition calculator.
did you make this recipe?
Make sure to tag @foodiewithfam on Instagram and #hashtag it #foodiewithfamily so I can check it out!
Want more Food Preservation recipes like Candied Jalapenos? Try these!
- Homemade Claussen Knock-off Pickles
- Cherry Habanero Lime Jam
- Easy Fast Kimchi
- Fire Cider Health Tonic and Homeopathic Remedy
- Instant Hummus in a Jar
- Best Thing Tomatoes
- How to Freeze Rice
- Ginger Peach Preserves
- Three In One Pears
- Root Beer Syrup
- Zesty Corn Relish
- Habanero Peach Jam
Originally posted May 23, 2010, updated in 2015, 2017, and June 2022.


Reader's Thoughts...
Eric says
Hi, I was thinking of making these and have never canned. So when you said there was an alternative way I was intrigued. The video I assume shows the typical canning route with boiling it in water, you stated you can use lemon or vinegar instead. Is there a measurement of how much you put in and would you put it on top or mix it together in the jar? Also, is vinegar or lemon better and what type of vinegar? Sorry for all the questions. Thanks and looking at making these soon for summer time use.
Rebecca says
Hi Eric- Thank you for asking your questions: it gives me a chance to clarify! The discussion about lemon juice and vinegar was just a basic discussion about what’s necessary to render a food acidic enough to safely can. This recipe is canning-safe. In other words, the vinegar in the syrup makes it a good candidate for canning safely, so you don’t need to worry about that. If you want to can it, this recipe is all set!
If you’re disinclined to can, you may simply stash the jars in the refrigerator after making the candied jalapeños. It’s your call. 🙂 I prefer to can them, though, for longer storage!
Donna Thompson says
My only mistake last time was using tiny little jars – heck just me I could go through one whole jar in a couple days – this time I’ll use larger jars!
Rebecca says
Thanks so much for taking the time to rate the recipe and let me know you love it, Donna! The little jars are good for gift giving, though! HAHAAHA.
Stephanie Cox Posey says
Is it possible to make jelly with the left over juice/syrup? If so, do you have a recipe to share? Thanks. I have made this twice. First time I discarded all he insides and only used the slices. It was wonderful and the kids loved it. The second time I discarded only half the insides and the other have I left. The heat was absolutely perfect. Thanks for sharing your recipes.
Rebecca says
Hi Stephanie! You can most definitely make jelly from it! I’d use the instructions for making jelly from a box of Pomona’s Universal Pectin! I don’t have it on hand, and you’d be experimenting a bit but I see no reason it wouldn’t work and work beautifully!
Adam says
I found this recipe years ago and honestly it’s the best recipe out there. I saved it in my phone and just stumbled upon it again. I’m making these today! Well written article/recipe and follow it exactly. You won’t be disappointed. Everyone who tries these are blown away and want more, so I make lots and give them out as gifts. You can put these on anything and everything.
Rebecca says
Thank you so much for taking the time to rate the recipe and let me know you love it, Adam! I’m so very glad you did!
Suzanne says
Try this with zucchini or sugar snap peas… OMGoodness, divinely addictive!!!
Rebecca says
Thanks so much for taking the time to rate the recipe and let me know you love it, Suzanne! That sounds like an amazing addition to the recipe. 🙂
SHERI LEE ONEAL says
Could you use a pressure canner for this recipe?
Rebecca says
Hi Sheri Lee! You can, but I’d still use it like a boiling water canner. There’s no need to cook these under pressure since they’re adequately acidic to ensure safety. 🙂
Gregg says
I am new to canning. I have made this recipe. Do I need to refrigerat these jars while resting for a month.
Rebecca says
Hi Gregg! Did you process the filled jars in a boiling water filled canner per the canning instructions? If you did, and the jars all sealed, you can carefully remove the rings after they cool and store them at cool room temperature out of direct sunlight. If you did not process the filled jars in boiling water, you’ll need to store them in the refrigerator for a month while they rest.
Cynthia says
Addictively delicious & useful. I started more jalapeño plants than usual this year just because of this recipe! Try them on a cracker with goat cheese- amazing.
Rebecca says
Thanks so much for taking the time to rate the recipe and let me know you love it, Cynthia! They’re pretty habit forming, aren’t they?? 🙂
Britt says
What if I don’t have a canner? How does that change the process?
Rebecca says
Hey Britt! You can (as instructions in the recipe mention) simply stash them in the refrigerator once you’ve loaded them into jars. You’ll still want them to sit a couple of weeks before cracking into them, but they’ll be delicious!
Alternately, if you have a stockpot, you can lay a clean tea towel on the bottom, layer your filled jars with new lids on them, fill with water so it rises 2 inches above the tops of the jars, and bring to a boil. If you do that, simply follow the timing instructions for the canner.
You don’t need a dedicated canner to can food, but it does make it somewhat easier since most canners come with a rack to lower and lift jars.
Christina says
Without canning them to preserve how long will they last in the fridge?
Rebecca says
Hi Christina! You can keep them (unopened but not canned) for up to 4 months or so in the refrigerator!
Sue says
LOVE this recipe-thanks for sharing! I wondered if you’ve ever used brown sugar rather than white, for a slightly more carmel-y taste?
Jessica says
I bought a bunch of jalapeños on sale that are starting to wrinkle and soften. (But are still usable) Is it absolutely necessary to boil the peppers themselves? I wondered if it was to slightly cook them. I will not be canning these since I’m cutting the recipe down and experimenting to see if we like them. In the future, if we do, I will use fresh firm peppers and can them.
Rebecca says
HiJessica- It’s definitely necessary to boil them a bit. If you’ve got wrinkly jalapenos, maybe you could do a mini-pivot and chop them up like relish! They’ll plump up in the brine when they sit, though, whether you go direct to fridge or can them. 😉
Jessica says
Thank you so much for getting back to me! I’ll try some sliced and chopped. I bet these would be good as a relish on grilled hot dogs!
Sally says
I’ve made these so many times and they’re incredible! Yes, doubling the recipe is a good idea. My only complaint is that “40 minutes” for total time is way off. This does not account for slicing the jalapeños (which I do in my food processor with a slicer blade, super fast). It also doesn’t account for the time in between each “boil” for the pot to reach back to the boiling point indicated. I’m very organized, with all the right tools, etc. and it always takes me at least 2 hours. But let me tell you, it’s worth the time necessary to get these little beauties ready…. and waiting a month to enjoy is also the only way, allowing all the flavors to meld and just get yummy. My family panics when we’re running low. And oh my, can that extra syrup! 🙂
Chels says
Hi! I loooove this recipe, have made sooo many batches, and am considering using it for wedding favours — little 4oz jars of homemade goods from my garden later this summer. Any tips on how long to set the timer for for such a small jar when in the boiling canning phase?
Rebecca says
Hi Chels- I’m so glad you love it! I’d still do the same amount of time for a 4 ounce jar as for an 8 ounce jar!
Maranda Boiter says
Hi! I can’t wait to try this. You mention that canning can be done by pressure or by using an acidic additive. I am confused to see the need to boil the cans under pressure since the cider vinegar was used.
Rebecca says
Hi Maranda- There is no need to pressure can these! I was just referring to the fact that either you have to pressure can a pepper or can them in an acidic medium. The cider vinegar does the job here!
Raven says
I don’t see where it says how many jars this makes. Please advise.
Rebecca says
Hi Raven- In the printable recipe card it states “This recipe yields between 4 and 6 half pints.” It depends on how thick or thin you slice the peppers as well as how tightly you pack the jars. 🙂
Kylee says
Can you use other peppers besides jalapenos?
Rebecca says
Hi Kylee! I know some folks in the comments on this post have used a mixture of peppers and seen good results, but I have not personally used anything other than 100% jalapeños. You may want to scroll through the comments to see what other folks’ experiences are. Let me know, please, if you try it!
Ash says
I have many jalapeños from my garden that are frozen whole. Would they be ok to slice and use for this recipe? Thanks!
Rebecca says
Hi Ash- This is a pretty common question, but I don’t advise doing that. When you freeze the peppers, you’re altering the structure of them. The cell walls expand and/or burst in the freezer which will leave them a little softer when they thaw. This is not a problem for cooking into sauces, chopping and adding to dressings, etc…, but if you try to cook the softened peppers in the brine, you’re going to end up with mushy peppers instead of beautiful jalapeño rings. I’m sorry to disappoint you!
Chris says
Gloves? I didn’t feel anything. That is until a an hour or so after I had to pee. Ay caramba!
Rebecca says
HAHAHHA. Oh shoot, Chris. I’m sorry, but mercy, I am laughing here. Next time? Gloves!!
Rehoboth says
Excellent recipe
Stephanie O. says
Wear the gloves. No- it won’t take too long to find them. Wear the gloves.
Love this recipe and come back annually to whip it up. I use ground Sichuan peppercorn instead of cayenne, and add 2 tbsp of micro planed citrus zest with the spices.