Homemade Cultured Buttermilk is going to be a game changer for you. It’s literally as easy as mixing two things in a jar.
And whoa are you going to love having all that fresh homemade cultured buttermilk around. Read or scroll through to the end for great ideas on how to use up your real buttermilk.
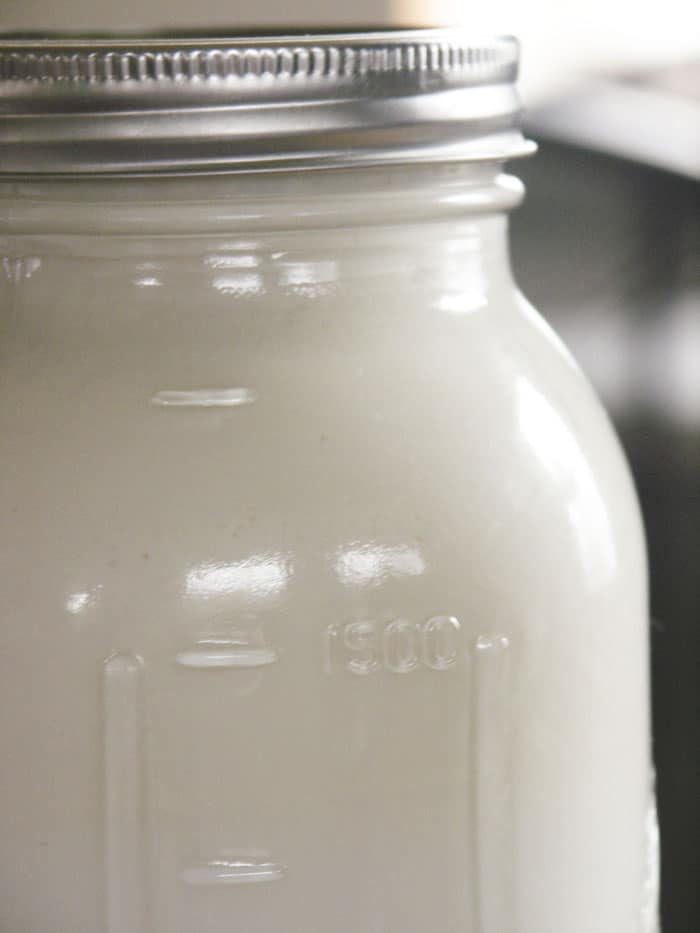
I use a lot of homemade buttermilk. And by ‘a lot’ I mean a ton.
Many of my baked goods contain buttermilk. Much of my salad dressing uses buttermilk.
And my beloved, The Evil Genius? He drinks buttermilk.
Now before any of you out there yawp with a resounding, “EW!” let me just mention that millions of Southerners and displaced Southerners are right now saying, “Mmmmmmmm! A nice tall glass of buttermilk with salt and pepper sounds mighty fine right now.”
A reminder: never yuck another person’s yum. Unless we’re talking durian, then all bets are off… (You may want to read about my family vs. Durian.)
We go through a lot of the stuff. And I may have mentioned that I live in the middle of nowhere in Amish country before (or a million times before, but who’s counting?) so frequent last minute trips to the store are not convenient.
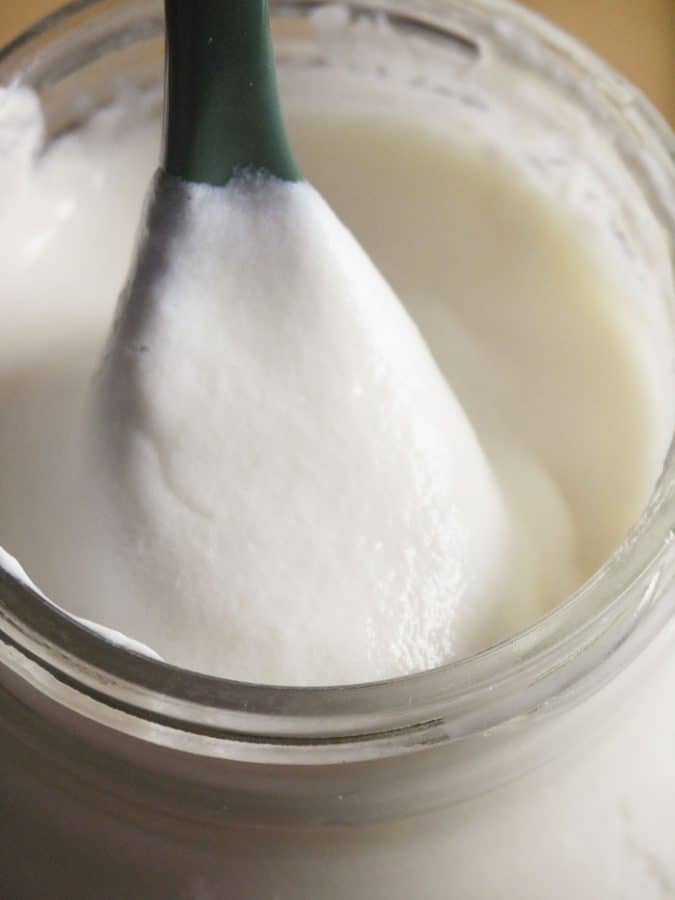
How to Make Real Buttermilk
There are probably quite a few of you out there saying, “Oh please. All you have to do is add a little vinegar or lemon juice to milk and you get the same thing. Why buy buttermilk?”
See? I just knew someone out there was saying it. Not so fast! It’s not the same thing. To prove my point, I have to talk science for a moment.
While the acidified milk might give you the same tang of buttermilk, it lacks woefully in the texture and viscosity department.
Buttermilk is used in recipes for several important reasons. First, it is acidic, so it helps invigorate leavening agents -such as baking powder, baking soda and yeast- when added to baked goods.
The acid also helps combat discoloration in baked goods and promotes deep, beautiful browning. Buttermilk contains natural emulsifiers; this improves texture and aroma, and extends shelf life after baking.
The acidity of your homemade cultured buttermilk makes it a wonderful addition to marinades for chicken and pork. The acid helps tenderize the meat and gives it a tangy flavor.
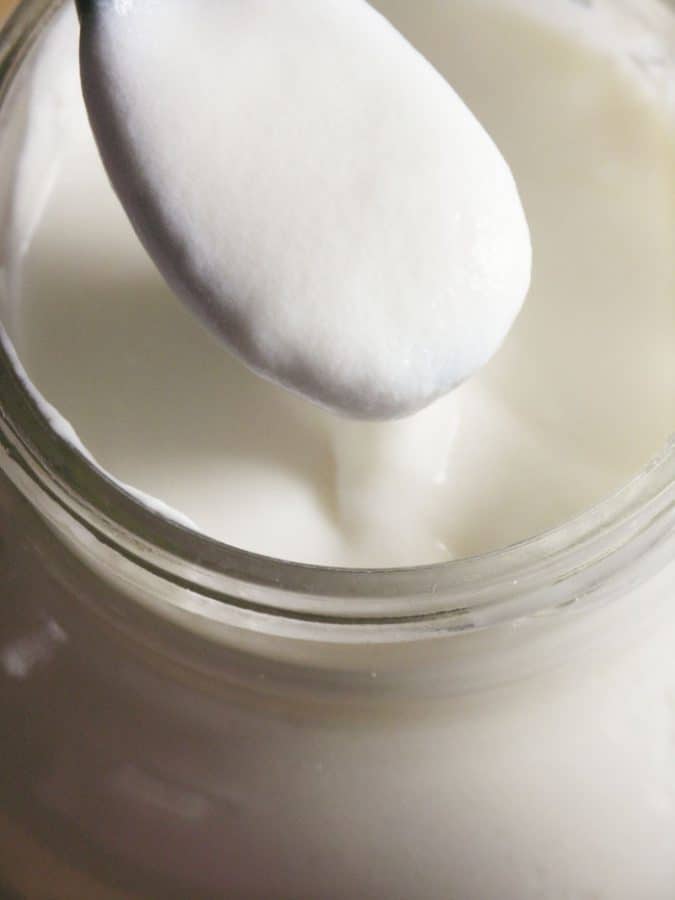
Cultured Buttermilk
You know the ‘cultured’ part of cultured buttermilk? It’s good for you.
It contains many active cultures similar to those found in yogurt. Most of the cultures generally found in buttermilk are form the Lactococcus Lactis family and many of their subspecies.
Those cultures are what make homemade cultured buttermilk so thick and creamy. And what? Good for you!
Now that you know more than you probably ever wanted to know about buttermilk let’s get onto the ‘Why make my own?’ thing. Because you can.
Seriously. You need more than that?
Okay. Also make it because it’s dirt cheap, it’s super simple, it’s really fun and you’ll never run out of buttermilk again.
Hang on one second. Someone out there just said, “I never use a whole thing of buttermilk. What do I do with all that buttermilk?” I’m so glad you asked. How about a few of these ideas:
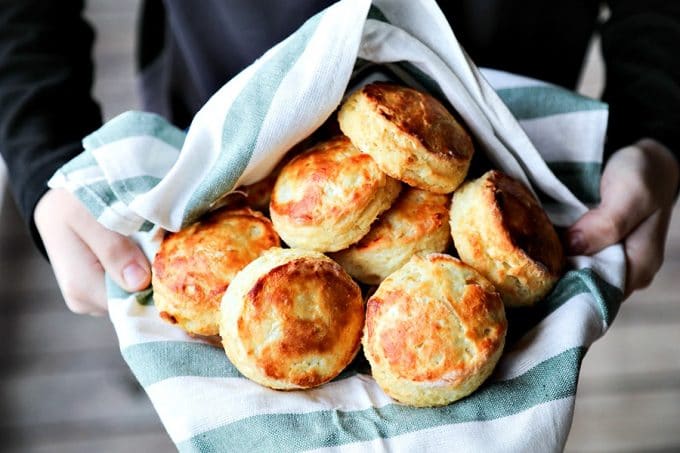
Perfect, flaky, Homemade Buttermilk Biscuit Take it from me, these buttermilk biscuits would do my Arkansas Grandma proud… They’re lofty, flaky, tender, and utterly divine.
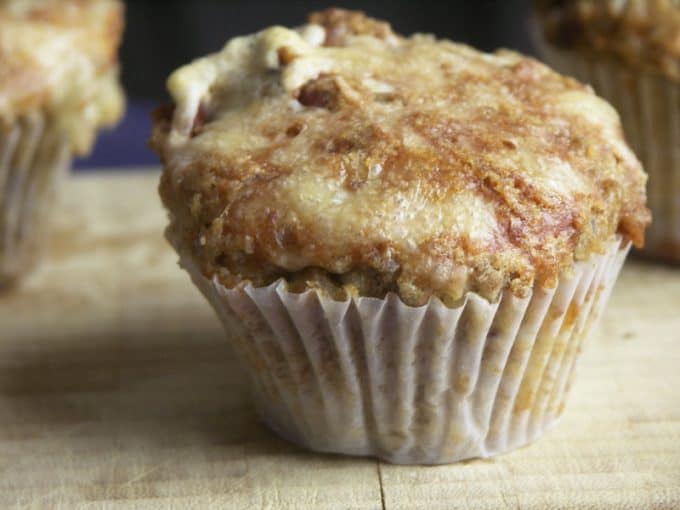
Bacon and Swiss Rye Muffins These are every bit as good as they sound and as easy as pie. No wait! They’re easier than pie. Pie can be hard.
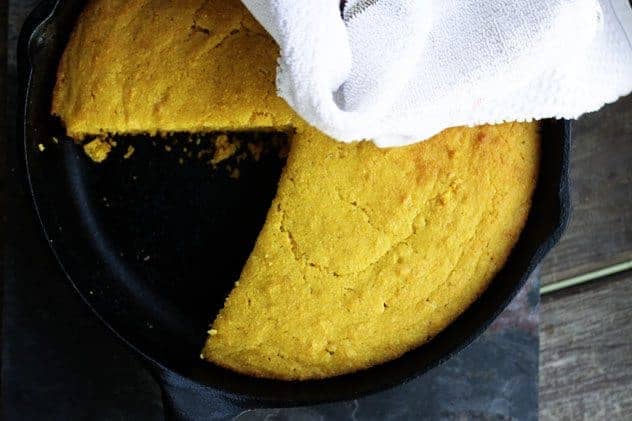
Grandma’s Buttermilk Cornbread This is my Grandma’s buttermilk cornbread recipe and it is ridiculously delicious and the ultimate comfort food.

Buttermilk Cornbread Rounds Based on my Grandma’s Buttermilk Cornbread recipe, these perfectly portioned cornbread rounds fit neatly in the hand and go anywhere cornbread goes, but look cuter doing it! This one’s going a little way back in the FWF archives.
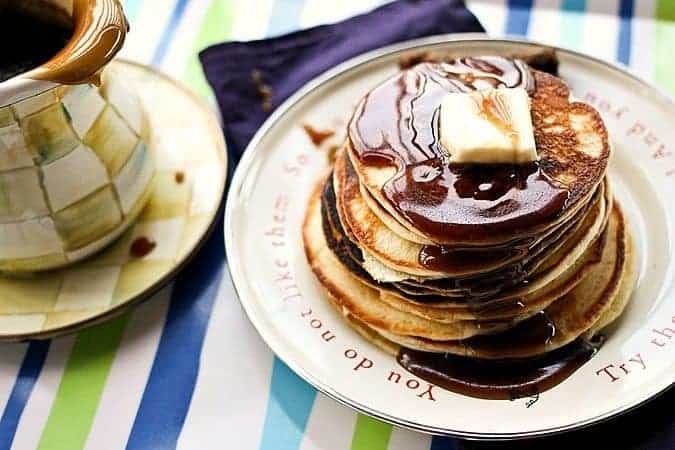
Buttermilk Pancakes Nothing beats beautiful, light, airy buttermilk pancakes smothered in real maple syrup. Nothing. This one’s also reaching way back.

Garam Masala Depression Cake from Val. Nothin’ depressing about THAT cake, I’ll tell you. We’re talking about a decadent, Garam Masala flavored chocolate cake with orange buttercream and toasted coconut.
Oh my. I only take issue with the number of servings Val specified in it. It looks like a one-person cake to me.
I would be remiss if I didn’t mention these others…
- Chocolate Chip Breakfast Cookies (Drop scones)
- Extra Crispy Fried Chicken Fingers (The Evil Genius can cook!)
- Cornbread Salad
Are you good and hungry yet? Excellent. Let’s make some buttermilk. I promise it doesn’t take but two shakes.
Homemade Cultured Buttermilk
Scroll to the bottom for an easy-print version of this recipe!
Ingredients:
- 1/4 to 1/2 cup cultured buttermilk (from the store or home cultured)
- 1 to 2 quarts skim,1%, 2%, or whole milk from the store or raw milk
Also needed:
- 1 clean, dry quart or half gallon jar with a tight fitting two piece lid.
Okay. Ready? If you blink you’ll miss how to do it.
Pour buttermilk (1/4 cup for a quart jar or 1/2 cup for a half gallon jar) into your clean jar. Top off the jar with your plain milk.
Tightly screw lid to the jar and shake vigorously for 1 minute. Place in a warm (but not hot) area out of direct sunlight.
Let it sit there for 12 to 24 hours, until thickened. Refrigerate when thick.
Use within two weeks. If you re-culture this regularly, you can carry on re-culturing indefinitely.
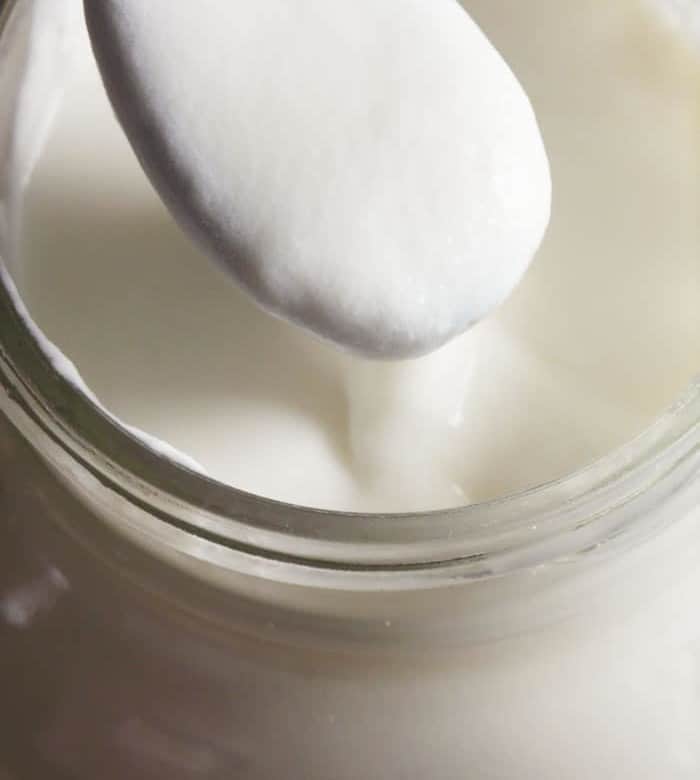
Now here’s a glimpse of my finished product. Note that mine is super thick. I used raw, whole milk to culture my buttermilk. If you use skim, it may end up a little thinner than what you see here.
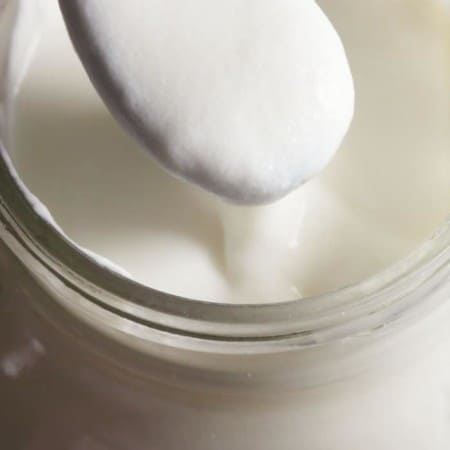
Homemade Cultured Buttermilk
Rate RecipeIngredients
- 1/4 to 1/2 cup cultured buttermilk from the store or home cultured
- 1 to 2 quarts skim 1%, 2%, or whole milk from the store or raw milk
- Also needed:
- 1 clean dry quart or half gallon jar with a tight fitting two piece lid.
Instructions
- Okay. Ready? If you blink you’ll miss how to do it.
- Pour buttermilk (1/4 cup for a quart jar or 1/2 cup for a half gallon jar) into your clean jar. Top off the jar with your plain milk. Tightly screw lid to the jar and shake vigorously for 1 minute. Place in a warm (but not hot) area out of direct sunlight. Let it sit there for 12 to 24 hours, until thickened. Refrigerate when thick. Use within two weeks.
Notes
Nutritional information is an estimate and provided to you as a courtesy. You should calculate the nutritional information with the actual ingredients used in your recipe using your preferred nutrition calculator.
did you make this recipe?
Make sure to tag @foodiewithfam on Instagram and #hashtag it #foodiewithfamily so I can check it out!
This recipe was originally posted March 24, 2010, and was updated with photos, links, and improved notes March 2021.


Reader's Thoughts...
Melody says
Thank You!! I have been looking for this for quite a while, my Mother used to make this when I was a child. I Love ButterMilk! I Love Drinking it! Thanks a Lot. Buttermilk is good for you!
Asok Asus says
Thanks for the great recipe! Worked like a charm! And so unbelievably easy! I used whole organic milk so I ended up with thick, rich organic buttermilk. And the best part for me is that I can make sweet, delicious buttermilk without the massive amount of sodium that’s in commercial buttermilk, not to mention all the nasty chemicals like the inflamation-inducing thickener carrageenan also used in commercial buttermilk. If only it was this easy to make organic, sodium-free cottage cheese 🙁
Andy says
You can make cottage cheese at home. It is really easy to do… heat a gallon of organic skim milk to about 120 degrees F and turn off heat. Add 3/4 cup of white vinegar to the milk (don’t worry it you wont taste it when you are done) and stir until curds form. let the milk and vinegar set for a half hour then line a colander with a clean kitchen towel and pour the mixture into the towel. Break up the curds with your fingers until they are the size you want. Gather the ends of the towel and squeeze the excess whey out. Place the curds in a sealable bowl and put a tablespoon or so of whole organic heavy cream in the bowl as well and mix it up. Refrigerate and enjoy.
Kermit Johnson says
I have been making cultured buttermilk for decades taught to me by my mother. She always used powdered or dry milk made up the night before. Then the next day she would use 1 cup of buttermilk to one half gallon of this dry milk mix and close with a tight fitting lid and shake well then place in a warm place for 12 to 24 hours. I have always gotten a good batch of buttermilk this way. I use this in baking.
Teresa says
When you say she mixed up the dry milk mix the night before, did she mix it up and then refrigerate it to use the next day? Thank you!
Fred Potts says
One caution when making buttermilk at home. The process releases a small amount of carbon dioxide, which is harmless. However, in a closed container it can build up pressure to the point of a mild explosion when in a glass jar. When I was 4 years old, my mother was making buttermilk. She had a gallon jar with a lid on it. She shook the contents and the glass shattered, almost taking off her little finger. Several stitches and a few weeks later, she was OK, thank God. You should vent the bottle before shaking it.
I love home-made buttermilk!
Diana says
This recipe looks so good I think I’m going to go to the store today, pick up the ingredients and make it! Your pictures look awesome and I can’t wait to try your recipe. Thanks for sharing it! Off to look at some more of your recipes~
Bree says
I made this buttermilk following your directions and my first pint jar turned out awesome – just like your photo and delicious. I was hoping that you might help me figure out what went wrong when I tried to use my homemade buttermilk as a starter for my next jar. It just didn’t combine. It sort of reminded me or sour milk the way it was curdly and runny. Any ideas? I put it back in my fridge in hopes that I could still save it if there is a chance!
jenny vega says
i made my own cultured buttermilk. i didnt find the way to do it here until today. i used a different ladys way of doing it. She had me fill my pint jar with cream, then add 2 tbsp of clabbered milk to it. then let sit out. She then said that you can scrape off the top solid stuff and use for butter and the rest is the buttermilk. in my jar the finished product was as she described. the top was pretty solid, the middle was whey and the bottom looked like your picture. i scrapped off the top and made butter (of course i had to add cream), then i mixed the rest together. is this right? i’m hoping this is cultured buttermilk and not a waste. thanks so much
RALPH LANDRESS says
BUTTERMILK AND CORNBREAD (MADE WITH BUTTERMILK,CORNMEAL AND OTHER INGREDIENTS)IS A REAL TREAT FOR BUTTERMILK LOVERS.
Bethann says
I do not have buttermilk on hand to use as a starter. I do have raw milk. I also have this product, but am unsure if it will start a batch right?
http://sacofoods.com/products/view/cultured-buttermilk
Anyway, I tried. I just have a cup in my fridge now until I figure it out. 4 TB of the stuff added to 1 cup raw milk. Another site said it wasn’t what you really wanted.
Something else I would love to do: culture my own. But how? There’s so much on the web that I get all confused and dunno what to try. I hate to waste my milk! It’s gold! I have a half gallon in the crock pot to do yogurt now, 1 cup of cream in a jar to sour, and had 1 cup I was going to make butter with. Disaster today with that! My food processor ran forever and: nada. After 20 min. I just put it in the fridge. I have made it before with success. I have no idea why it didn’t work this time. Wierd.
Harold says
Just to reiterate, when you buy the store bought stuff it has to say on the bottle “cultured buttermilk” or it won’t work. I also heard that sour cream is from the same culture strain.
As for the contamination fear, Be sure that the container is super clean before starting. You can pasteurize your store bought sweet milk to a temp of 180 degrees and then let it cool to 80 to 90 degrees and then add your “starter” If the milk is too hot it will kill your starter.
I used to work for a milk bottling plant and we added salt to the mix, since making my own I often wonder why we added salt, It tastes good without it.
Nate says
Hi all, Just a quick question. I tried my culturing my first buttermilk and used whole milk, pasteurized, non-homogenized. It’s pretty thick stuff and still has a lot of cream in it. At 19 hrs I check the milk and its thick, tangy, smells almost cheese like. It seems to be thicker than what is pictured here and is just a little thinner than store bought yogurt, is this normal? Did i leave it too long? Or would the high cream content cause this?
Rebecca says
Nate- That’s pretty normal! The high cream content does create a much thicker end product.
Connie- No. It doesn’t matter! I’m so glad you’re along for the ride.
Harold- Thank you muchly! You said it better than I could’ve. Just be sure your jar is sterile and if you’re concerned pasteurize the milk.
I’ll get back to everyone else, soon! It’s been nutty nuts here lately… I haven’t forgotten you all. 🙂
Lisa says
Glad Nate asked that question. I made buttermilk with a culture I purchased from amazon and used whole milk that I spiked with heavy cream and ended up with some seriously think yogurt type of stuff. next time I will use straight up whole milk and leave it on the counter. will it work if I put it in my yogurt maker as well or will that get too warm do you think?
Thanks for your time and for sharing the recipe. 🙂
Rebecca says
Thank you for checking in, Lisa. I’m not sure whether the yogurt maker will help or hinder you, not knowing your usual ambient temp in the room vs. your yogurt maker’s temp. I’d love to hear your results if you play around with it, though!
Tom from CO. says
I have been making butter milk like this for a few years I use mine in my sour dough starter. I just use a quarter cup and 1 qt Canning jar. mix he butter milk in with the whole milk shake it and put it in the pantry overnight in the winter because of the coolness I sometime have to go longer. One other thing is before using you may have to stir it as the milk seems to get some fat globs (from the cream) on my sourdough my starter is about a year old. I feed it 1/4 cup flour and 1/4 buttermilk and it is pretty thick. You can thin it out by adding more milk if desired. Also note some site say to use water and you can do that too buttermilk gives it a more tangy flavor.
Rebecca says
That’s a great idea, Tom! Thank you!
Connie says
Hi Rebecca, I also love buttermilk and use it all the time. Does it matter what type of buttermilk you use? Lowfat or whole? I also read your story on the durian. I never laughed so hard. I had tears in my eyes. Thanks for a great story, recipes and blog.
Bryan says
I have been enjoying reading your blog posts. You have quite a few interesting recipes I would like to try. I do have a concern with this one, though. If the buttermilk ever gets a bad bacteria in it, it will never be killed. It will continually grow and move from batch to batch through your culture seed. I understand that its not a guarantee that you will get sick, but its high risk. For anyone else concerned about safety, be sure to warm the batch up enough to pasteurize it before moving to the next batch (don’t overcook though!). That way you wont contaminate your future batches. This is the way yogurt is typically done..
Jacki says
Pasteurizing after you culture will kill the good bacteria too. If you pasteurize you won’t be able to use any of the buttermilk as a starter culture for the next batch.
Another Laura says
I stumbled across this thanks to the wonders of Google…
I have been searching high and low to try and find away to make buttermilk at home, from raw milk WITHOUT the use of a store-bought starter. Every recipe I can find says: “Raw milk buttermilk!!” and then proceeds with directions to add an amount of store-bought (read: pasteurized!) buttermilk as a starter. Can you say frustrating?
So…your recipe says “home cultured” and I’m just wondered…do you mean home-cultured as-in “not using a store bought for starter”? And if so, would you share? 🙂
Brenda says
Thank you for the recipe. I have been looking for a simple 1 2 3 recipe.
Also thanks for the great recipe ideas I want to give them a try.
Keep on Cooking,
-Brenda
Laura says
We have been drinking raw milk for ages but I am still trying to learn to work with it beyond just drinking it. I hate that I didn’t grow up in the kitchen with some wonderful farm wife so I’d just know all the things I want to know…. I do make yogurt, so that I can do, and I’ve done butter.
So my questions:
-Sometime we drink all our milk, sometimes we don’t. Is it better when making butter, yogurt, buttermilk, etc to use the milk at it’s freshest? B/c I sometimes don’t know until the end of the week that I’ll have extra.
-How would I make home cultured buttermilk? Buy starter and go from there?
-If a baking recipe calls for milk, can I always sub buttermilk? If so, are the proportions the same? Do I also need to adjust the baking soda, baking powder or yeast???
Thanks in advance. So glad to have found this!
Laura
Nan Kutty says
“you re-culture this regularly, you can carry on re-culturing indefinitely.” This is very true. In India, they have been re-culturing yogurt and buttermilk for more than 3,000 years! In my own family, we have a 40-year uninterrupted line of yogurt!
Teresa says
Awesome!
Eleanor says
That’s amazing. Love that!
Betsy says
Oh man, I know I am missing something. Do I still have to go buy some buttermilk at the store to get started?
Carter says
This is wat I wanted to know
Robbie says
Hi all — I am a lifelong buttermilk fan, so am thrilled to find this site. I went hunting for how to make my own, as I always wish I had more than what I have. One great way to use it? In the blender with chunks of frozen ripe bananas or strawberries(or any other fruit, really), maybe a little honey or other sweetener. It is so refreshing — tastes kind of like liquid cheesecake, and makes a wonderful breakfast when the weather is hot.
Lisa says
I have to say that your site has really rocked my world. From finding out about the Artisan Bread in Five books (wow, who knew I could bake bread!) to this. I have made this twice now. The first time with skim milk, I wasn’t too pleased with the texture. It looked kind of seperated, not smooth. The second batch, I used 2% milk and got a much better result. I am totally hooked. What a great site. You are truely an inspiration!