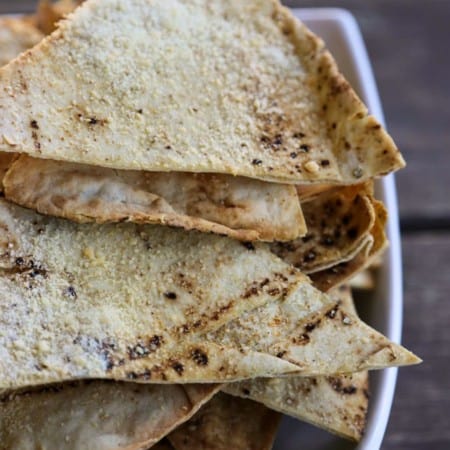
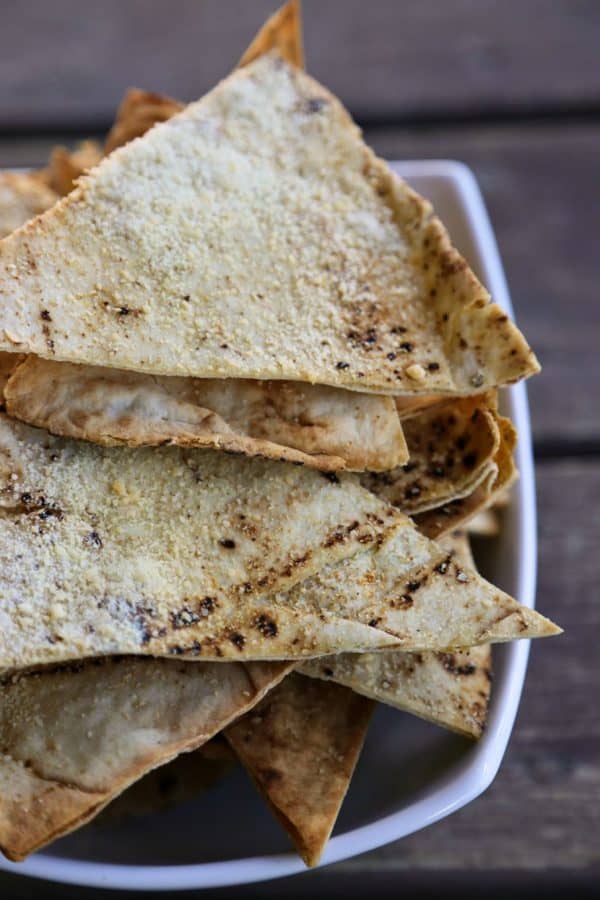
If it were possible to be a professional snacker, I would be the best in the world. I have a snacking system, people, and it’s foolproof. I always have couple of preferred snacks in rotation. There must be one that’s a little sweet, one that’s cold, one that’s full of protein, and one that’s crunchy. They can’t be random, though; they all have to play nicely together. For instance, my ultimate snack would be some fresh berries, a cold cucumber, some hummus, and this Homemade Garlic Parmesan Pita Chips recipe which stands as my favourite crunch right now.
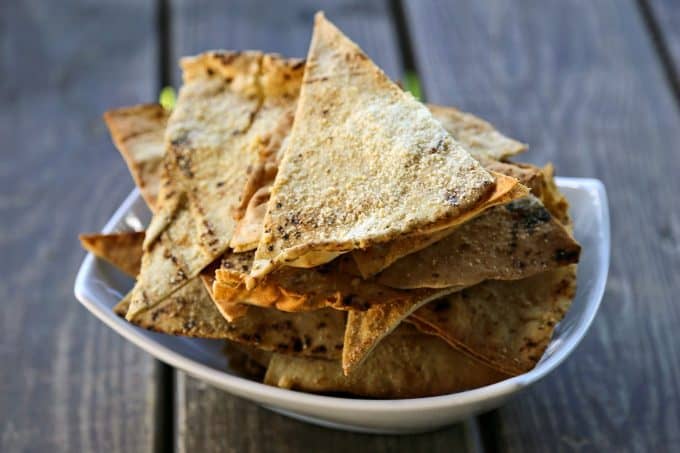
Pita chips at the store are fine and dandy, but our homemade Garlic Parmesan Pita Chips recipe turns out a chip that has a far superior texture to the ones that are made to stand up to jostling in an air filled bag on a supermarket shelf. That’s not to say that this homemade Garlic Parmesan Pita Chips recipe turns out chips that fall apart when you look at them, because it doesn’t. These chips hold up beautifully to the sturdiest dips I could find for dunking and dragging. What they don’t do is break your jaws when you crunch down on them like many commercially available pita chips.
While these homemade Garlic Parmesan Pita Chips are part of my midday snack rotation, they’re also magnificent when served as an appetizer or finger food along with wine or beer. And if you’re looking for a great fast crouton to add to salads (think Fattoush), look no further than the Homemade Garlic Parmesan Pita Chips recipe.
Cook’s Notes
for Homemade Garlic Parmesan Pita Chips Recipe
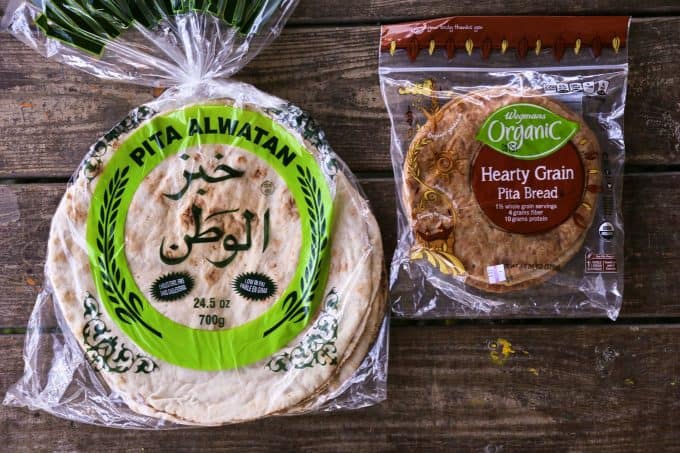
- The thickness and overall package weight of pita bread varies wildly. That’s fine, you don’t need to sweat the details on that. Just be sure to stack them up and slice them in half, then again into wedges.
- You may need to increase or decrease the cooking time based on the thickness of your pitas. If you have exceptionally thick pocket pitas like the ones on the right in the photo above, you may want to split them into two circular halves before cutting into wedges, otherwise your finished Homemade Garlic Parmesan Pita Chips recipe will yield extremely thick chips.
- You can certainly take the time to brush your pita bread wedges with extra virgin olive oil if you can’t locate spray extra virgin olive oil (or don’t have a suitable bottle to use to spray it), but I love this spray olive oil that is pure extra virgin olive oil without any weird aerosols or preservatives. I know some grocery stores carry it, but I purchase it through Amazon.com. Bonus: I can order it from my comfy chair without having to go out in public. Amazon.com: enabling cave trolls everywhere.
- If you’re a fan of garlic, be generous with the granulated garlic. It will be muted somewhat by the presence of the grated Parmesan.
- Since I brought up the garlic, I’ll explain why I use granulated garlic vs. garlic powder. Granulated garlic (available for purchase on Amazon and in many grocery stores) is a coarser grind making it easier to distribute evenly over items than garlic powder which is more flour-like and, well, powdery.
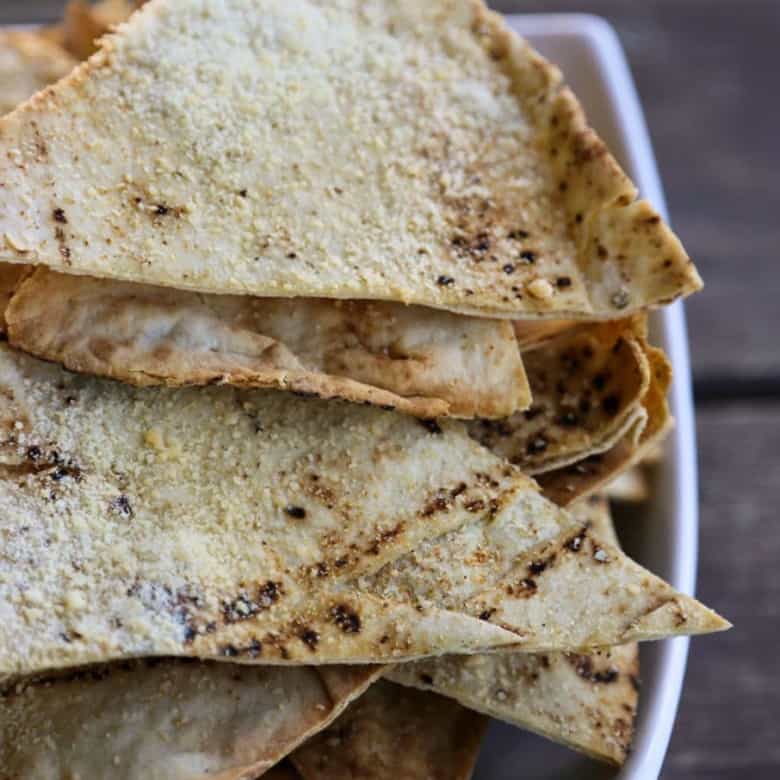
- Use a heavy hand with the grated Parmesan. This is a defining feature of the Homemade Garlic Parmesan Pita Chips recipe.
- Speaking of grated Parmesan, I know that I often caution against using the stuff in the green can with the shaker top saying “There’s a time and a place for it.” Guess what: THIS IS THE TIME AND PLACE FOR IT. Use it with wild abandon here! It does a perfect job of adhering to the chips where the higher end Parmesan cheese has a tendency to adhere mainly to itself and fall off when you start crunching into the chips.
- You’d do well to remember that the chips will continue to crisp up after being removed from the oven. Take the Homemade Garlic Parmesan Pita Chips recipe from the oven when they’re lightly browned and the Parmesan cheese is deep golden brown and they’re firm to the touch, if not totally crunchy. They will become harder as they return to room temperature. If you leave them in the oven until they’re crunchy, they’ll be borderline scorched and that does not make for happy snacking.
Connect with Foodie with Family
facebook | pinterest | instagram
Homemade Garlic Parmesan Pita Chips Recipe
Rate RecipeIngredients
- 1 package pita bread 13 to 25 ounces
- spray extra virgin olive oil
- grated Parmesan cheese
- granulated garlic
Optional:
- kosher or sea salt
Instructions
- Preheat oven to 350°F.
- Stack up the pita bread and cut into half, then cut each half into half and then half again, yielding a total of 8 stacks of wedges.
- Lay the wedges out in a single layer on a baking sheet and spray with extra virgin olive oil. Sprinkle generously with granulated garlic and grated Parmesan cheese. If desired, sprinkle lightly with kosher or sea salt. Bake for 10-16 minutes, checking frequently to make sure the pita is not darkening too much. Take the crisps from the oven when they are deep golden brown and the Parmesan cheese has toasted to golden brown. They will continue to crisp as they cool. Cool completely before transferring to an airtight container to store.
- Store at room temperature for up to 5 days. If they begin to soften, they can be re-crisped in a 350°F oven for a few minutes, or in a dehydrator.
Nutritional information is an estimate and provided to you as a courtesy. You should calculate the nutritional information with the actual ingredients used in your recipe using your preferred nutrition calculator.
did you make this recipe?
Make sure to tag @foodiewithfam on Instagram and #hashtag it #foodiewithfamily so I can check it out!


Reader's Thoughts...
Rie says
Not a “fan-of-the-can” BUT, if you say so, I’ll try it….This looks so good. AND economical.
Julie Swope says
I think snacking should be an Olympic sport. I could gold medal in that event (pretty much my only hope). I’m really into making my own chips and crackers because they taste so dang good. The end.
Susan says
I love the idea of having something like these chips to go with beer. Wish I’d had them while we were at the beach, because we discovered a little coffee/smoothie/wine/beer place that had a steal the glass beer event every Thursday, and we, being beer hounds, went for a beer snack every week…
Sammie says
Ooh yummy. My kind of flavours. Tried to Pin but Pinterest wasn’t having it! Will try again later. Sammie