Make restaurant worthy homemade gyro meat and gyros -flat breads filled to bursting with garlicky, herbed, crisped strips of Greek/Lebanese meatloaf in the comfort of your own home.
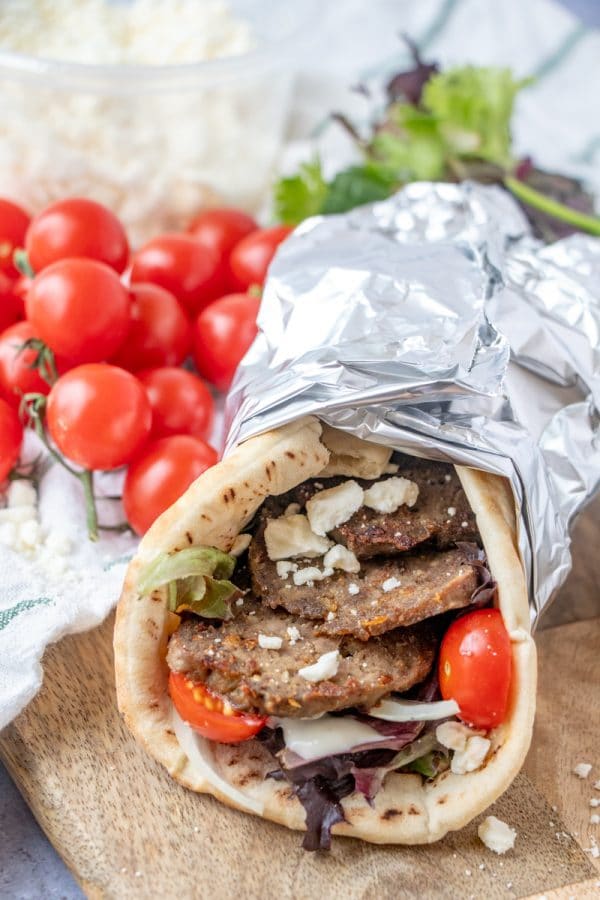
You know when you get stuck thinking about a certain food and that’s all you can think about eating? For example, take gyros. I drove to the city and went out for lunch at a Mediterranean eatery with my mom, one of my sisters, and my sister-in-law a couple weeks ago.
I ordered a lamb and beef gyro platter. My vegetarian mom and sister joked that I chose that so I wouldn’t have to share with them, and it turned out that my meat-eating sister-in-law had given up meat for Lent, so there I sat in front of a salad the size of my torso.
It was brimming with an enormous quantity of thin strips of crisped gyro meat. For one brief moment, I thought, “I will never be able to eat all of this.” Then I took a bite.
At that moment, gyro meat became my new obsession. I had NO problems at all finishing off the whole salad and generous portion of gyro meat.
It was crisp on the outside and full of garlic and herbs. I couldn’t get it out of my head the rest of that day or any other day afterward.
I kept talking about it to anyone who would listen. I mentioned it far too frequently to my husband. I certainly couldn’t and wouldn’t drive to the city every time I wanted one.
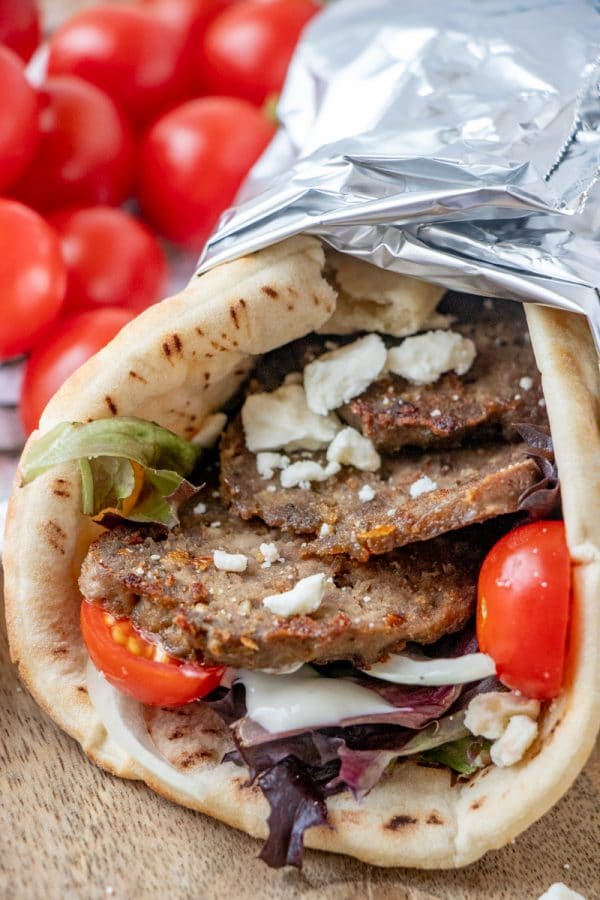
Homemade Gyros
That was out of the question. The only solution was to make homemade gyro meat and make it in vast enough quantities that I could convince myself I wouldn’t have to go without it ever again.
The process of creating a restaurant worthy homemade gyro meat version of this classic presented a couple of hurdles. I wanted to get that super fine, dense texture and keep it moist.
I bought lamb and beef, because I wanted my homemade gyro meat to match the gyros I had eaten. Then I combined them with goodly amounts of garlic and herbs.
The super fine texture was an easy, if weird fix… After letting the meats, garlic, and herbs rest in the refrigerator for a few hours to let the flavours mingle and marry, I put it through the food processor in batches, pulsing until the meat was a tacky, thick paste.
This I pressed down into loaf pans a little at a time to be sure I wasn’t leaving air pockets. I put the loaf pans in a larger roasting pan, poured boiling water in the outer roasting pan to come about two-thirds of the way up the sides of the loaf pans and popped it in the oven to cook for about an hour.
When the internal temperature of the loaves reached 165°F, I removed the loaf pans from the roasting pan, poured off all the excess fat that had built up around the loaves, then laid foil wrapped bricks directly on the surface of the meat – à la Alton Brown- to compress it into that super fine texture that I loved so much from the restaurant gyros.
I removed the bricks, then took the loaves from the pans, wrapped them tightly in plastic wrap, and refrigerated them until they were cool and firm. This was my key to getting the thin slices from the loaves.
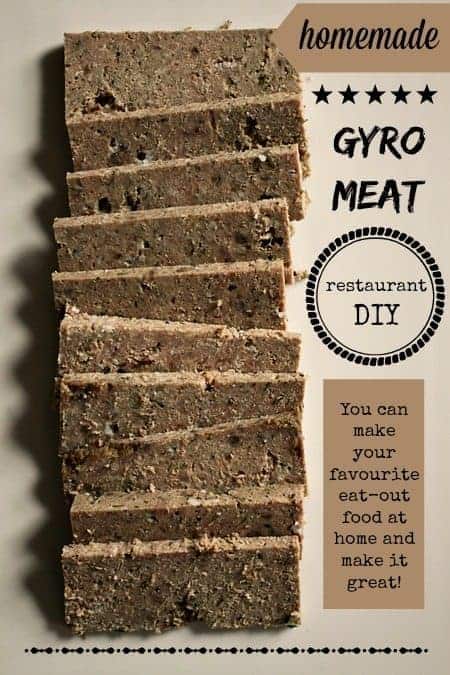
When it came time to eat (and that could NOT come soon enough), I cut thin strips of my homemade gyro meat, then browned them in a reasonable amount (okay, indecent amount) of ghee. The smell was driving me wild.
Garlicky, oniony, herbed, beef and lamb meatloaf crisping in what was essentially browned butter? Ugh. It’s making me crazy hungry just to think about it now.
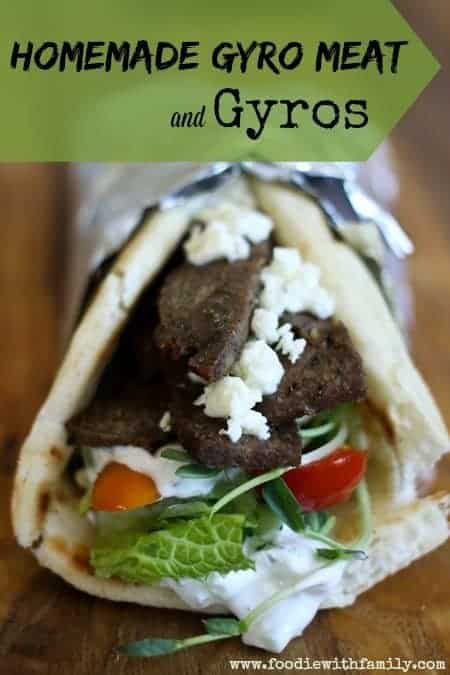
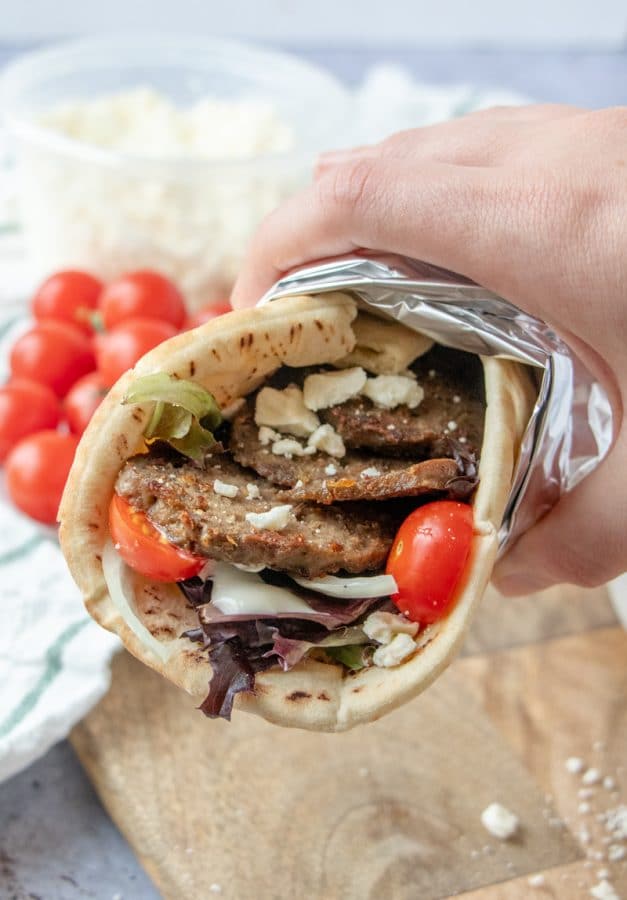
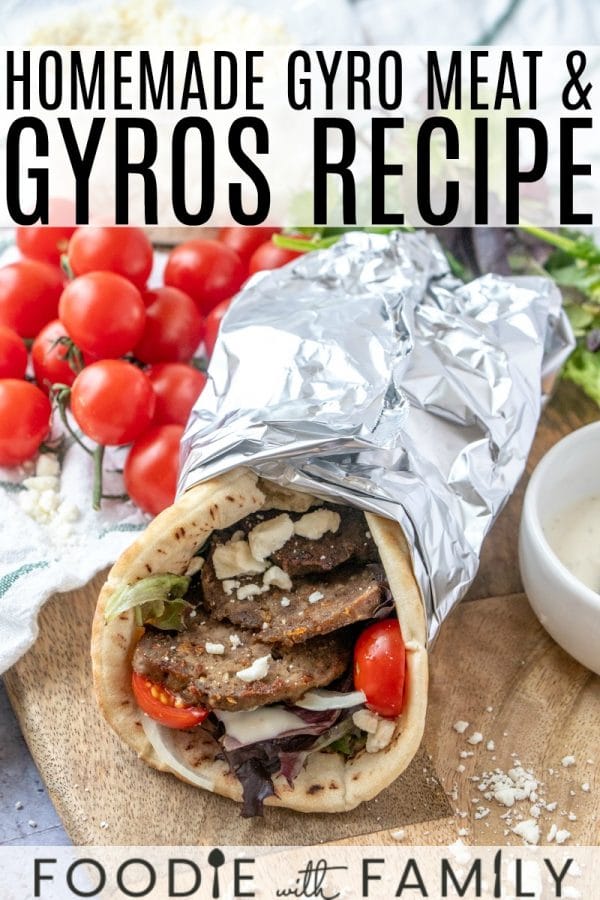
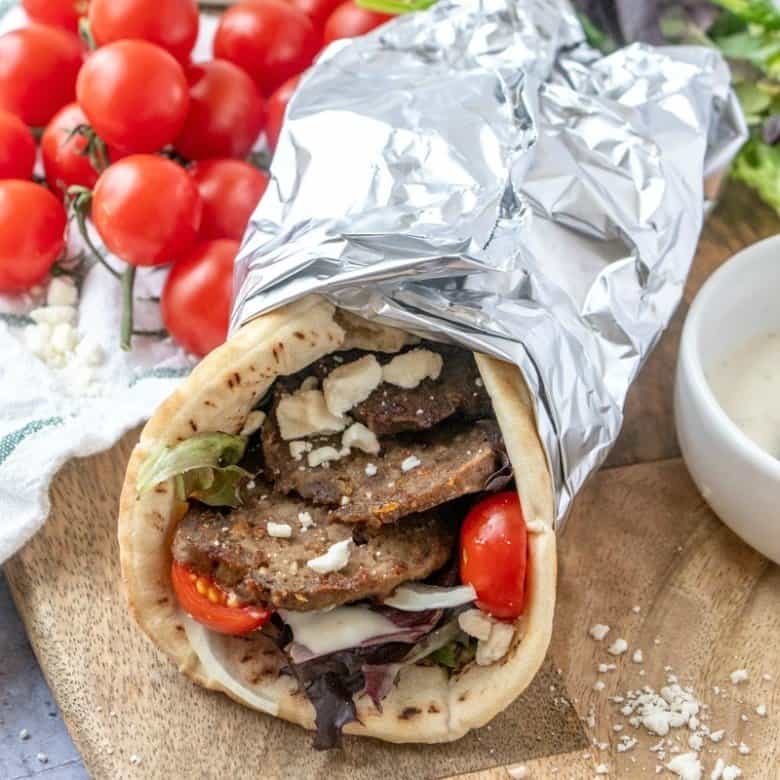
My house smelled like a Mediterranean eatery! The meat came out of the frying pan and was given a brief cool down rest before being piled into a flat-bread pita with some salad greens, chopped cherry tomatoes, sweet onion slices, cucumber yogurt sauce, crumbled Feta cheese, smashed Greek olives, and a drizzle of Greek dressing.
I folded it up, wrapped it in foil to keep all those mouthwatering components together and sunk my teeth into one of the best gyros I’ve ever had. I had done it.
With a little planning, I could have them whenever I wanted. As for the guys, they’re now just as obsessed as I am. They ask for the crispy meatloaf strips at regular intervals. I am more than happy to oblige.
Cook’s Notes:
-Do not be deterred by the length of time it takes to make homemade gyro meat. The majority of that time is “wait time” and the payoff is so enormously gratifying.
-It might seem fussy to chop the onion finely then squeeze it in a towel to remove excess moisture. This is, though, a big part of the final texture of the finished gyro loaf. Don’t skip it.
-You can choose to use all beef or all lamb. It will change the flavour and texture of the end product, of course. That’s okay if you prefer all one or the other!
-This recipe makes a large amount. You can certainly halve the quantities. Keep in mind that it’s a bit of a lengthy process to create this and it freezes well. Having a frozen gyro loaf at your beck and call is not a bad thing.
-You can opt to broil the thin strips of gyro meat until crispy, but I prefer the flavour of browning them in ghee (1st choice), butter (2nd choice), or olive oil (3rd choice).
-The foil wrapped bricks laid on top of the cooked loaves of homemade gyro meat are not absolutely crucial. They do go a long way to compressing the finished loaves into that fine, dense texture that is so prized in restaurant gyros, though.
Can’t find a brick or don’t want to bother? It’ll still be super tasty!
Gyro Recipe
To Make the Gyros:

Homemade Gyro Meat and Gyros
Rate RecipeIngredients
For the Gyro Meat:
- 2 pounds ground beef between 80/20 and 90/10
- 2 pounds ground lamb
- 1 large onion peeled and cut into 1-inch chunks
- 2 tablespoons minced garlic
- 1 tablespoon dried oregano
- 1 tablespoon dried thyme
- 2 1/2 teaspoons ground cumin
- 2 teaspoons kosher salt
- 2 teaspoons ground black pepper
- 1 teaspoon dried rosemary
For the Gyros:
- Gyro meat fully cooled
- ghee or extra virgin olive oil
- flatbread pitas
- mixed salad greens
- cucumber yogurt sauce
- halved cherry tomatoes or chopped large tomatoes
- thinly sliced sweet onions
- crumbled Feta cheese
- Optional but tasty: Greek dressing and chopped or smashed Greek olives
Instructions
To Make the Gyro Meat:
- Place the onion chunks in the food processor and blitz them until they are super finely chopped. Scrape into the center of a clean tea or flour sack towel, twist and squeeze it over the sink to remove any extra moisture. Use your hands to combine them with the remaining gyro meat ingredients. Cover with plastic wrap and let the mixture rest for at least 1 hour but up to overnight in the refrigerator.
- Preheat the oven to 325°F and bring a pot of water to a boil.
- Working in batches, pulse the meat mixture for a minute, or until it is a tacky, thick paste. Press it a little at a time into the loaf pans, taking care to eliminate any air pockets. You should have enough meat to fill 2 standard bread loaf pans. Press down firmly on the surface of the meat to even it out. Place a wet kitchen towel on the bottom of a large roasting pan and position the loaf pans on top of it. Pour the boiling water into the roasting pan. It should be 2/3 of the way up the outsides of the loaf pans. Carefully transfer the roasting pan into the oven and bake for 50-70 minutes, or until the meat measures 165°F on an instant read thermometer inserted into the center of the loaf.
- Carefully remove the loaf pans from the roasting pan and pour off any fat that accumulated. Put the loaf pan on a heat-proof surface (a cooling rack or a pan on top of the oven) and place a foil wrapped brick directly on the surface of the meat. Let the meat rest like this for 20 minutes. After 20 minutes, remove the brick, run a knife around the edge of the loaves, then gently turn the loaves out. Wrap them tightly with plastic wrap and chill for several hours or overnight to allow them to chill and firm for easier slicing.
To Make the Gyros:
- Unwrap the gyro loaf and use a sharp knife to cut long strips no thicker than 1/4-inch. Melt at least 2 teaspoons of ghee or olive oil over medium heat in a heavy-bottomed frying pan. Lay the strips down into the ghee or olive oil and fry for at least 1 1/2 minutes on each side, using tongs or a small flexible spatula to flip them, or until they are crisped and browned to your liking. Gently transfer them to a plate to cool briefly, then assemble in your preferred order with the remaining gyro ingredients on a gently warmed flat-bread pita. Fold, wrap in foil to help hold it together, and dig in!
Video
Nutrition
Nutritional information is an estimate and provided to you as a courtesy. You should calculate the nutritional information with the actual ingredients used in your recipe using your preferred nutrition calculator.
did you make this recipe?
Make sure to tag @foodiewithfam on Instagram and #hashtag it #foodiewithfamily so I can check it out!
Do you love this Homemade Gyro Meat recipe? You might dig these, too.
- Greek Salad Gyro Salad Plate
- Greek Dressing
- Cardamom Pistachio Baklava
- Greek Tzatziki Dip
- Greek Stuffed Sweet Potatoes
- Greek Chicken Pasta Skillet
This recipe for Homemade Gyros was originally published March 2014, updated April 2019 with video and improved notes.


Reader's Thoughts...
Rachel G says
Was this supposed to have marjoram?? I made a halved version of this and it’s good, but has an Italian meatball flavor. Then I cross referenced some other recipes, and they all called for marjoram. Maybe that’s what I felt like it was missing? Definitely wasn’t distinctly gyro tasting to me, but had a good texture.
Russ says
Looks good! This will be my next sausage recipe. I grew up in the Chicago area and miss gyros. Kronos was the brand. Looking forward to it!
Rebecca says
Excellent, Russ! I hope you enjoy it as much as I do!
Suzanne Hager says
What’s the purpose of cooking it in a water bath?
Rebecca says
Hi Suzanne- This is a great question. The reason it’s cooked in a water bath is that we want to keep from getting crispy edges on the gyro loaf. The water bath makes the heat more even and gentle. The crispy bits come later when we slice it very thin and pan fry it. 🙂
Tiffany says
I was wondering the exact same thing! Never heard of that before, but it makes sense.
Suzanne says
I’ve made this several times, it always comes out perfect. I typically serve it buffet style, with veggies, feta, tzaziki, and pita so everyone can build their own salad or sandwich. Add hummus, olives and stuffed grape leaves for a great party.
Rebecca says
Thanks for the amazing review, Suzanne! I love the idea of serving it buffet style!
Matt says
Followed the instructions to a T. Mighty tasty, the smell and texture are spot on using ground lamb and hamburger and olive oil to brown, I’ll be looking to try Ghee next! One question, compared to the local gyro’s that remind me most of Greece, the only real difference I noticed in the first batch is that the flavors I’m smelling aren’t as strong when biting in. If I want more of that ‘pop’ of flavor, would I tinker with increasing the spices? Seriously, that smell makes my mouth water. I feel like I’m on the precipice of going from very very good to absolutely amazing.
Rebecca says
Absolutely, Matt! Up those ingredients a bit at a time until you find what you love here!
Michelle says
Making this for tomorrow night. My husband requested Greek food and this is befitting recipe. Thanks for all the advice on the details for perfection. Will let you know how it goes!
M~
Barb Cook says
I am not able to sign up for your newsletter. I get an invalid certificate error and can go no further. Your site and recipes look very good and I’m very disappointed.
Rebecca says
Hi Barb- I’m so glad you let me know! I am trying to fix this right now and will let you know as soon as I can fix it!
TGugs says
I too love the Gyro. But I thought a “Ghee” was something worn in a karate studio…..
Rebecca says
Close, TGugs, but that’s a gi!
TGugs says
Thank you for correcting my ignornance. What is a ghee. A version of olive oil?
TGugs says
Clarified butter….
Rebecca says
No problemo! Ghee is (as you answered yourself) clarified butter. It has a higher smoke point than regular butter.
Nazty says
Lord have mercy on my stomach!!! This is the best dang recipe for home made gyros ever!!!! The only difference is I use a soda or beer can wrapped in aluminum to bake the meat vertical. And slice it like the restaurant does and heat on the grill!!!! Thank you for this recipe!!!!!!!
Kris says
Seriously…
Good!
Rebecca says
*virtual high five!*
Mitch Frank says
I just put the loaf together. I added 1 1/2 cups of breadcrumbs and 1 tbsp. of Marjoram as well. It’s recommended to use around 1/2 cup of breadcrumbs per pound of meat for using them to help hold things together in most other recipes that call for them. However, I think that with the “smooshing”, tackyness and refrigeration of the meat, it probably doesn’t need that much. So, I thought maybe half of the amount to 3/4 should do it. I’m a die-hard gyro fan. Thankfully, there’s a mom and pop gyro joint a few blocks away, but I wanted to learn how to make my own. I still have another day until I’m able to make it, but I’ll let you know how it turns out. Thank you so much for this recipe!! You are awesome!
Stevie says
This recipe looks amazing!! My only question is, well, would you have any creative suggestions in place of bricks to place on the loafs? I live in an apartment complex, and I think 2 bricks would be hard to come by. I’m not sure hardware stores sell them in such low quantities haha
Rebecca says
Hey Stevie- Believe it or not, I only purchased 4 bricks. It’s not as hard as you think 😀 I honestly think they’re the least expensive, most safe option out there. I guess if you’re really up against it, you could nest another bread pan in on top of it and fill it with rocks. 😀
Kat says
When can I freeze the loaf? Before or after cooking it?
Rebecca says
Hi Kat! Definitely freeze it after!
Timothy Ivers says
Ok, I finally got around to making this and ITS DELICIOUS! I added breadcrumbs and the marjoram. Perfect! It’s going to be a staple!
Rebecca says
Rock on, Timothy! I’m glad you liked it!
April says
Just made this recipe & it does the trick! I cheated a bit & used granulated onion instead of fresh (2T) & the flavor & texture were fabulous still. I marinated it for a shorter time (almost an hour) & after cooking & resting 20 min I threw it in the freezer for 20 minutes then the fridge so we could eat it sooner. I’ve never followed the directions exactly but my cheater way was incredible in case you are as lazy as me.
Rebecca says
Thanks for the feedback! I am glad you liked it!
Carroll says
I made this – quite delicious and it does approximate the Gyro experience quite well.
Recipe modifications:
Cannot get ground lamb in my area; little lamb chops bone-in are $25.00 a pound. I halved the recipe and used 2 lbs 80/20 hamburger. Don’t like black pepper or rosemary, omitted them.
Process modifications:
You should process the portions of spiced meat mixture in the food processor until the meat starts to clump; it will get off like a badly loaded washer. You can stop processing then. I used a [clean] antique cast iron flat iron to press the meat into the loaf pans. Instead of a foil wrapped brick I used another loaf pan with a 10 lb iron mallet head in it – be creative. It squeezed quite a bit more grease out of the loaf as well. I let it cool completely under pressure (about 1.5 hours) before I wrapped and chilled. Used a french ‘gauge stopped’ serrated bread knife to cut evenly thin slices. Also cooled and strained the ‘grease’ into a jar and refrigerated. The fat congealed to the top, and the other two thirds is lean, seasoned, beef broth which is useful for many purposes.
– Carroll (but not a girls name in this instance)
Rebecca says
Well, that is getting creative to get it done! My food processor handled the meat in one batch quite well, but it is large and heavy duty, so that feedback is great in case someone has a less burly or smaller food processor.
Carroll says
Thanks. Actually the knife I used is made in Italy, not France.
MONTANA Inox Sandvik Adjustable Thickness Bread Slicing Knife 9″ Blade ITALY
And I omitted the towel in the roasting pan – I didn’t understand the purpose of that.
Rebecca says
The towel in the pan helps hold the pans in place. They don’t slide around as much while moving and it holds them suspended from the bottom of the pan, keeping the heat more even around the edges and bottom. 😀
Amanda R Swenty says
Was pretty dry what grade/type of ground beef do you use
Rebecca says
With all beef, I go 80/20, but when I combine it with lamb, I tend to go 85/15.
Prissy says
OMG, its in the oven now and smells like a Persian restaurant. The cuke sauce is a keeper too. I love your blog and saved it in my bookmarks for future recipes. !لذت بردن
Rebecca says
Thank you so much, Prissy! You are so kind and I’m so pleased it worked well for you!
Jennifer says
I want to make this TODAY! SOUNDS AMAZING!!! One quick question- can it be cooked in a rotisserie? I have one, but don’t know at what point to use it since you obviously can’t put bricks on it with this method.
Rebecca says
Hi Jennifer- I have never tried cooking one in a rotisserie as I don’t have one. The recipe is designed to be done compressed in the loaf pan. If you try it on the rotisserie, I would LOVE to hear your results!
Mag says
Growing up in Sydney in the late 70’s and 80’s I just about lived on shwarma/gyro. There they were huge being made with the large Lebanese pita bread which is different in consistency as well from alot of the American pita bread. When we moved to the US in 90 it was disappointing that you could only rarely find a gyro. In Sydney shwarma is on just about every corner along with meat pies. This recipe does look good but it’s not cheap. It’s probably about $30 just for the meat as lamb costs a fortune here in LA. That was a shock for me as well. In Sydney lamb was the poor persons meat when I was growing up. Here it’s like damn gold. I’d love to try your recipe but just can’t afford it unfortunately. I miss being able to get shwarma anytime cheaply.
Carolyn says
Thank you sooo much for this my family are both of the loafs and we are making it again two weeks later. So worth the time it takes!
Carolyn says
*Ate not are sorry