Make restaurant worthy homemade gyro meat and gyros -flat breads filled to bursting with garlicky, herbed, crisped strips of Greek/Lebanese meatloaf in the comfort of your own home.
You know when you get stuck thinking about a certain food and that’s all you can think about eating? For example, take gyros. I drove to the city and went out for lunch at a Mediterranean eatery with my mom, one of my sisters, and my sister-in-law a couple weeks ago.
I ordered a lamb and beef gyro platter. My vegetarian mom and sister joked that I chose that so I wouldn’t have to share with them, and it turned out that my meat-eating sister-in-law had given up meat for Lent, so there I sat in front of a salad the size of my torso.
It was brimming with an enormous quantity of thin strips of crisped gyro meat. For one brief moment, I thought, “I will never be able to eat all of this.” Then I took a bite.
At that moment, gyro meat became my new obsession. I had NO problems at all finishing off the whole salad and generous portion of gyro meat.
It was crisp on the outside and full of garlic and herbs. I couldn’t get it out of my head the rest of that day or any other day afterward.
I kept talking about it to anyone who would listen. I mentioned it far too frequently to my husband. I certainly couldn’t and wouldn’t drive to the city every time I wanted one.
Homemade Gyros
That was out of the question. The only solution was to make homemade gyro meat and make it in vast enough quantities that I could convince myself I wouldn’t have to go without it ever again.
The process of creating a restaurant worthy homemade gyro meat version of this classic presented a couple of hurdles. I wanted to get that super fine, dense texture and keep it moist.
I bought lamb and beef, because I wanted my homemade gyro meat to match the gyros I had eaten. Then I combined them with goodly amounts of garlic and herbs.
The super fine texture was an easy, if weird fix… After letting the meats, garlic, and herbs rest in the refrigerator for a few hours to let the flavours mingle and marry, I put it through the food processor in batches, pulsing until the meat was a tacky, thick paste.
This I pressed down into loaf pans a little at a time to be sure I wasn’t leaving air pockets. I put the loaf pans in a larger roasting pan, poured boiling water in the outer roasting pan to come about two-thirds of the way up the sides of the loaf pans and popped it in the oven to cook for about an hour.
When the internal temperature of the loaves reached 165°F, I removed the loaf pans from the roasting pan, poured off all the excess fat that had built up around the loaves, then laid foil wrapped bricks directly on the surface of the meat – à la Alton Brown- to compress it into that super fine texture that I loved so much from the restaurant gyros.
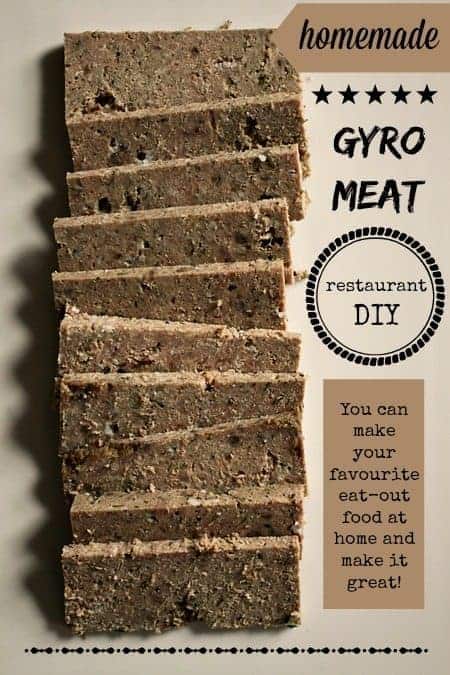
I removed the bricks, then took the loaves from the pans, wrapped them tightly in plastic wrap, and refrigerated them until they were cool and firm. This was my key to getting the thin slices from the loaves.
When it came time to eat (and that could NOT come soon enough), I cut thin strips of my homemade gyro meat, then browned them in a reasonable amount (okay, indecent amount) of ghee. The smell was driving me wild.
Garlicky, oniony, herbed, beef and lamb meatloaf crisping in what was essentially browned butter? Ugh. It’s making me crazy hungry just to think about it now.
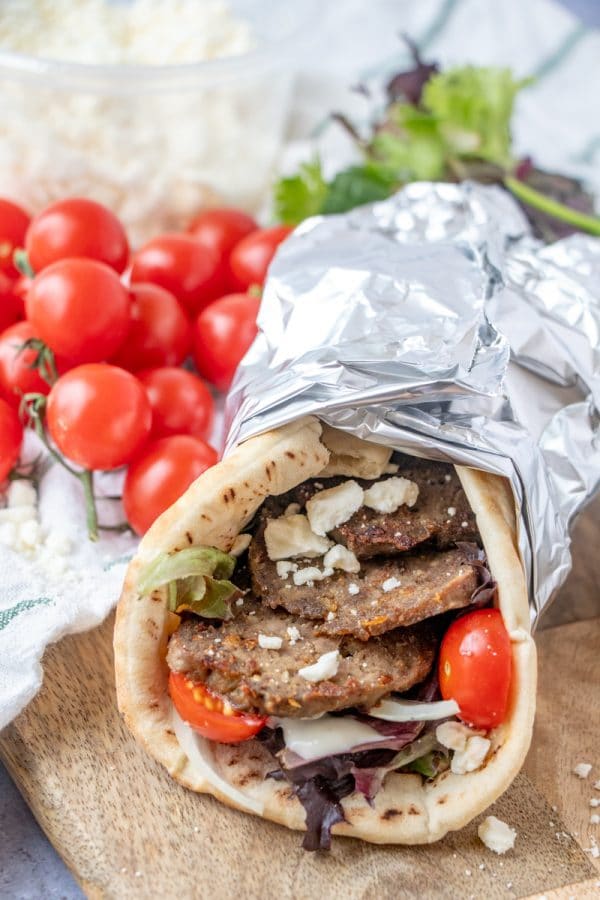
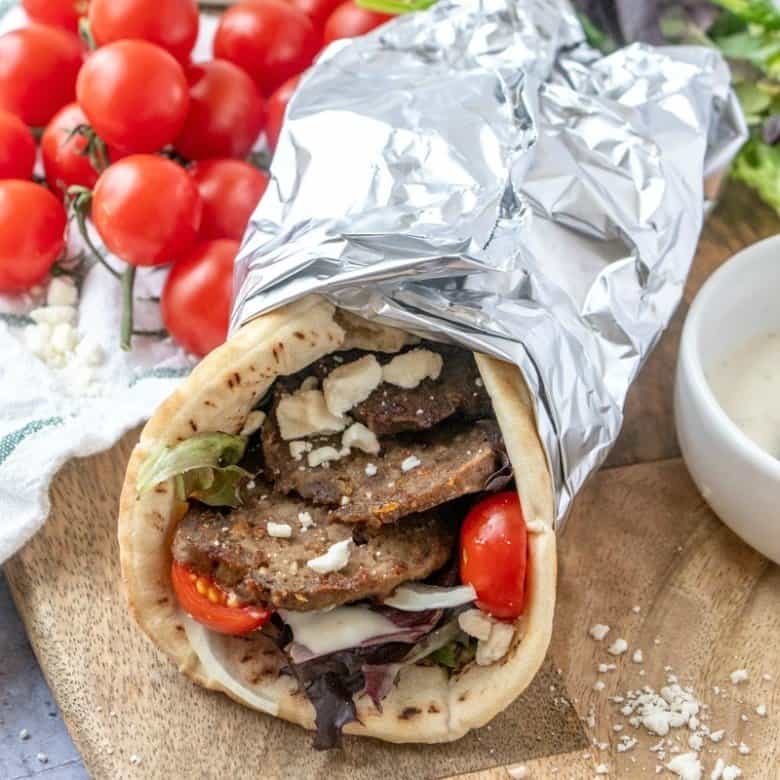
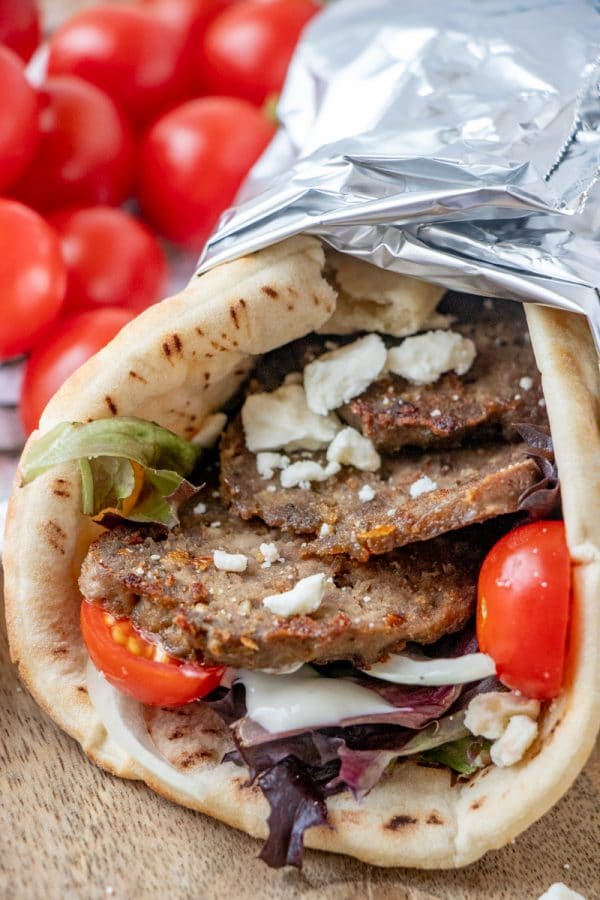
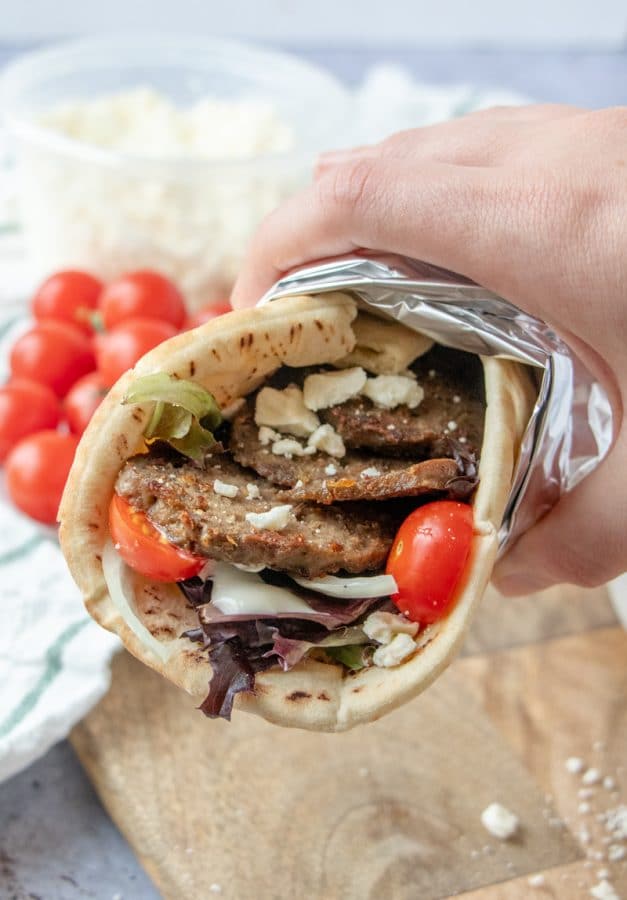
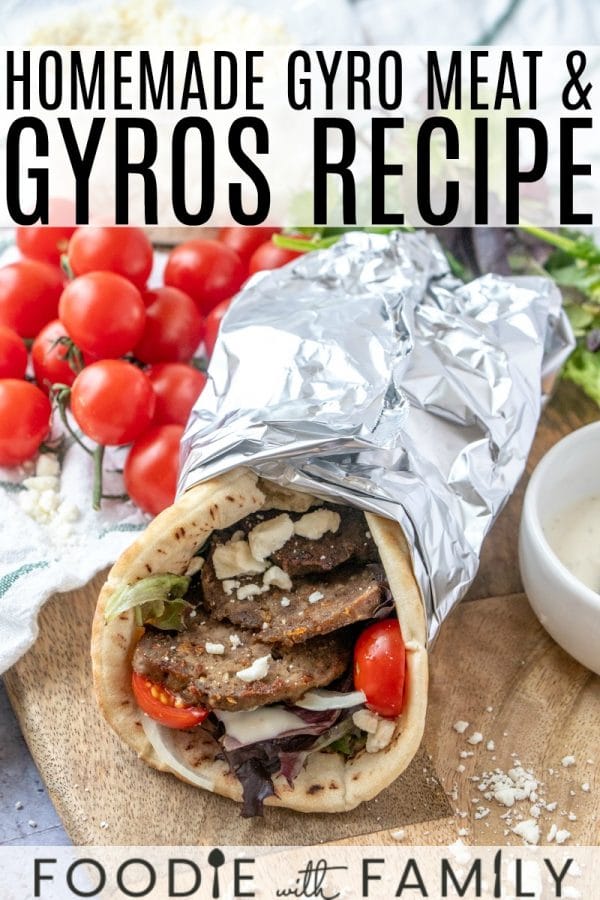
My house smelled like a Mediterranean eatery! The meat came out of the frying pan and was given a brief cool down rest before being piled into a flat-bread pita with some salad greens, chopped cherry tomatoes, sweet onion slices, cucumber yogurt sauce, crumbled Feta cheese, smashed Greek olives, and a drizzle of Greek dressing.
I folded it up, wrapped it in foil to keep all those mouthwatering components together and sunk my teeth into one of the best gyros I’ve ever had. I had done it.
With a little planning, I could have them whenever I wanted. As for the guys, they’re now just as obsessed as I am. They ask for the crispy meatloaf strips at regular intervals. I am more than happy to oblige.
Cook’s Notes:
-Do not be deterred by the length of time it takes to make homemade gyro meat. The majority of that time is “wait time” and the payoff is so enormously gratifying.
-It might seem fussy to chop the onion finely then squeeze it in a towel to remove excess moisture. This is, though, a big part of the final texture of the finished gyro loaf. Don’t skip it.
-You can choose to use all beef or all lamb. It will change the flavour and texture of the end product, of course. That’s okay if you prefer all one or the other!
-This recipe makes a large amount. You can certainly halve the quantities. Keep in mind that it’s a bit of a lengthy process to create this and it freezes well. Having a frozen gyro loaf at your beck and call is not a bad thing.
-You can opt to broil the thin strips of gyro meat until crispy, but I prefer the flavour of browning them in ghee (1st choice), butter (2nd choice), or olive oil (3rd choice).
-The foil wrapped bricks laid on top of the cooked loaves of homemade gyro meat are not absolutely crucial. They do go a long way to compressing the finished loaves into that fine, dense texture that is so prized in restaurant gyros, though.
Can’t find a brick or don’t want to bother? It’ll still be super tasty!
Gyro Recipe
To Make the Gyros:

Homemade Gyro Meat and Gyros
Rate RecipeIngredients
For the Gyro Meat:
- 2 pounds ground beef between 80/20 and 90/10
- 2 pounds ground lamb
- 1 large onion peeled and cut into 1-inch chunks
- 2 tablespoons minced garlic
- 1 tablespoon dried oregano
- 1 tablespoon dried thyme
- 2 1/2 teaspoons ground cumin
- 2 teaspoons kosher salt
- 2 teaspoons ground black pepper
- 1 teaspoon dried rosemary
For the Gyros:
- Gyro meat fully cooled
- ghee or extra virgin olive oil
- flatbread pitas
- mixed salad greens
- cucumber yogurt sauce
- halved cherry tomatoes or chopped large tomatoes
- thinly sliced sweet onions
- crumbled Feta cheese
- Optional but tasty: Greek dressing and chopped or smashed Greek olives
Instructions
To Make the Gyro Meat:
- Place the onion chunks in the food processor and blitz them until they are super finely chopped. Scrape into the center of a clean tea or flour sack towel, twist and squeeze it over the sink to remove any extra moisture. Use your hands to combine them with the remaining gyro meat ingredients. Cover with plastic wrap and let the mixture rest for at least 1 hour but up to overnight in the refrigerator.
- Preheat the oven to 325°F and bring a pot of water to a boil.
- Working in batches, pulse the meat mixture for a minute, or until it is a tacky, thick paste. Press it a little at a time into the loaf pans, taking care to eliminate any air pockets. You should have enough meat to fill 2 standard bread loaf pans. Press down firmly on the surface of the meat to even it out. Place a wet kitchen towel on the bottom of a large roasting pan and position the loaf pans on top of it. Pour the boiling water into the roasting pan. It should be 2/3 of the way up the outsides of the loaf pans. Carefully transfer the roasting pan into the oven and bake for 50-70 minutes, or until the meat measures 165°F on an instant read thermometer inserted into the center of the loaf.
- Carefully remove the loaf pans from the roasting pan and pour off any fat that accumulated. Put the loaf pan on a heat-proof surface (a cooling rack or a pan on top of the oven) and place a foil wrapped brick directly on the surface of the meat. Let the meat rest like this for 20 minutes. After 20 minutes, remove the brick, run a knife around the edge of the loaves, then gently turn the loaves out. Wrap them tightly with plastic wrap and chill for several hours or overnight to allow them to chill and firm for easier slicing.
To Make the Gyros:
- Unwrap the gyro loaf and use a sharp knife to cut long strips no thicker than 1/4-inch. Melt at least 2 teaspoons of ghee or olive oil over medium heat in a heavy-bottomed frying pan. Lay the strips down into the ghee or olive oil and fry for at least 1 1/2 minutes on each side, using tongs or a small flexible spatula to flip them, or until they are crisped and browned to your liking. Gently transfer them to a plate to cool briefly, then assemble in your preferred order with the remaining gyro ingredients on a gently warmed flat-bread pita. Fold, wrap in foil to help hold it together, and dig in!
Nutrition
Nutritional information is an estimate and provided to you as a courtesy. You should calculate the nutritional information with the actual ingredients used in your recipe using your preferred nutrition calculator.
did you make this recipe?
Make sure to tag @foodiewithfam on Instagram and #hashtag it #foodiewithfamily so I can check it out!
Do you love this Homemade Gyro Meat recipe? You might dig these, too.
- Greek Salad Gyro Salad Plate
- Greek Dressing
- Cardamom Pistachio Baklava
- Greek Tzatziki Dip
- Greek Stuffed Sweet Potatoes
- Greek Chicken Pasta Skillet
This recipe for Homemade Gyros was originally published March 2014, updated April 2019 with video and improved notes.




Reader's Thoughts...
Melanie B. says
Family loves it!
Rebecca says
Thanks for taking the time to rate the recipe and let me know you love it, Melanie B!
Julie Roberts says
I make this recipe for the first time, waiting to do so until I had a garden full of tomatoes and cucumbers. It is just excellent! I can’t get lamb in my rural area, so substituted ground pork. The flavor and texture are just so good! It makes enough to put some in the freezer for later. Served it on homemade Naan flatbreads. The recipe and directions were very easy to follow.
Rebecca says
I’m so glad you love it, Julie! Thank you for taking the time to let us know it worked so well for you!
Victoria says
I bookmarked this recipe as I saw a similar one (a lot easier though which made me question the flavor). I decided to try it and noted that it really needs to be made the day before, which is totally fine. Running out to get the ingredients as I’m hoping this is a delicious as everyone says. There are only 2 of us, but I could eat gyros everyday if I could, so I’m making the full recipe knowing it can be frozen. Thank you for the full instructions and I’ve got my husband grabbing a couple bricks for me to clean and wrap up. Can’t wait to make this for dinner tomorrow. As for everyone barking about the timing? Why does no one read a recipe first from beginning to end? Okay, off to the store to gather ingredients.
Rebecca says
Hi Victoria! Thanks so much for taking the time to let me know you’re into this recipe! Please check back in after you make it and let me know how it goes for you!
Cathy says
Je suis vraiment nulle en cuisine et j’ai décider d’arrêter le fast food. J’adore les gyros et je n’aurais jamais pu croire que je serais capable d’en faire !! Le résultat n’est pas très beau mais wow que c’est bon. Je vous remercie d’avoir partager cette recette elle est longue certes j’ai pu écouter la tv en attendant je ne suis pas à plaindre merci
Rebecca says
Merci beaucoup Cathy! Cela me fait plaisir d’entendre parler de votre succès avec ma recette. Je suis sûr que ce sera le premier d’une longue série. Bonne cuisine!
Stanley M Weinberg says
Great recipe and easily customizable. I added zaatar and extra garlic ie.. I halved the recipe and now have the fixins for 7 or 8 gyros in the freezer. This is as good as any gyro I’ve had in 40 years. Highly recommend topping with tzatziki, onions, and tomatoes for the REAL gyro experience!
Rebecca says
Thanks so much for taking the time to come back and rate the recipe and let me know you love it, Stanley! I’m so glad you love it as much as we do!
Stanley Weinberg says
Sorry,, I’m making it now and I see rosemary at the recipe bottom. Will review later!
Rebecca says
Thanks so much, Stanley! I hope you love these gyros as much as we do!
Stanley M Weinberg says
Making Gyros was on my food bucket list. Your website seems so nice and also you respond to all comments which I think is lovely. I was wondering do you think maybe adding a little bit of Rosemary might add to the flavor? Thank you so much. You have a great blog
Megan says
Turned out great! I didn’t have a brick so I just used another loaf pan with heavy cans stacked inside of it to compress the meat. I also used an electric knife to get very thin slices, and the results were just like something I’d order at my local Greek restaurant.
The only adjustment I’d make next time is to use less cumin and more salt in the spice blend.
Rebecca says
Thanks so much for taking the time to rate the recipe and let us know you loved it, Megan! Thanks, too, for the great idea on the electric knife use!
Dean Aber says
It has been said before, but I will repeat that the times should be adjusted up. Step 1 should be 30 minutes by itself, and then there’s the hour or more of rest time. Steps 2 & 3 need another 30 minutes of prep time. This is a complex cooking arrangement. The cooking time should be upped. I had a well preheated oven that is accurate on temperatures, and full boiling water that filled the outer roaster to the same depth as the level of meat inside the pan. At 50 minutes the meat was under 140 degrees. I upped the oven temp to 350, turned on the convection fan and ran about 30 more minutes to get the meat to 165. The fat and liquid expelled caused the meat to completely pull away from the sides of the pan. To press I used an empty loaf pan with a gallon bottle of water on top. As I was cooking for that night’s meal, I had no time to chill and just sliced it hot. Somewhere in the summary of time all of these rest periods should be noted. It would also be valuable if the recipe summary strongly suggested starting the day before day of use. The product was delicious, I made a half recipe with no modifications. For a first time user, the recipe times are very misleading.
Spinning Grillers says
It appears to be exactly what I was looking for. This recipe is fantastic. I want to give it a shot and then tell you how it turned out. Thanks for sharing!
Rebecca says
I hope you love it as much as we do, Spinning Grillers! 🙂
Annoyed says
As I’m sitting here with a wet towel in a pan looking for a brink and my hungry family looking at me, I realized the HOUR AND TWENTY MINUTE listed total time is a lie. It’s assuming you have already man the loaf and need instructions on putting it on a pita bread. Thanks for that.
Rebecca says
Hey there. Did you read through the instructions completely before starting the recipe? It sounds like you did not. The 1 hour 20 minutes is the hands on and cook time combined.
dood says
Hi Rebecca – last comment for today I promise (but I will come back and let you know if I try the stand mixer version that I mentioned above).
While this person could have expressed themselves more politely, they are correct.
The 20 minutes rest period is an integral part of the recipe and should be included – but it wasn’t. That alone pushes the total time out to 1 hour and 40 minutes.
Additionally, your cook time calls for 50-70 minutes, which means total time is from 1 hour, 40 minutes, and up to as long as 2 hours total.
Thanks.
Marina Sagrero says
Hice está receta y le quedó delicioso!! 😁😁😁
Rebecca says
Gracias, Marina. xoxoxox
Serena R Casey says
I love this recipe. It’s my go to. I reccomend doubling all the herbs and a little extra salt and garlic as well. Delish!
Rebecca says
I’m so glad you love it, Serena!