Would you believe I’ve been writing here for three years? Three years! I can hardly believe it. So much has changed over these years both in the ‘real world’ and here at my home on the internet. We moved to an Amish farmhouse, grew a teenager out of a little boy*, saw the end of the diaper era in our home (and my teenager would appreciate it if I’d point out that it wasn’t him wearing diapers a mere three years ago.), published more than three hundred recipes here, learned a little bit about using a camera, and made a lot of great new friends.
*The fact that I have a teenager sends my brain reeling. It’s not because of the ‘fear of the teenage years’ because my teen is a really awesome human. What knocks me out is the fact that I’m old enough to have one. If you’ll pardon me just a moment, I’m going to go double over and hyperventilate for a bit.
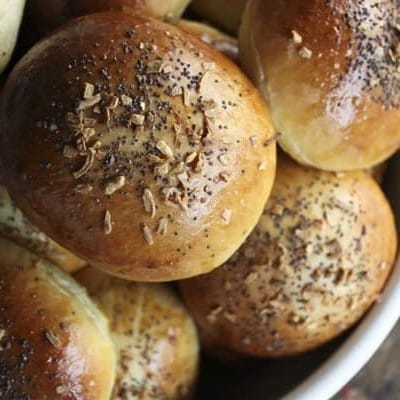
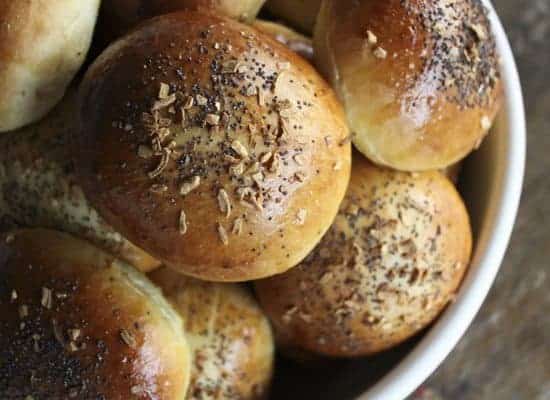
Three years ago, I posted the recipe for my favorite homemade burger rolls. If you look at the old post, you’ll see what I mean about changes. And yet, with everything that has become different in one way or another, these buns have remained our favorite hamburger and sandwich roll for more than just my tenure here on the interwebs. They have the staying power of a recipe that will in all likelihood -judging by the prodigious quantities eaten at mealtime- be one my kids make when they’re out on their own. They are truly that good.
With Memorial Day weekend -and with it the start of “official” grilling season- starting in seventy-two hours, it is time to get busy with our best summer-esque, barbecue and grill friendly recipes. This one is going to be what elevates whatever you choose to serve, whether it be hamburgers, grilled chicken or ham sandwiches, or a sliced, ripe tomato with mayonnaise and a paper thin layer of Vidalia onion.
Because the old post was still in my “play with the format” era, I’ve updated the recipe here to use my handy-dandy, new-fangled printable recipes. The old post will remain up, crazy formatting and all, to keep the beautiful comments from people who have become great friends and to remind me of how far I’ve come.
If you’re into compare and contrast, you’ll notice that this recipe is nearly identical to my homemade hot dog buns. The hot dog buns are formed differently and brushed with buttermilk. And in the old post, I specified using a water/egg yolk wash before topping the buns. These days, instead of a water and egg yolk wash on the buns, I’ve changed to an egg-only wash. This is a matter of personal preference. I like my buns (heh) with a little richer colour to them and I think the egg-only wash does that better. Besides, I’m awful at saving and using single leftover egg whites, so this is a two-birds-with-one-stone moment. Birds? Eggs?*
*Clearly one thing that has NOT changed is my love of really bad jokes.

Homemade Hamburger Buns
Rate RecipeIngredients
Ingredients for the dough:
- 1 1/4 cups lukewarm milk
- 1 large egg beaten
- 6 tablespoons butter softened to room temperature, cut into pieces
- 3 tablespoons sugar
- 4 cups bread flour You can substitute all-purpose flour if necessary.
- 3 tablespoons instant potato flakes
- 1 tablespoon vital wheat gluten optional, but it improves the final texture.
- 2 teaspoons kosher salt
- 2 teaspoons instant yeast
To glaze the rolls:
- 1 large egg beaten well
Optional toppings;
- poppy seeds
- sesame seeds
- dehydrated garlic flakes or minced garlic
- dehydrated onion flakes or minced onion
- rosemary
- coarse salt
- caraway seeds
- coarsely ground black pepper
Instructions
To mix dough in a bread machine:
- Put all dough ingredients in the pan. Program bread machine for the dough cycle and hit start.
To mix dough in a stand mixer:
- Put all dough ingredients in the bowl of a stand mixer fitted with a dough hook. Mix on low speed for 10 minutes, or until a smooth, elastic dough is formed. Remove the bowl from the mixer, cover with a tea towel and let rise in a warm, draft-free place until doubled in bulk, about 1-2 hours.
To mix dough by hand:
- Add all dough ingredients to a large mixing bowl. Use a sturdy wooden spoon or your hand to stir until a shaggy dough forms. Turn out onto a lightly floured surface and knead until a smooth, elastic dough forms, about 15 minutes. Place in an oiled bowl, cover with a tea towel and let rise in a warm, draft-free place until doubled in bulk, about 1-2 hours.
- To form rolls:
- Lightly grease an 11-inch by 13-inch baking sheet or line with a silpat or parchment paper. Set aside.
- Divide dough into 3 equally sized pieces and form into logs.
- Divide each log into 4 equal pieces.
- Cup your hand over one piece at a time and roll in a clockwise motion until the surface of the roll is smooth and it has formed a tight ball.
- Transfer to the lined baking sheets, leaving about 3 inches between rolls.
- Flatten gently with the palm of your hand, and let rise in a warm, draft-free place until puffy, about 30 minutes.
- Preheat oven to 375°F.
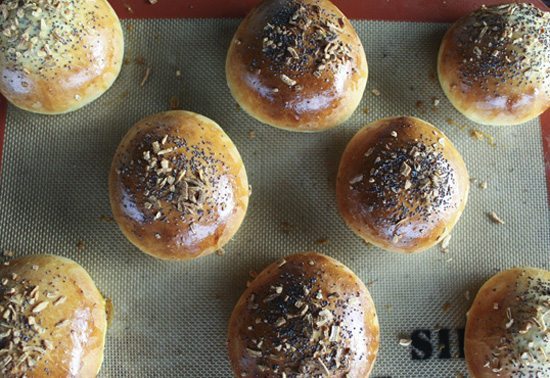
- Brush the puffy dough generously with beaten egg and sprinkle with desired toppings.
- Bake for 18-22 minutes, or until deep golden brown.
- Cool the rolls on a rack for at least 10 minutes before slicing.
To store leftovers:
- Wrap tightly and store at room temperature for up to two days. They can be wrapped tightly and frozen for storage up to a month.
Notes
Nutritional information is an estimate and provided to you as a courtesy. You should calculate the nutritional information with the actual ingredients used in your recipe using your preferred nutrition calculator.
did you make this recipe?
Make sure to tag @foodiewithfam on Instagram and #hashtag it #foodiewithfamily so I can check it out!
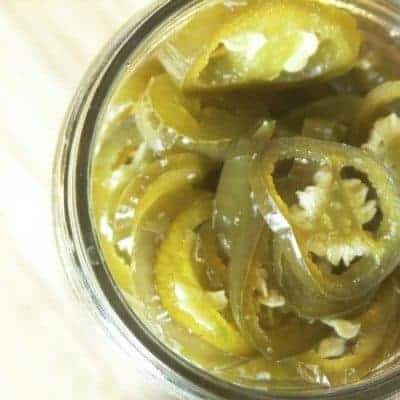
This brings me to my giveaway. I’d like to give away a jar of my semi-demi-hemi famous Candied Jalapenos to two readers here plus one to a Facebook or Twitter follower. (Speaking of things that make burgers and sandwiches better…) It’s a two-birds-with-one-stone moment, too.


Reader's Thoughts...
Lee says
Your recipe sound great…do you have calories and carb data for this recipe?
Carol Dee says
Thank you for the chance to win a jar of these delectable candied jalapeno pickles. Keeping my fingers crossed!
Nancy Long says
oh my, your Candied Jalapenos sound wonderful and I would love to have a jar to use with burgers on these buns. How did you know I’ve been on a bread and roll making kick lately! Made a new recipe (to me) for French Bread the other day and hubby loved it. Thanks for the recipes
daina says
For some reason, I’ve been craving burgers lately. Every time I get in the car, I have thoughts of stopping at a drive through. But I cringe at paying bucks for one burger when the same dollars at home could made a bunch. So I decided to make them at home, but I didn’t have any buns. I have a batch of these in the oven right now topped with onion and garlic and I can’t WAIT for them to be done. I might even forgo the burger part and just knosh on the bun because they smell delicious!!
KateM says
Oh help me! I was so inspired by the pics of these buns that I just had to try making them. I am NOT a bread maker. The recipe looked easy though and I was going to get my 2 boys to help me (2 and 5 yrs) but thought I’d give it a try solo first.
They came out looking good BUT… (1) the crust was super crunchy (so much so that when we tried to take a bite of the bean burger – also from your site: de-lish btw! – that the burger squished out the other side and it was difficult to get our teeth into) and (2) they were super dense. Each one felt like a brick.
So now I’m slicing them thinly and using for toast. They’re nice as toast but I so wanted the yummy buns for burgers.
Any thoughts on what I did wrong? I cooked for the min amount of time, they seemed to have risen ok. Did I handle them too much when rolling (the dough seemed a bit tough)? Was my instant yeast no good? It’s the first time I’ve tried instant yeast.
Any thoughts you may have will be so appreciated! I’d really like to try again but don’t want to end up with what I got last time.
Rebecca says
Hi Kate- It sounds to me like perhaps you had too much flour in the mixture. (The density and tough dough are both real giveaways!) I know what I’m about to say might sound fussy, but it’s the truth! Dipping your measuring cup in the bag or canister of flour yields wildly different weights and amounts of flour which effects the final product much in the way you described it. I can help! The next time you try it, measure your flour the way professional bakers do!
When you measure your flour you should use the following steps:
1.) Measure by weight OR
2.) Fluff the flour in the bag or canister with a fork to aerate it, use a spoon to sprinkle the flour over the cup (without shaking the cup because that compacts the flour and throws off accurate measurements), then use the flat end of the spoon to scrape off and level the flour in the measuring cup.
It’s important to note that the bread dough should feel silky and elastic, ideally, not so tough it’s hard to knead or form. We’ll get you baking perfect bread in no time, Kate! 😀
KateM says
OK, thanks! I will definitely try method 2. I have a kitchen scale that I use for soap making but it’s kinda “iffy” so maybe not great for this. I also used all purpose flour instead of bread flour so maybe that was another minor issue.
The boys will enjoy the fluffing and sprinkling (although the mess may be more than I can handle) so maybe I’ll let them in on the fun next time. I’ll let you know how it works out if I work up the courage to try again.