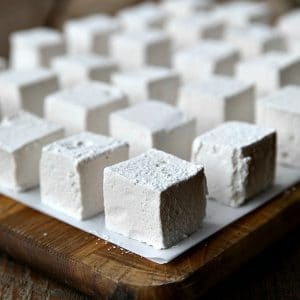
These Homemade Marshmallows are the only marshmallow you’ll ever want from this day forward. Creamy, lofty, and light-as-air, you can customize the flavours any way you’d like.
If you like this homemade marshmallow recipe, you can also make Chocolate Dipped Homemade Kahlua Marshmallows or Mocha Marshmallow Pops.
Unless you’ve been reading Foodie with Family since the beginning, way back in 2008 (hi, Dad!) you might not know that my stepmom, Val, was my partner. We started the blog together and carried on until she became ill. One of the first posts on the blog was for Val’s Homemade Marshmallows.
What makes homemade marshmallows different?
Like most people, I’ve got some weird food dislikes and quirks, and as un-American as it sounds, commercial marshmallows are one of them. Store bought marshmallows have a weird dry outer shell and are pure sugar with nothing redeeming them texturally.
I always thought I disliked marshmallows. These homemade marshmallows, on the other hand, are magical. They are, as Val said, “creamy, lofty, and light-as-air.”
When Val first served me a homemade marshmallow all these years ago, it was a revelation. It wasn’t that I disliked marshmallows, it was that I disliked lousy marshmallows.
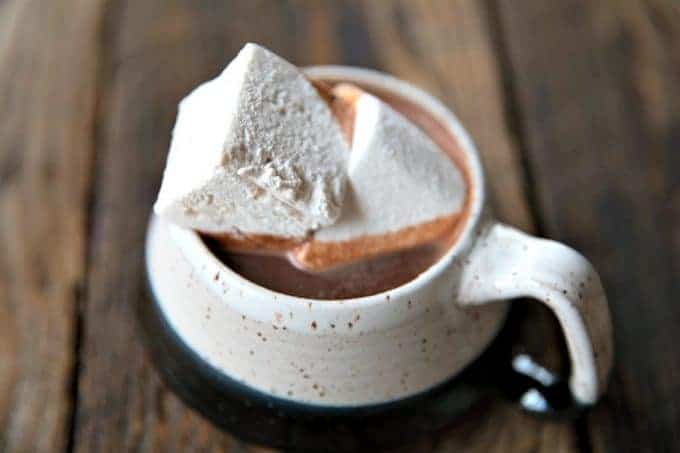
These wonderful homemade marshmallows became an instant holiday tradition for us. It’s not officially fall at our house until we have some homemade marshmallows around for peppermint hot chocolate or blender made spiced hot chocolate.
What flavours do I use for a homemade marshmallow recipe?
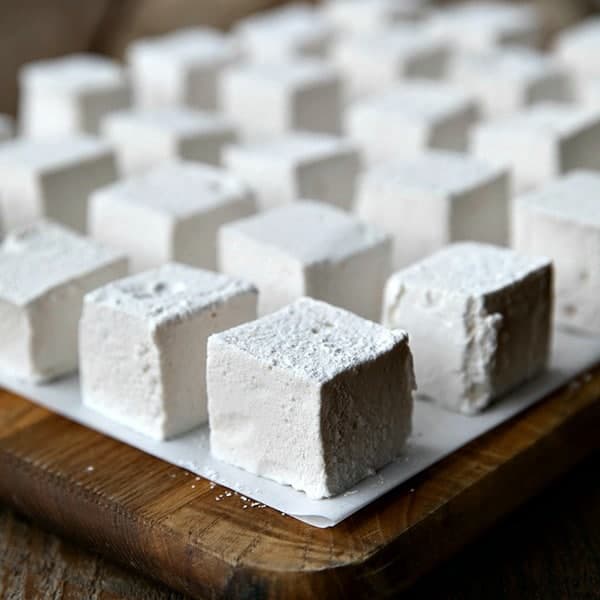
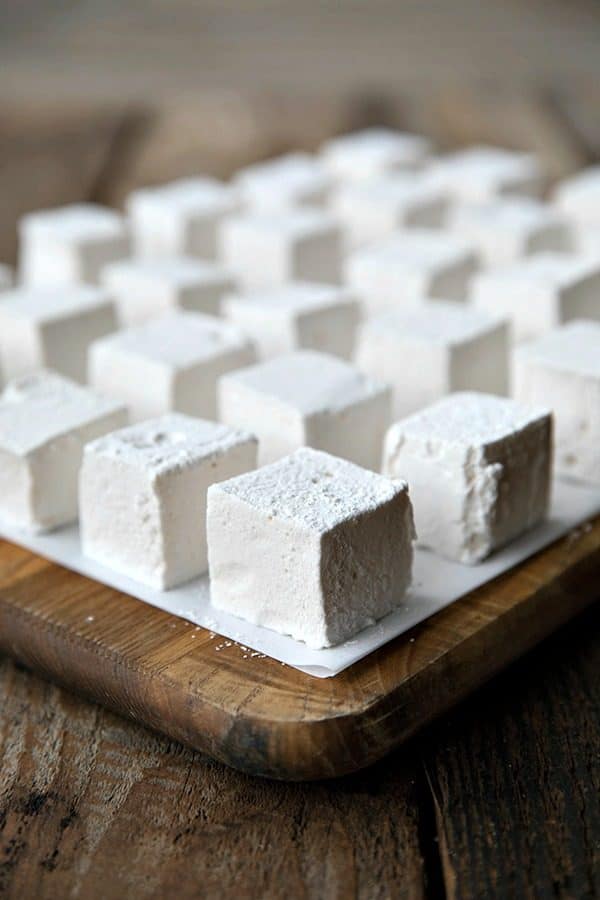
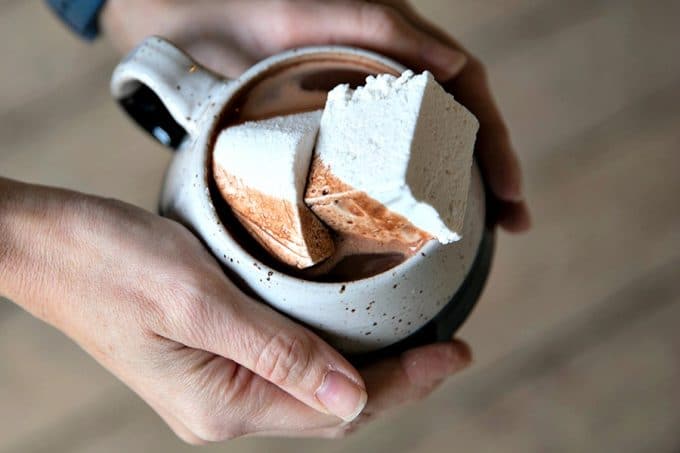
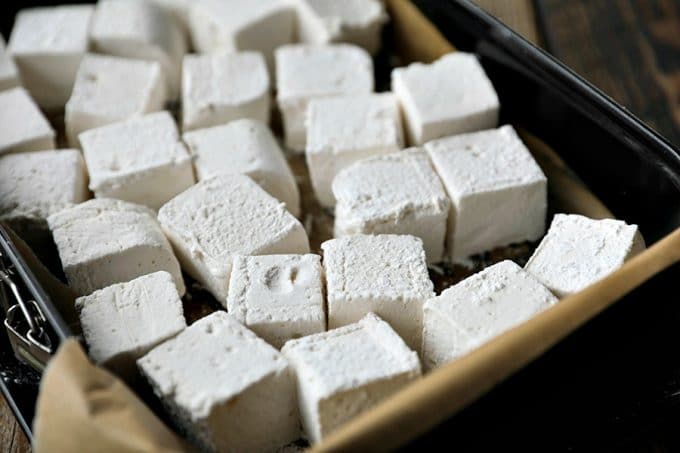
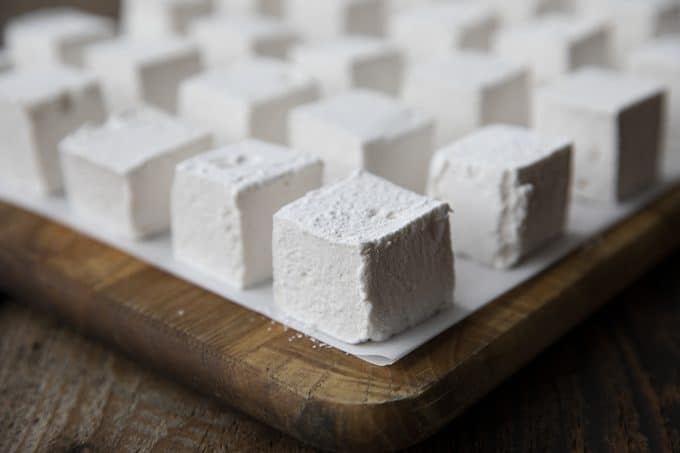
The sky is the limit! In the pictures, I have Vanilla Nutmeg Marshmallows, but you can most certainly omit the nutmeg for a pure vanilla marshmallow.
Val used to make orange, mint, chocolate, and coffee marshmallows and all were equally delicious. We have done so many versions, I can’t count them all.
The rule of thumb is 1 total tablespoon of extracts. For vanilla nutmeg, I do 2.5 teaspoons of vanilla extract to 0.5 teaspoons of nutmeg extract.
If you forced me to choose a favourite, though, I’d have to say it’s a toss up between these Vanilla Nutmeg ones and orange ones dipped in chocolate. It’s a hard job, but I’d be willing to taste test those any day of the week. Ahem.
I prefer all of my marshmallows to have whatever colour they have naturally from the small amount of extract I add, but sometimes Val played with subtle colours like swirling a couple of drops of yellow and red colouring into her orange marshmallows, or red into her peppermint ones.
Can I use homemade marshmallows in s’mores?
Yes. Most definitely. Please do. You’ll be making the best s’mores you’ve ever had in your entire life if you make them with homemade marshmallows.
In fact, you might never be able to go back if you make them with homemade marshmallows. Ask me how I know.
Do I need special equipment to make homemade marshmallows?
Technically, no. You can get away with making homemade marshmallows if you have an extremely protective oven mitt and a hand mixer, but you almost certainly would like me better if I told you honestly you SHOULD have a stand mixer fitted with a whisk.
The reasoning is sound because basically you’re whipping air into boiling hot candy syrup for some time. In other words, there’s going to be steam.
Holding your hand over that with a hand-mixer is going to become uncomfortable long before the minimum 10 minutes of beating time is done. This is where the stand mixer is worth its weight in gold.
Aside from the stand mixer, all you need is a cake pan, some plastic wrap, and some non-stick cooking spray or neutral oil.
Here is a list of gear you’ll want to have ready before you start the process:
-a stand mixer with whisk attachment
How do I store homemade marshmallows?
This one’s super easy! Toss the cut marshmallows with a little extra powdered sugar. This keeps them from sticking together. Then place them in an airtight container and store at room temperature.
How long will homemade marshmallows keep?
If you don’t give yourself a stomachache by eating them all right away, your marshmallows should keep quite well for up to 3 weeks at room temperature.
Homemade Marshmallows Recipe
-Stir together the sugar, water, and corn syrup in your saucepan only until the sugar is dissolved. Once it reaches that point, don’t stir it again until it has come to a boil and boiled hard for 1 minute.
If you do stir it, you risk crystallizing your sugar which leaves little crunchy bits in your marshmallows. This isn’t the end of the world, but it doesn’t make as smooth an end product.
-Don’t be tempted to double the recipe unless you have a stand mixer much larger than the average. The mixture expands hugely while it is whipped and while it cools.
There is no mess quite like the one you get if you overestimate the potential capacity of your mixer bowl when making marshmallows.
-Remember not to add your extract until the very end of the process. Remember, too, that the rule is to have 1 tablespoon total of extracts.
Even when changing up the flavour from vanilla, I tend to maintain at least 2 teaspoons of vanilla extract to go with 1 teaspoon or less of any other extract.
-Be sure to generously oil your hands before working with the whipped marshmallows unless you really dig feeling sticky.
-Don’t rush them. Marshmallows need to rest to set up. Your patience will be rewarded.
-When it comes time to cut your marshmallows, it’s hard to be too generous when dusting your cutting surface with powdered sugar. These suckers are sticky! Likewise, keep dusting your knife with powdered sugar.
-I find that a long carving knife like this one or a large chef’s knife are the best tools for cutting marshmallows.
If you love these homemade marshmallows, you might also love these other homemade food gifts: pop rocks candy bark, salted pepita brittle, Coffee Jelly, Cranberry Pistachio Christmas Snack Mix, Pumpkin Spice Chai Latte Mix, homemade croissants, pain au chocolat, Chinese spicy chili crisp sauce, and Candied Jalapenos.
Ingredients
- .75 oz unflavored gelatin 3 envelopes of Knox gelatin
- 1/2 cup cold water
- 2 cups granulated sugar
- 2/3 cups light corn syrup
- 1/4 cup water
- 1/4 teaspoon salt
- 1 tablespoon pure vanilla extract or combination of other flavor extracts
- Confectioners' sugar
Instructions
- Line 9 x 9-inch or 8 x 8-inch pan with plastic wrap and lightly oil it using your fingers or non-stick cooking spray. Set aside.
- In the bowl of an electric mixer, sprinkle gelatin over 1/2 cup cold water. Soak for about 10 minutes.
- Meanwhile, combine sugar, corn syrup and 1/4 cup water in a small saucepan, whisking only until the sugar is dissolved. Bring the mixture to a rapid boil. As soon as it is boiling, set the timer and allow to boil hard for 1 minute without stirring.
- Carefully pour the boiling syrup into soaked gelatin and turn on the mixer, using the whisk attachment, starting on low and moving up to high speed. Add the salt and beat for between 10 and 12 minutes, or until fluffy and mostly cooled to almost room temperature. After it reaches that stage, add in the extract and beat to incorporate.
- Grease your hands and a rubber or silicone scraper with neutral oil and transfer marshmallow into the prepared pan. Use your greased hands to press the marshmallow into the pan evenly. Take another piece of lightly oiled plastic wrap and press lightly on top of the marshmallow, creating a seal. Let mixture sit for a few hours, or overnight, until cooled and firmly set.
- Sprinkle a cutting surface very generously with confectioner's sugar. Remove marshmallow from pan and lay on top of the sugar. Dust the top generously with sugar as well. Use a large, sharp knife to cut into squares. Separate pieces and toss to coat all surfaces with the sugar.
- Store in an airtight container.
Nutrition
Nutritional information is an estimate and provided to you as a courtesy. You should calculate the nutritional information with the actual ingredients used in your recipe using your preferred nutrition calculator.
did you make this recipe?
Make sure to tag @foodiewithfam on Instagram and #hashtag it #foodiewithfamily so I can check it out!
This recipe for Homemade Marshmallows was originally written by my stepmom, Valerie, on December 5, 2008. She passed away several years ago, and I’m updating the post to add some more helpful hints in 2018 but the brief original text written by Val remains below because she was awesome and so are her marshmallows.
Val’s original post
Last year I made homemade marshmallows for the first time. For years I felt too intimidated to make the attempt, not sure why, but I’m so glad I finally gave it a whirl. These need to be started at least a day before you need to serve them or package them for gifts, so be sure to give yourself some leeway. The only change I made to the recipe I found* was to use confectioners sugar alone for the coating, rather than mixing with cornstarch. I don’t like the feel of the cornstarch, and with corn allergies being an issue for some, I felt it was better without.
This recipe is for your basic vanilla flavored marshmallows, but I had success with flavoring in other ways–raspberry flavoring with a touch of red food color, mint flavoring with green, orange flavoring with a touch of yellow and red color together. I also made a spiced marshmallow, adding some ground cinnamon and ground nutmeg to the marshmallow, and also mixing some of the same spice into the confectioners sugar coating. All turned out wonderfully well. Hope you enjoy these as much as we have!
*The recipe Val altered was located on a now-defunct website.


Reader's Thoughts...
Joan says
such an easy recipe and always a success. thank you for sharing
Rebecca says
You’re so welcome, Joan! And thank you for taking the time to rate the recipe and let us know you love it!
Rosalyn says
These are, AMAZING
Rebecca says
Ahhh! I’m so glad you love them, Rosalyn! Thank you for taking the time to rate the recipe and tell me you love them!
JOSIE says
It says this recipe makes 36 marshmallows. Does it really bec the hot chocolate recipe makes only 16 per recipe. Just wondering so that I can buy enough ingredients to make even amounts of each. Thank you again for sharing the recipes.
Rebecca says
Hi Josie! You can make as many or few marshmallows as you want, depending on how large you cut them. 🙂 When I make them, I generally cut them into 36 pieces.
Kristin says
Love this recipe. I’ve used it many times. Today I did 1 with vanilla then the 2nd with maple flavoring + vanilla. Such an easy recipe. Thank you.
Rebecca says
Thank you for taking the time to rate the recipe and let me know you love it, Kristin! I do so appreciate it!
Anissa Proctor says
Made these multiple times and tonight I made them pink with strawberry extract and pulverized freeze dried strawberries! I also added edible paint glitter (for painting cookies) and they’re the shimmeryiest pretty pale pink with strawberry flavor! They’re my valentine gifts to friends. Easy recipe and they’re so delish!
Rebecca says
Oh my goodness, Anissa! Thank you for taking the time to rate the recipe and let me know you love it. Those sound absolutely beautiful and delicious!
Sarah says
I love this recipe. It’s easy to remember and even easier to execute thanks to the tips that were included. The best part though, obviously, is the actual finished marshmallow. The consistency was so fluffy and light. The ratios are perfect! 1tbsp of extract/flavoring is especially spot on. It’s just enough to make the flavor shine through.
Rebecca says
Thanks so much for taking the time to rate the recipe and let me know you love it, Sarah! I so appreciate it!
Samantha says
These turned out great. Took half the batch to make marshmallows and the other half for rice crispy squares. Both turned out fantastic. Perfect for the hot chocolate cocktails I made for NYE.
Rebecca says
Thanks so much for taking the time to rate the recipe and let me know you love it, Samantha! I’m so glad you do.
Gloria says
Couple of caveats here~ your recipe doesn’t convert well for larger recipes
I did 3x batch and maybe that’s my bad since it’s my first time with your recipe but the sugar expanded so much I’m not sure I was able to boil it long enough because it was overflowing out of my largest pot.
Also- there’s no reference as to how to actually tell when the marshmallows are done- 3x the recipe and it was still quite liquid at 17 mins whipping.
I’m guessing I may have screwed up and wasted an absolute ton of ingredients
Daniette says
My 6qt professional series kitchen aid mixer can only do one batch at a time or the contents will overflow the bowl.
Joanie says
This recipe is the one I ALWAYS go back to. It’s tried and true. It makes a perfect batch every time.
Rebecca says
Thank you for taking the time to rate the recipe and let me know you love it, Joanie!!
Bailey says
This was the messiest thing I’ve ever made! Like a quarter of my mixture was stuck in the bowl…is that normal? I’ve never made marshmallows before!
Rebecca says
Hi Bailey- It’s pretty messy, but it should be able to scrape off of the bowl mostly with a silicone spatula!
Elizabeth Goeppinger says
Have you ever tried to make the marshmallows with a gelatin substitute so they are vegan?
Rebecca says
Hi Elizabeth! I know that agar agar can be used, but I have not personally tried that so I can’t speak to any procedural differences or amounts. If you give it a try, please let me know!
Dan says
The marshmallows were such a hit that I have to make them again for my daughter’s wedding, where there is a camp fire after. If I make the marshmallows on Sunday, what is the best way to store them until the next Friday? I will also be transporting them a great distance in the car. Any advice would be greatly appreciated. Thanks, Dan
Rebecca says
Hi Dan! I’m so glad you love them. When I have to make a bunch, I dust the bottom of the storage container with confectioner’s sugar, put down a single layer with space between the marshmallows, dust again with the sugar, lay down parchment or waxed paper and repeat until I fill the container. Cool room temp out of the sun is the way to go for me!
Amy says
10/10 Would Recommend!
I have made these multiple times – so easy and SO GOOD. I will echo previous commenters that you need to be quick if you plan on roasting them – they tend to lose their structural integrity a lot faster than commercial ones! Just made flavoured ones for the first time, since you can’t go wrong with the straight vanilla 🙂 I used about 10 drops of raspberry essence/oil on top of the 1tbsp of vanilla for one for just a hint of raspberry flavour and then 1 tsp of peppermint extract (+2 tsp of vanilla) with 2-3 drops of green food colouring for a chocolate peppermint. On the peppermint one I also sprinkled mini chocolate chips on top – they all kinda sunk into it (which is fine!) so I might put them on the bottom of the pan next time. For that one I also used the suggested 1:1 ratio of powdered sugar and cocoa powder (mixed together) to coat the outside and that was divine!
Rebecca says
Thank you so much for taking the time to rate the recipe and let me know you love these marshmallows as much as we do, Amy! I love the sound of your flavoured ones!
Danni says
I made these a few times last year and everyone loves them. Was requested that I bring them to Friendsgiving again this year so just whipped up a batch! I drizzle mine with chocolate ganache 🥰
Rebecca says
Thanks so much for taking the time to rate the recipe and let me know you love it, Danni!
Sarah says
I was pretty nervous to make these but I have been wanting to make marshmallows for a few years now. I am so glad I did. These turned out great. And the pot was easy to clean after which was also a concern. I rolled some in toasted coconut and some in crushed grahams and dipped the bottoms in dark chocolate. Everyone loves them. Thank you for the detailed directions, it made all the difference.
Rebecca says
You’re so welcome, Sarah! Thanks for taking the time to let us all know it worked well for you. Your marshmallows sound delicious!
Jaime says
I’M SO SCARED!!! Haha. But after reading everyone’s reviews and saying how easy it is, I’m going to go for it. I’ll let you know how they turn out. Thanks so much for posting this recipe. Fingers crossed!
Rebecca says
Don’t be scared, Jaime!! As long as you have everything measured before you start and follow instructions, it’ll go easy easy for you! I can’t wait to hear what you think of them after you make them!
Megan Mathews says
Do you pour the boiling mixture into the gelatin and the water that it is in or do you take the gelatin out of the water?
Rebecca says
Hi Megan- I’m going to assume you’re referring to sheet gelatin rather than powdered gelatin. Powdered gelatin is what I use in this recipe and there’s no way to remove that once it blooms in the water. 🙂 You do indeed pour the boiling syrup into the gelatin and water.
Ellen says
Hey, could I substitute corn syrup for honey?
Rebecca says
Hi Ellen!! You can… the marshmallows end up a little different, of course, but it does work. You can also use Lyle’s Golden Syrup with good results!