These Homemade Marshmallows are the only marshmallow you’ll ever want from this day forward. Creamy, lofty, and light-as-air, you can customize the flavours any way you’d like.
If you like this homemade marshmallow recipe, you can also make Chocolate Dipped Homemade Kahlua Marshmallows or Mocha Marshmallow Pops.
Unless you’ve been reading Foodie with Family since the beginning, way back in 2008 (hi, Dad!) you might not know that my stepmom, Val, was my partner. We started the blog together and carried on until she became ill. One of the first posts on the blog was for Val’s Homemade Marshmallows.
What makes homemade marshmallows different?
Like most people, I’ve got some weird food dislikes and quirks, and as un-American as it sounds, commercial marshmallows are one of them. Store bought marshmallows have a weird dry outer shell and are pure sugar with nothing redeeming them texturally.
I always thought I disliked marshmallows. These homemade marshmallows, on the other hand, are magical. They are, as Val said, “creamy, lofty, and light-as-air.”
When Val first served me a homemade marshmallow all these years ago, it was a revelation. It wasn’t that I disliked marshmallows, it was that I disliked lousy marshmallows.
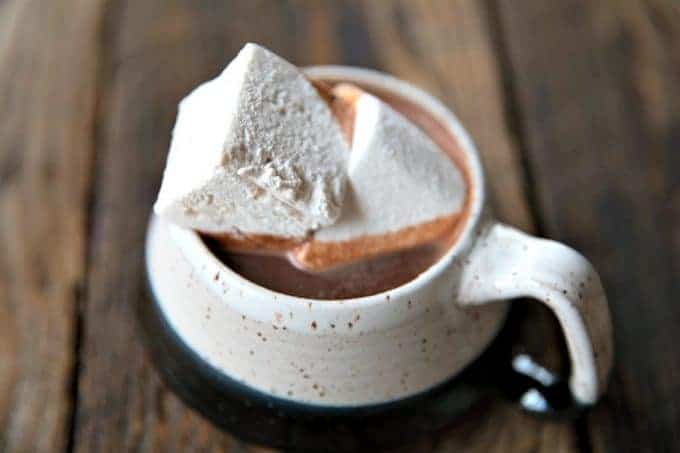
These wonderful homemade marshmallows became an instant holiday tradition for us. It’s not officially fall at our house until we have some homemade marshmallows around for peppermint hot chocolate or blender made spiced hot chocolate.
What flavours do I use for a homemade marshmallow recipe?
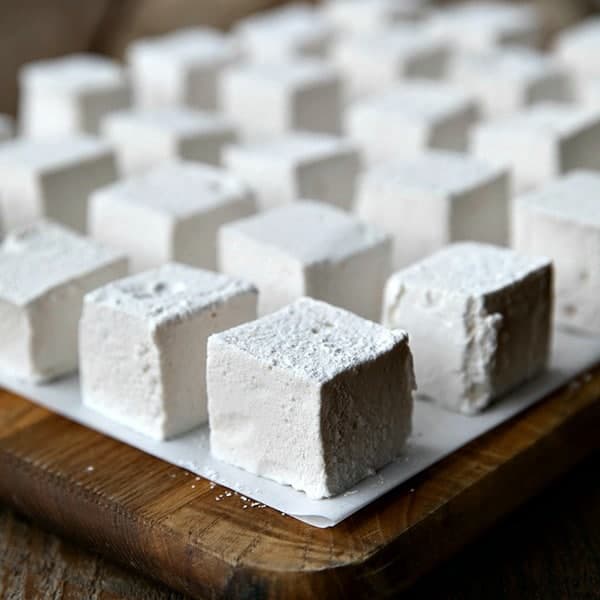
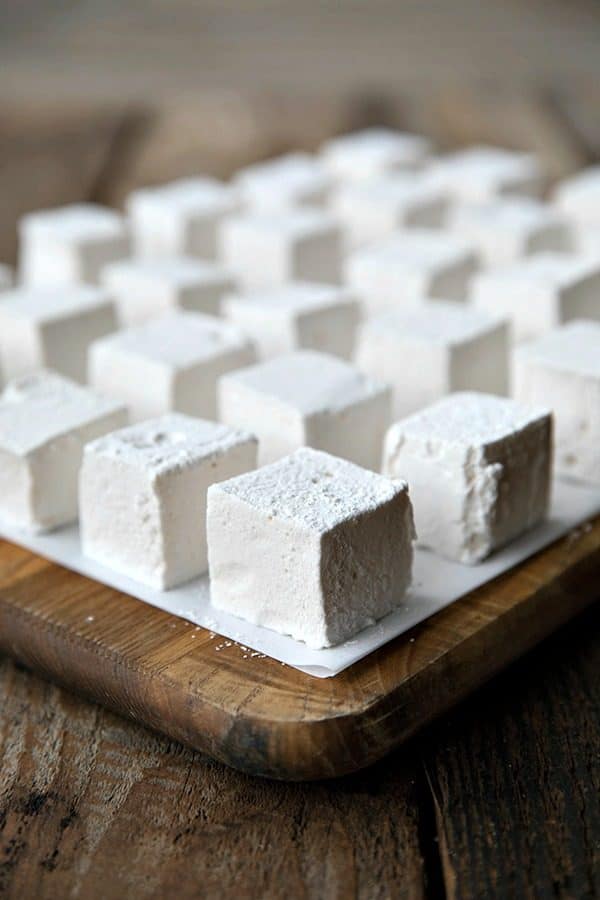
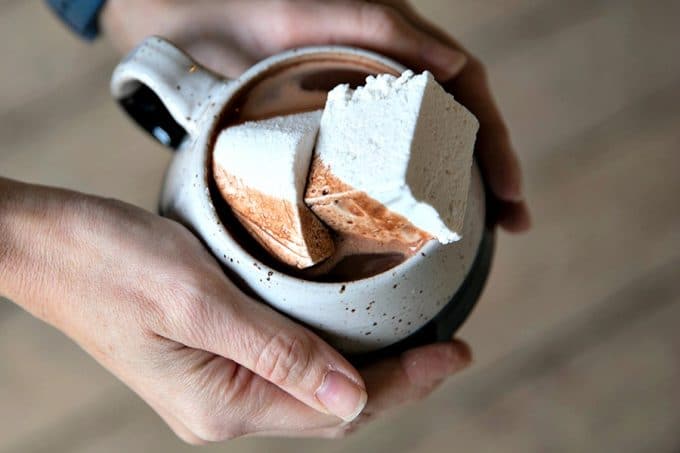
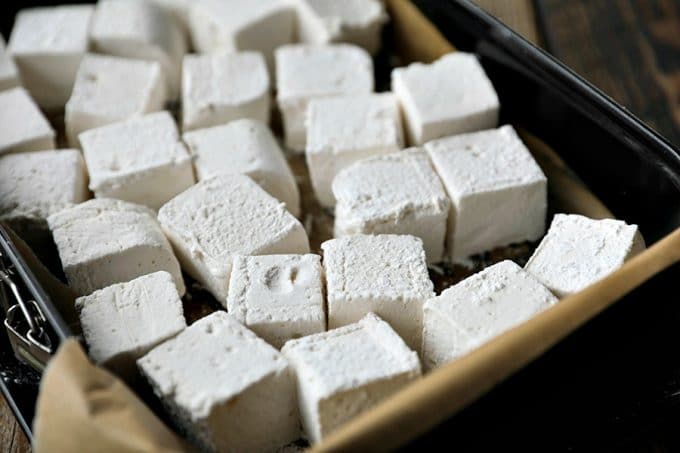
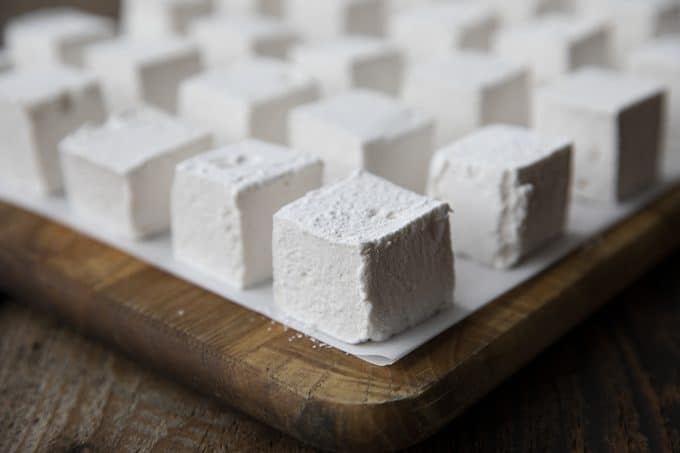
The sky is the limit! In the pictures, I have Vanilla Nutmeg Marshmallows, but you can most certainly omit the nutmeg for a pure vanilla marshmallow.
Val used to make orange, mint, chocolate, and coffee marshmallows and all were equally delicious. We have done so many versions, I can’t count them all.
The rule of thumb is 1 total tablespoon of extracts. For vanilla nutmeg, I do 2.5 teaspoons of vanilla extract to 0.5 teaspoons of nutmeg extract.
If you forced me to choose a favourite, though, I’d have to say it’s a toss up between these Vanilla Nutmeg ones and orange ones dipped in chocolate. It’s a hard job, but I’d be willing to taste test those any day of the week. Ahem.
I prefer all of my marshmallows to have whatever colour they have naturally from the small amount of extract I add, but sometimes Val played with subtle colours like swirling a couple of drops of yellow and red colouring into her orange marshmallows, or red into her peppermint ones.
Can I use homemade marshmallows in s’mores?
Yes. Most definitely. Please do. You’ll be making the best s’mores you’ve ever had in your entire life if you make them with homemade marshmallows.
In fact, you might never be able to go back if you make them with homemade marshmallows. Ask me how I know.
Do I need special equipment to make homemade marshmallows?
Technically, no. You can get away with making homemade marshmallows if you have an extremely protective oven mitt and a hand mixer, but you almost certainly would like me better if I told you honestly you SHOULD have a stand mixer fitted with a whisk.
The reasoning is sound because basically you’re whipping air into boiling hot candy syrup for some time. In other words, there’s going to be steam.
Holding your hand over that with a hand-mixer is going to become uncomfortable long before the minimum 10 minutes of beating time is done. This is where the stand mixer is worth its weight in gold.
Aside from the stand mixer, all you need is a cake pan, some plastic wrap, and some non-stick cooking spray or neutral oil.
Here is a list of gear you’ll want to have ready before you start the process:
-a stand mixer with whisk attachment
How do I store homemade marshmallows?
This one’s super easy! Toss the cut marshmallows with a little extra powdered sugar. This keeps them from sticking together. Then place them in an airtight container and store at room temperature.
How long will homemade marshmallows keep?
If you don’t give yourself a stomachache by eating them all right away, your marshmallows should keep quite well for up to 3 weeks at room temperature.
Homemade Marshmallows Recipe
-Stir together the sugar, water, and corn syrup in your saucepan only until the sugar is dissolved. Once it reaches that point, don’t stir it again until it has come to a boil and boiled hard for 1 minute.
If you do stir it, you risk crystallizing your sugar which leaves little crunchy bits in your marshmallows. This isn’t the end of the world, but it doesn’t make as smooth an end product.
-Don’t be tempted to double the recipe unless you have a stand mixer much larger than the average. The mixture expands hugely while it is whipped and while it cools.
There is no mess quite like the one you get if you overestimate the potential capacity of your mixer bowl when making marshmallows.
-Remember not to add your extract until the very end of the process. Remember, too, that the rule is to have 1 tablespoon total of extracts.
Even when changing up the flavour from vanilla, I tend to maintain at least 2 teaspoons of vanilla extract to go with 1 teaspoon or less of any other extract.
-Be sure to generously oil your hands before working with the whipped marshmallows unless you really dig feeling sticky.
-Don’t rush them. Marshmallows need to rest to set up. Your patience will be rewarded.
-When it comes time to cut your marshmallows, it’s hard to be too generous when dusting your cutting surface with powdered sugar. These suckers are sticky! Likewise, keep dusting your knife with powdered sugar.
-I find that a long carving knife like this one or a large chef’s knife are the best tools for cutting marshmallows.
If you love these homemade marshmallows, you might also love these other homemade food gifts: pop rocks candy bark, salted pepita brittle, Coffee Jelly, Cranberry Pistachio Christmas Snack Mix, Pumpkin Spice Chai Latte Mix, homemade croissants, pain au chocolat, Chinese spicy chili crisp sauce, and Candied Jalapenos.
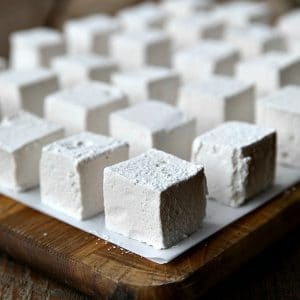
Homemade Marshmallows
Rate RecipeIngredients
- .75 oz unflavored gelatin 3 envelopes of Knox gelatin
- 1/2 cup cold water
- 2 cups granulated sugar
- 2/3 cups light corn syrup
- 1/4 cup water
- 1/4 teaspoon salt
- 1 tablespoon pure vanilla extract or combination of other flavor extracts
- Confectioners' sugar
Instructions
- Line 9 x 9-inch or 8 x 8-inch pan with plastic wrap and lightly oil it using your fingers or non-stick cooking spray. Set aside.
- In the bowl of an electric mixer, sprinkle gelatin over 1/2 cup cold water. Soak for about 10 minutes.
- Meanwhile, combine sugar, corn syrup and 1/4 cup water in a small saucepan, whisking only until the sugar is dissolved. Bring the mixture to a rapid boil. As soon as it is boiling, set the timer and allow to boil hard for 1 minute without stirring.
- Carefully pour the boiling syrup into soaked gelatin and turn on the mixer, using the whisk attachment, starting on low and moving up to high speed. Add the salt and beat for between 10 and 12 minutes, or until fluffy and mostly cooled to almost room temperature. After it reaches that stage, add in the extract and beat to incorporate.
- Grease your hands and a rubber or silicone scraper with neutral oil and transfer marshmallow into the prepared pan. Use your greased hands to press the marshmallow into the pan evenly. Take another piece of lightly oiled plastic wrap and press lightly on top of the marshmallow, creating a seal. Let mixture sit for a few hours, or overnight, until cooled and firmly set.
- Sprinkle a cutting surface very generously with confectioner's sugar. Remove marshmallow from pan and lay on top of the sugar. Dust the top generously with sugar as well. Use a large, sharp knife to cut into squares. Separate pieces and toss to coat all surfaces with the sugar.
- Store in an airtight container.
Nutrition
Nutritional information is an estimate and provided to you as a courtesy. You should calculate the nutritional information with the actual ingredients used in your recipe using your preferred nutrition calculator.
did you make this recipe?
Make sure to tag @foodiewithfam on Instagram and #hashtag it #foodiewithfamily so I can check it out!
This recipe for Homemade Marshmallows was originally written by my stepmom, Valerie, on December 5, 2008. She passed away several years ago, and I’m updating the post to add some more helpful hints in 2018 but the brief original text written by Val remains below because she was awesome and so are her marshmallows.
Val’s original post
Last year I made homemade marshmallows for the first time. For years I felt too intimidated to make the attempt, not sure why, but I’m so glad I finally gave it a whirl. These need to be started at least a day before you need to serve them or package them for gifts, so be sure to give yourself some leeway. The only change I made to the recipe I found* was to use confectioners sugar alone for the coating, rather than mixing with cornstarch. I don’t like the feel of the cornstarch, and with corn allergies being an issue for some, I felt it was better without.
This recipe is for your basic vanilla flavored marshmallows, but I had success with flavoring in other ways–raspberry flavoring with a touch of red food color, mint flavoring with green, orange flavoring with a touch of yellow and red color together. I also made a spiced marshmallow, adding some ground cinnamon and ground nutmeg to the marshmallow, and also mixing some of the same spice into the confectioners sugar coating. All turned out wonderfully well. Hope you enjoy these as much as we have!
*The recipe Val altered was located on a now-defunct website.


Reader's Thoughts...
Yo says
they were difficult and i threw them off a cliff.
Rebecca says
Ummmm, okay? What was difficult?
Aubrey says
Can you use liquids other than water? Like coffee?
Rebecca says
Hi Aubrey- I haven’t tested that with coffee, but it seems like it ought to work. 🙂 Please let me know if you give a go how it works out for you. I’d be more inclined to just use coffee extract, though. 🙂
Chelsy says
Thank you for sharing this wonderful recipe. I found this recipe some time ago, but finally made them tonight. My mother-in-law has been talking about these homemade marshmallows she bought at a farmer’s market in British Columbia a few years ago, and I wanted to make some to surprise her. I hope she likes them!
Rebecca says
That is awesome, Chelsy! Thank you so much for taking the time to rate the recipe and let me know you love it!
Jamila says
Hi there, I thought ill share my review for this AMAIZING marshmallow recipe. Hands down the best ever!
Only if I could post my marshmallows pic they were Perfect!
However I had a question is there a way to reduce the sugar? Would decreasing the quantity of sugar by a whole cup make effect the recipe in anyway?
Please do write back soon so I can attempt again very soon.
Much love
Jamila.
Rebecca says
You’re the sweetest, Jamila! Thank you so much for taking the time to review the recipe and let me know you love it!! I’d love it if you’d join our facebook community and post a picture of your gorgeous marshmallows!! I’m afraid I’ve never tried reducing the sugar, but my instinct is that it wouldn’t work out too well. The sugar forms the candy which is what makes the structure of the marshmallow. I think there might be other recipes that make their way around lower sugar quantities, but I’m betting you’ll need to make use of a candy thermometer to make sure you’re hitting the right stage!
Cindy says
Love, love, love these! Made them 3 times! Once with Christmas sprinkles, once through in 1/3 cup chopped chocolate and i’m getting ready to use a heart cookie cutter on my strawberry flavored valentine marshmallows. THANK YOU! ❤️
Cindy
Rebecca says
You’re so welcome, Cindy! And thank YOU for taking the time to let me know you love them!
Cindy says
I think I will dump some rice crispies into the whipped marshmallow and add them to the pan. I’ve made the marshmallows several times and they are delicious and I always wanted to try making rice crispy squares with them. Any suggestions?
Maggie says
I was thinking of making these in heart shapes for Valentin’s day and would like to dip some in Chocolate. I was wondering if I should leave the powdered sugar off if dipping in chocolate.
Rebecca says
Hi Maggie! What I’d do is still dust in powdered sugar to cut them, then carefully brush them off as much as you can. 🙂
Rebecca says
Also, check out what I did here: Mocha Marshmallow Pops
Catherine says
Would it be possible to reduce the amount of sugar by half a cup/full cup?
Rebecca says
Hi Catherine- I would not be willing to do that myself because we are making candy here… If you do give it a try, please let me know how it works out for you.
Ilene says
Absolutely delicious. I’ve made at least 10 batches with this recipe and they are perfect every time. I do use two 8×8 pans. I have made vanilla, chocolate, orange, cherry, lemon, chocolate mint. I’m addicted. Thanks for sharing the recipe.
Rebecca says
You’re so welcome, Ilene! Thank you for taking the time to let me know you love it!
Tawney says
I’m waiting for mine to set, but I added Piña Colada flavouring to a single batch and I’m planning to dust them with powdered sugar mixed with shredded coconut!
I also made a double batch of Vanilla (mostly because I only had a 9×13 baking dish left) and I’m very excited! I’m setting them by an open window to set quicker. Thanks for the great recipe! 🤗
Rebecca says
Well now THAT sounds AMAZING, Tawney!!!!
Cindy says
I made the marshmallows and they are spectacular! I just don’t understand how it works boiling the sugar for only one minute. But it does. Other recipes say to boil the sugar until it reaches 240°.
I was wondering if I could add cocoa powder or something to make these into chocolate marshmallows?
Thank you for a wonderful recipe!
Cindy
Rebecca says
Thanks so much, Cindy!!! I’m so glad you love these. And I’m not sure how this works so easily when so many other recipes are convoluted, but it does and I’m awfully happy it does. I’ve not tried adding cocoa powder IN the marshmallows, but I’ve done a mix of cocoa powder and powdered sugar on the outside and loved them!
Liz says
Followed recipe exactly but nothing changed in the mixing bowl after 12 minutes on high. 😭
Rebecca says
Hi Liz- I’m sorry to hear you’re having difficulties, but there has to be something we missed along the way… This recipe is bulletproof!
Let’s see if we can figure out what the issue was. Is it possible you measured incorrectly or omitted/changed an ingredient? What brand of gelatin did you use? And what type of corn syrup did you use?
Did you scatter the gelatin powder over the cold water in the mixer bowl and let it sit for a full 10 minutes? And did you bring the sugar/corn syrup/1/4 cup of water to a hard boil and let it boil for 1 minute exactly?
After that, did you pour it over the gelatin/water mixture and start your mixer on low slowly raising it to high and THEN add the salt? Did you remember not to add the extract until the end of the mixing time?
If yes to all of that, what type of mixer are you using?
Beth Grenier says
Can’t wait to make this
Rebecca says
I think you’ll love it, Beth! 🙂
Paige Scott says
Worked amazing and I found the explanation in the beginning very helpful. I cook a lot but almost never read the article before the recipe but I’m glad I did.
One thing that should be noted is that before you add your extracts, gelatin smells like wet dog. Upon some research I found this is normal but it did scare me. I also added fresh ground nutmeg and it was amazing and added nice little specs to the marshmallows. Thank you for the recipe!!
Rebecca says
HA! You’re so right, Paige. Gelatin smells a bit like dog feet but it all works out. Thank you for taking the time to rate the recipe and let me know you love it.
Jaime says
These were a cinch to make and even though I added the salt at the wrong time and forgot the nutmeg (duh!) they turned out amazing!
I used a foil disposable pan lined with Saran wrap and used my hands with coconut oil on them to grease it. I was worried about sticking, but they flipped out nicely when set, and the wrap came right off before I sliced them.
I highly recommend this recipe! They are so light and airy and rich you may never go back to store
Bought again! 100% approval by all 5 of my taste testers. We can’t wait to try the peppermint hot cocoa recipe from this site with these tomorrow for Christmas Eve!
Rebecca says
I’m so glad, Jaime! Thanks so much for taking the time to rate the recipe and let me know you love it!!! Great tips!
Bryan says
These came out perfectly on the first try and were crazy easy to make! I added toasted coconut to the top and they’re so good!! I’m already planning on making several more batches and gonna play with sprinkles and different extracts for some holiday food gifts.
Rebecca says
Thank you, Bryan!!! Thanks for taking the time to rate the recipe and let me know you love it. They’re so good for customizing, too!
Cindy says
This worked well for me. Thank you for sharing. It’s so much easier and better than watching a candy thermometer. Yesterday I did that with another recipe and overcooked the syrup because my thermometer was off. The result was dense, chewy marshmallow not fluffy. I just finished your recipe and I’ll be waiting several hours to cut them. Can’t wait, they look fluffalicious!!! 😁
Rebecca says
Thanks so much, Cindy!!! You’re going to love these!! I can’t wait for you to come back and rate the recipe!
Cindy says
These are easy to make and the results are amazing and tasty! Thank you for a perfect recipe! This is a keeper and I want to experiment with flavors and colors. I tried to post a picture but couldn’t. 😋👍🏻
Rebecca says
Thanks so much, Cindy!!! Please join our facebook group and post a pic! I’d love for you to be able to show off! 🙂
Patty says
I made your marshmallows recipe today for the first time ever, they were so easy and delicious. I do have. Bosch mixer but chose to use my hand mixer, which has a wire whip and a high speed of 16. It worked like a champ, thank you for your easy to follow directions and recipe. I’m looking forward to sharing them with my grandkids, I know they’re going to love them.
Rebecca says
You’re so welcome, Patty! I’m so glad you loved the recipe AND took the time to rate it and let me know you loved it! Merry Christmas!
Shelley says
I tried these on the weekend and they turned out amazing!! We followed some of the recommended change-ups, like omitting the corn starch and adding cinnamon, nutmeg, and clove to the icing sugar. Beyond delicious!! Now we’re planning to make these for Christmas gifts.
Thank you for sharing the delicious and easy to follow recipe!
Rebecca says
You’re so very welcome, Shelley! Thank you for taking the time to rate the recipe and let me know you love it!
Dana says
I, too was intimidated to try to make these but am so happy I did♥️ Thank you for sharing g your step moms recipe as it continues to spread her wonderfully delicious creation in to other families 🤶🏻
Rebecca says
Thank you so much, Dana, for taking the time to rate the recipe and let me know you love it and have had success with it!! I’m so glad you are loving Val’s recipe as much as I do!
A.G. says
Unbelievable! Followed the instructions to a T and they were absolute perfection and INSANELY EASY. I’m a seasoned cook and baker…have always wanted to try making my own marshmallows but was scared off by the candy-making approach of it. Finally bought a candy thermometer and I didn’t even need it! Filling up mason jars with mini marshmallows that I’ve chopped small (about a half inch big) to give as Christmas gifts to friends and neighbours. THANK YOU! These are glorious… May your step-mom’s memory be eternal.
Rebecca says
Rhonda- Thank you SO much for taking the time to rate the recipe and let me know you loved it (and how easy it was!) I’m so glad you found me and I love the mini marshmallow idea, too!!