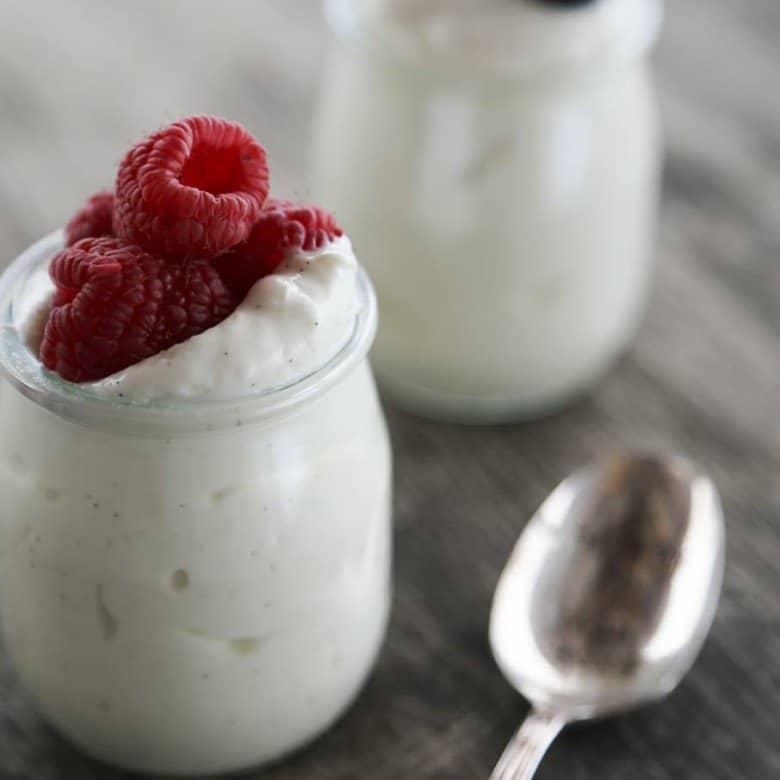
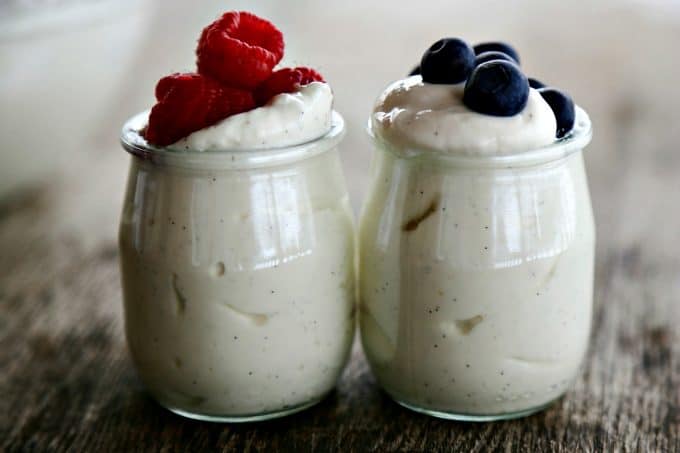
Yogurt? Yep. It’s alright as long as it isn’t soupy. Greek yogurt? I love it. It’s nice and thick. But Icelandic yogurt is another thing entirely. Holy moly. I am obsessed with it.
It’s as thick as Greek yogurt and smoother. In fact, it’s silky smooth. It is so filling that a serving of it holds me from early in the morning until I finally get around to lunch. It’s more substantial than Greek yogurt by quite a bit and regular yogurt by a mile. A MILE, I TELL YOU!
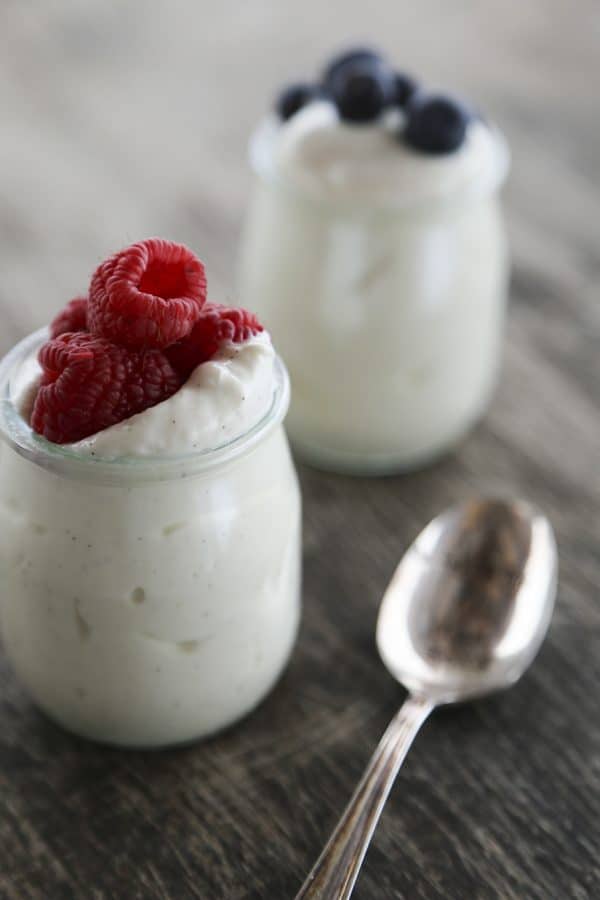
Icelandic Yogurt -also known as Skyr- when served side by side with plain, unsweetened Greek and regular yogurt,
is much less tart and tangy. It’s far more difficult to find in stores, though, sold with a pretty hefty price tag by the brand Siggi’s in mostly higher end grocery stores like Whole Foods, Wegman’s, and more with robust health food sections. Targets often carry it, too, but oof, that price.
What sets Icelandic Yogurt apart from Greek Yogurt (or Syrian Yogurt, depending on who you ask…) is complex. Greek yogurt is merely strained while Icelandic Yogurt is both strained and whipped. The resulting texture is far lighter, far fluffier, and far silkier while still being lower in fat naturally (since it is made with skim milk) and higher in protein.
The methodology is much the same as making yogurt in the customary way, but with one tiny little added ingredient; three drops of liquid rennet. That’s right; the same rennet used in mozzarella and other cheesemaking. Those three little drops make the difference between the sometimes grainy Greek yogurt and the ethereally smooth Icelandic yogurt.
The process is quite easy.
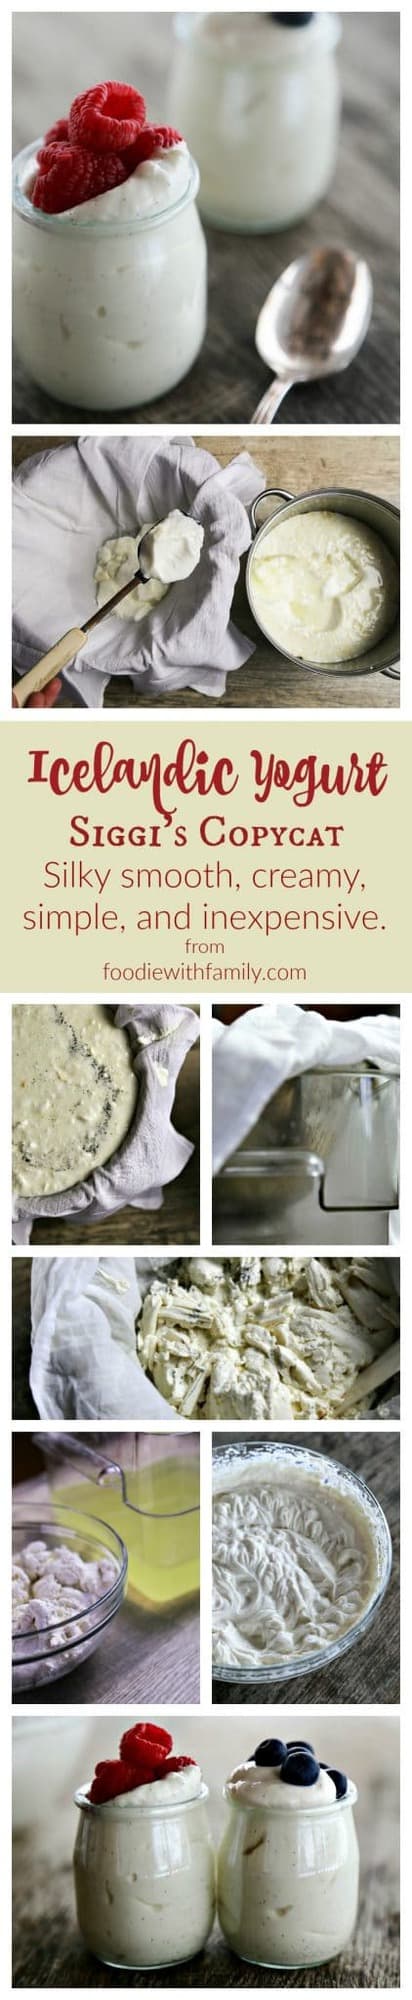
How to Make Icelandic Yogurt or Siggi’s CopyCat:
-
-
-
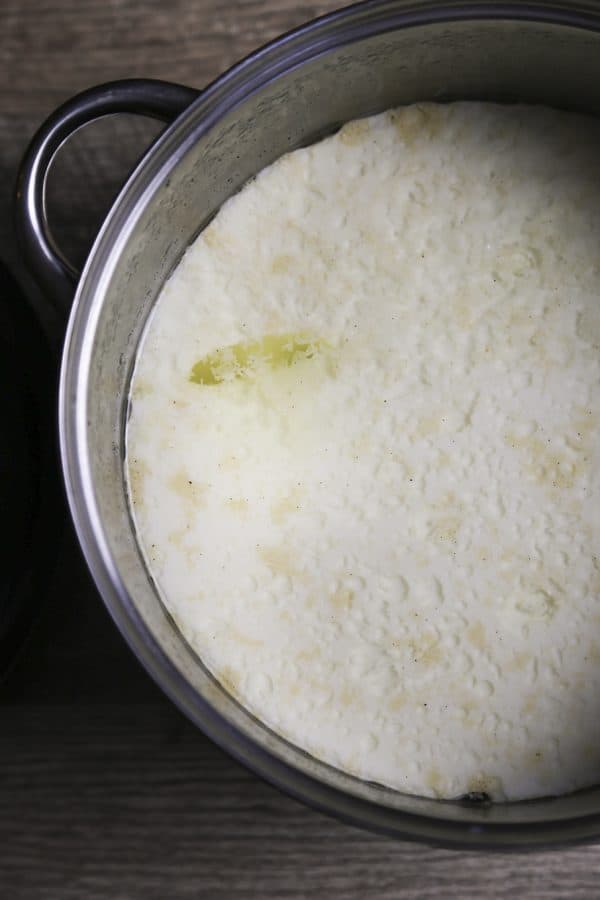
- Bring the milk up to a high temperature, then let it slowly lower to 110°F. Stir some of the warm milk into leftover Icelandic Yogurt or some store bought vanilla or plain Siggi’s yogurt or Skyr. Stir that into the pot of warm milk, then add the three drops of rennet stirred into cool, chlorine free water and stir that in. Let it set in a warm place for 12 hours, or until it looks like this…

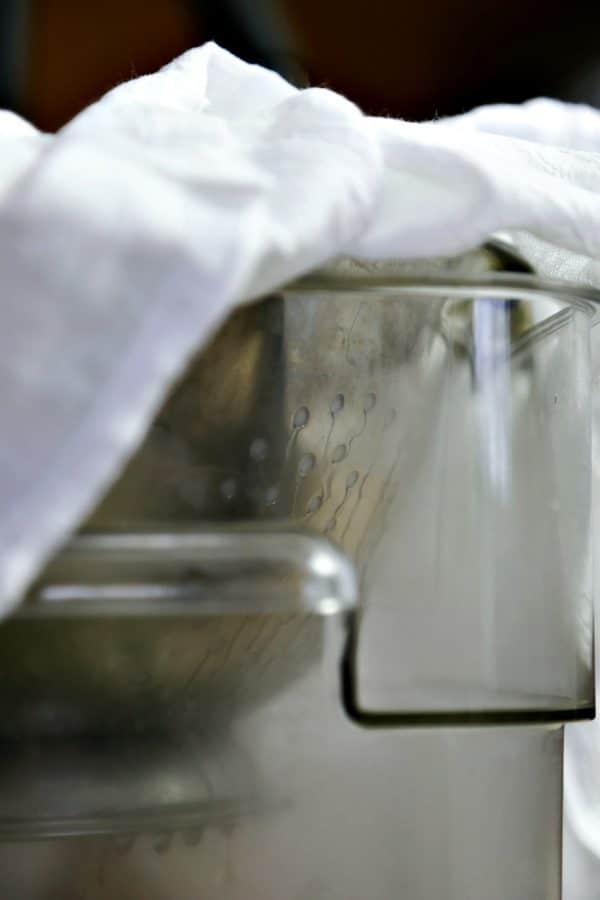
- Line a colander perched over a bowl with a double layer of cheesecloth or with a flour sack towel or plain, unbleached muslin. Any of those options is fine! Scoop the curd into the bowl. Don’t pour until you reach the very end of the pot or it will damage the delicate curd.
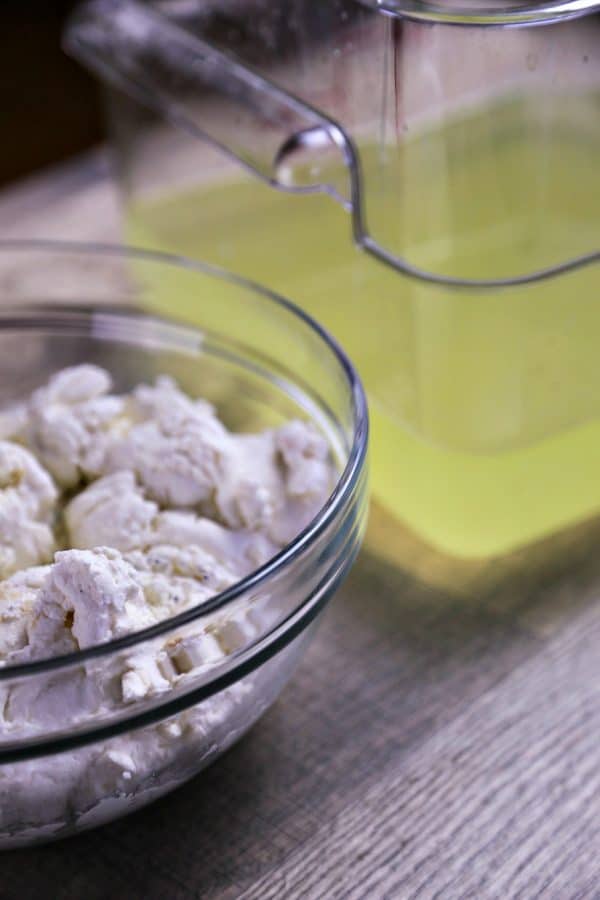
- Let the curd drain in a cool place, undisturbed for between 4 and 8 hours, reserving the whey that drains from it.
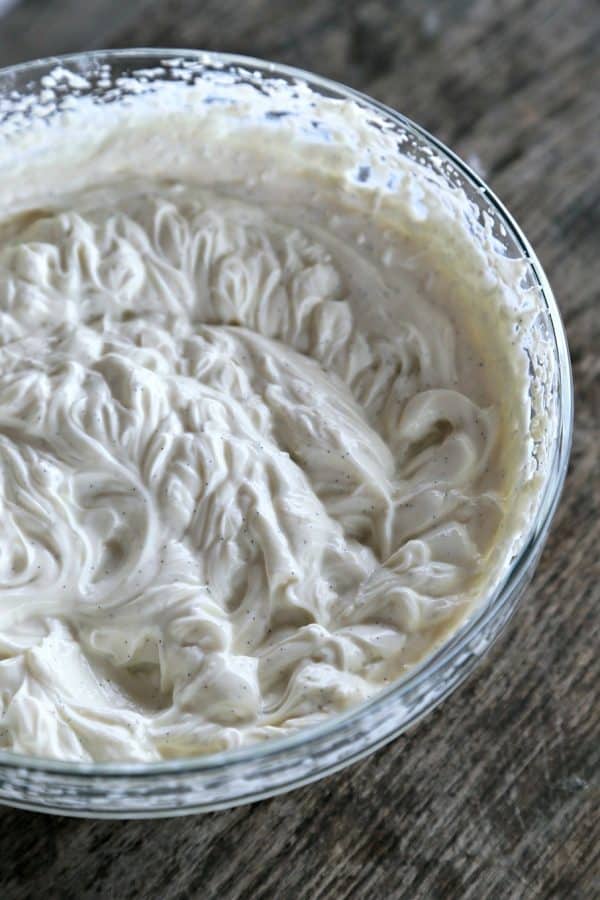
- The strained curds will be fairly firm. Transfer them to a bowl and whip them with a hand mixer, adding in 1 tablespoon of the reserved whey at a time until it reaches your desired, silky consistency.
- Sweeten to taste when you serve, being sure to reserve 1/2 cup of the leftover Icelandic Yogurt to make your next batch!
- Bring the milk up to a high temperature, then let it slowly lower to 110°F. Stir some of the warm milk into leftover Icelandic Yogurt or some store bought vanilla or plain Siggi’s yogurt or Skyr. Stir that into the pot of warm milk, then add the three drops of rennet stirred into cool, chlorine free water and stir that in. Let it set in a warm place for 12 hours, or until it looks like this…
-
-
That’s not so bad, is it?
Cook’s Notes
- This recipe -like Siggi’s- is made with skim milk, making it ultra low fat and ultra high protein.
- Ideally, you’ll use plain or vanilla bean Siggi’s to help culture your batch. If you can’t find it, use plain or vanilla Greek yogurt as your “starter culture”.
- I use one vanilla bean per batch, splitting it down the center, scraping it, and adding both the beans and the scraped ‘caviar’ to the pan.
- Do use a non-reactive pan (i.e. Stainless steel, enameled cast-iron, or copper) to bring your milk to the scalding temperature. This prevents off flavours.
- Take care to slowly bring your milk up to temperature or you’ll face the dreaded “scorch” on the bottom of the pan. If you realize you’ve forgotten to stir very well over the bottom of the pan or you tried to bring it up to temperature over constant high heat, all is not lost… simply don’t scrape up the scorched bits on the bottom.
- I start my temperature at low until the milk reaches blood temperature before moving it to medium until it is hot to the touch, then to high to bring it up to 185°F.
- Let the milk drop back down to 110°F slowly. I do this by letting it sit on a cool burner in my approximately 65°F kitchen. Once it reaches that temp, you stir a ladle full of the warm milk into your 1/2 cup of Siggi’s or leftover yogurt, stir that into the warm milk, then stir together the rennet and water before adding it and incorporating it to the warm milk.
- Cover the pan with a tight fitting lid and top with a double thickness of towel, resting the whole lot in a warm place or simply cover the pan and put in an empty oven with the light on for 12 hours.
- Scoop the curd into a colander lined with a double thickness of cheesecloth or a single thickness of butter muslin or floursack towel and let strain in a cool place for 4 to 8 hours, being sure to place a bowl underneath to collect the whey that drains off. While you’re scooping it, remove the vanilla bean.
- Add the strained curd to a bowl and mix mercilessly with a hand mixer, adding 1 tablespoon of the reserved whey at a time until it is silky smooth and the desired consistency.
- Don’t throw out that remaining whey! You can use this for lovely homemade English Muffin bread.
- Sweeten your Icelandic Yogurt to taste when serving instead of sweetening the entire batch.
- Hang onto 1/2 cup of the Icelandic Yogurt to “recycle” into the next batch!
Use this to make Icelandic Yogurt:
- Stainless steel soup pot
- Whisk
- liquid measuring cup
- hand mixer
- butter muslin or doubly thick cheesecloth
- Liquid Rennet
- Vanilla Bean
Connect with Foodie with Family
facebook | pinterest | instagram | twitter

Icelandic Yogurt {Siggi’s Copycat Skyr}
Rate RecipeIngredients
- 1 gallon skim milk
- 1 vanilla bean slit lengthwise, caviar scraped
- 2/3 cup Siggi's" plain or vanilla skyr
- 4 drops liquid vegetable rennet or 2 drops double strength rennet
- 1/4 cup cool non-chlorinated water
Instructions
- Add the full gallon of skim milk, the vanilla bean, and the vanilla bean caviar to a large, stainless steel or enameled pot with a nice, thick, heavy bottom. Slowly bring the milk to a steady simmer over a medium-high burner, stirring frequently to prevent scalding on the bottom of the pan until it reaches 185°F-190°F; about 15 to 20 minutes.
- If it does scald, take care not to stir the scalded bits into the rest of the milk. As soon as it hits the target temperature, remove the pan from the burner and allow it to cool to 110°F. Whisk together the Skyr or Siggi's and 1 cup of the 110°F milk until perfectly smooth. Pour that into the pot and stir until fully incorporated.
- Use a small whisk to combine the rennet and cool water then immediately stir that into the pot until fully incorporated; about 1 minute. Put the lid onto the pan. Double up a thick bath towel and lay it over the pot. Put the pot in a warm, draft-free place or simply put it lidded pan into an empty oven with the light on for about 12 hours.
- Now you have options. You can line a colander with a double thickness of cheesecloth, use a large nut milk bag, or sew a bag of muslin with straps at the top. Spoon the skyr curds into whichever of those you choose, removing the vanilla bean as you go. You do want to spoon and not pour the curd as it is delicate enough that pouring it could break it. Let the cheesecloth rest int he colander or suspend it and allow it to drip over a bowl. You want this place to be rather cool, so a mudroom, refrigerator, or cool room is your best choice. You let this drip for 4 to 8 hours.
To Store:
- Transfer to jars or an airtight container and store in the refrigerator for up to 4 weeks. Sweeten as you serve**. You'll be able to re-culture this homemade skyr, but should do so within 2 1/2-3 weeks of it being made for optimal results.
For silky smooth skyr:
- Hang onto the whey that drains from it as it thickens. Transfer the skyr to a mixing bowl before jarring it. Beat mercilessly with a hand or stand mixer, dribbling in a tablespoon of whey at a time until it is silky, smooth, and perfect.
If you want to pre-sweeten this skyr:
- You can draw off the amount you'll use to reculture it and leave that unsweetened. Sweeten the skyr as you beat it mercilessly in the stand mixer before you add any whey. Then adjust accordingly. Honey and maple syrup are both beautiful choices, but my preference is for dark maple syrup.
Nutrition
Nutritional information is an estimate and provided to you as a courtesy. You should calculate the nutritional information with the actual ingredients used in your recipe using your preferred nutrition calculator.
did you make this recipe?
Make sure to tag @foodiewithfam on Instagram and #hashtag it #foodiewithfamily so I can check it out!


Reader's Thoughts...
Laura says
Is there any way to reduce the carb content?
Rebecca says
Hi Laura- I’m afraid I don’t know whether there’s a way to reduce carb content in this. I’m not qualified to answer that. You may have better luck if you consult a nutritionist/dietician or the local cooperative extension.