If you like this One Hour Bread, visit our Bread Recipes page for more fantastic homemade breads!
Can you think of any scent more bewitching than that of fresh bread baking in the oven? It is nearly impossible to concentrate when I smell it.
While the bread bakes my brain rummages through its box of all my favorite ways to eat a loaf hot from the oven; Should it be blueberry jam? Cold butter?
Ginger marmalade? Or maybe a fried egg? A paper thin slice of salty ham? What sweet agony narrowing down those options.
And what a marvelous way to pass part of a morning; luxuriating in the brown yeasty aroma of dough transforming into the staff of life and contemplating that new loaf’s upcoming rapid demise.
If talk of bread fires up your salivary glands the way it does mine, you are in luck today, my friends. I have a recipe for an astonishingly flavorful yeast bread that is ready to be loaded up with whatever makes your fancy take flight in one hour flat.
From start to finish, from its Alpha to its Omega, from the time you dip that first scoop of flour to the time it is removed from the oven you will have spent sixty minutes; and most of that will have been baking time. There’s no crazy trick to it, it’s simply simple.
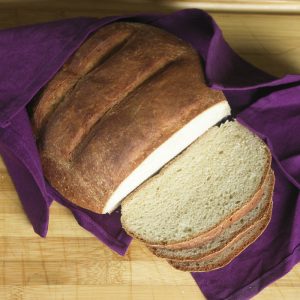
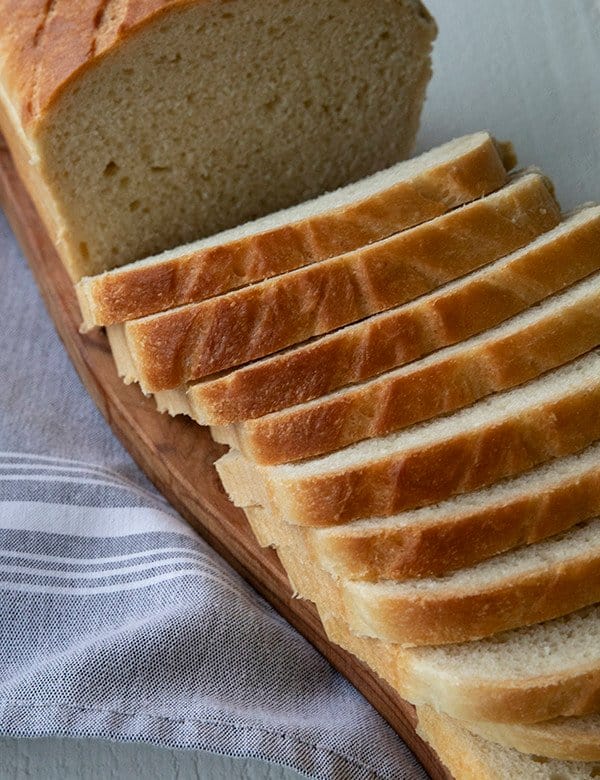
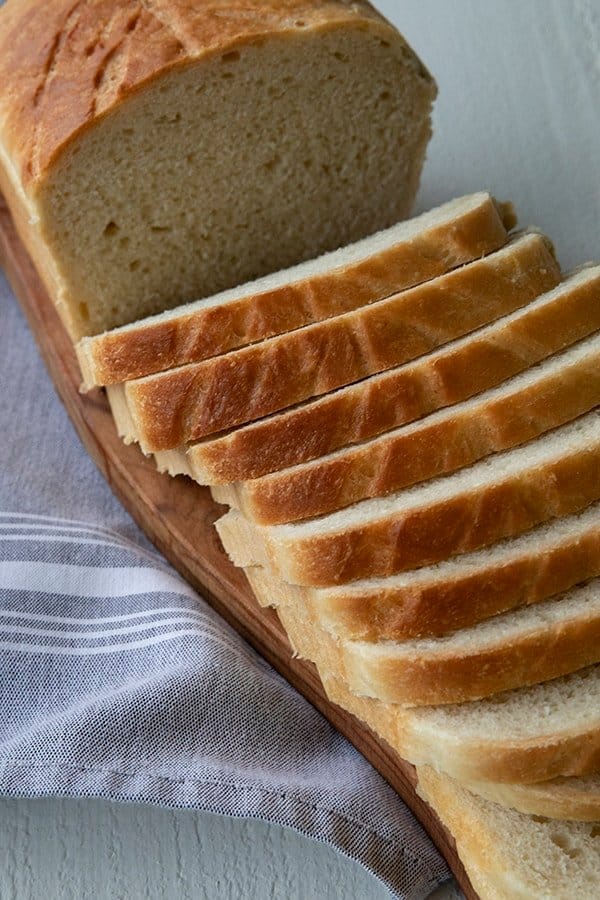
And this is a sandwich bread that is the stuff on which dreams are built; mouthwatering flavor, magnificently chewy crust, fine crumb interior, able to be sliced Texas toast thick or whisper thin and capable of holding anything you want to pile or slather on it. Just take a look at it.
If you have any fears about making yeast breads abandon them long enough to give this a try. Kiss those yeast-bread bogey monsters goodbye, because this is the easy bread recipe that will change your life.
You don’t need special equipment, or mad bread skills, or anything other than a big bowl and a spoon and a little counter space and the counter space is negotiable. I’ll give instructions for preparing this with a stand mixer, food processor and by hand.
And please note that it is just as easy as can be in all three methods. I do believe it’s time to revamp that old cliché, “It’s as easy as pie.”
From now on I’m going to say, “It’s as easy as One Hour Bread!” This sandwich bread recipe will be your old reliable before you know it.
Remember, too, that a last minute loaf of sandwich bread can make the meal or be the meal itself. It can be the difference between a lonely bowl of soup and a feast.
And more than that, this bread turns humble pantry staples into a reason to look forward to dinner. And while the taste and ease are enough, there is also the low price tag to recommend it.
A few cups of flour, salt, sugar, yeast, water and it’s bread! And let me tell you something else, a loaf of this wrapped in a new tea towel makes a fantastic hostess gift. Who doesn’t like a loaf of warm bread?
Can I substitute whole wheat flour for all purpose flour in my one hour bread?
In short, yes- but this is a qualified yes. You can easily substitute 2 cups of whole wheat flour for all purpose flour in this sandwich bread recipe, but you may want to add an extra 10 minutes of rise time.
That’ll increase the overall time for the recipe, but considering that it means the bread takes 1 hour and 10 minutes instead of just 60 minutes, I’d say it’s fine.
No loaf pan? No problem.
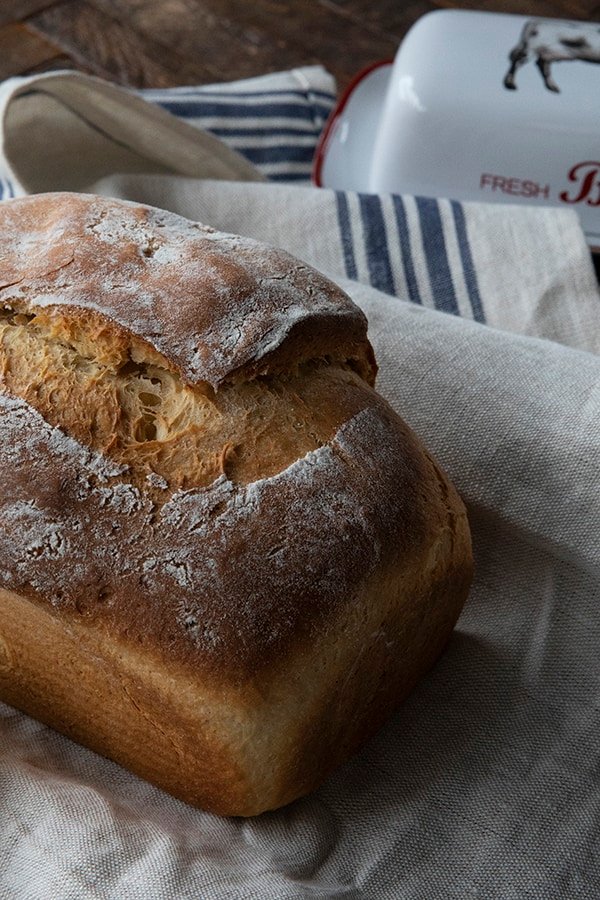
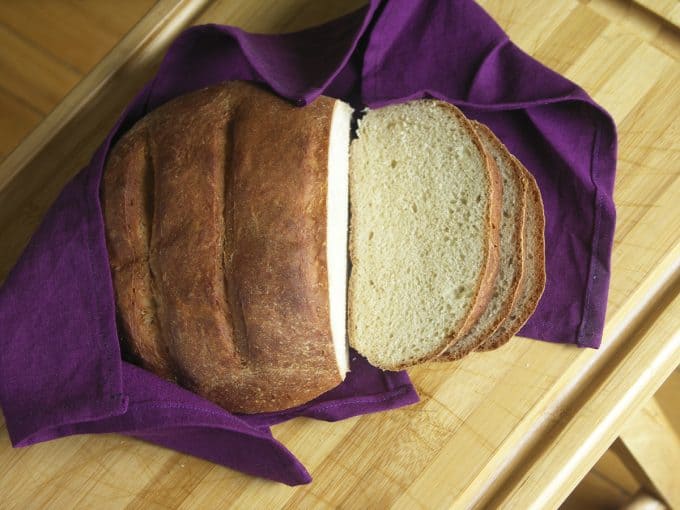
This bread can be formed into rounds and baked free-form or in loaf pans. Either is delicious.
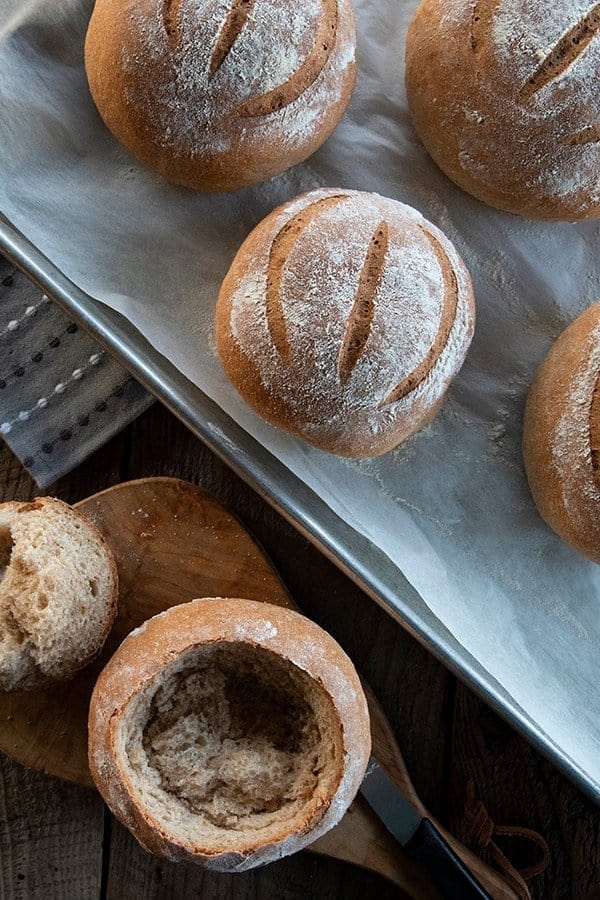
If you’re so inclined, you can even make mini bread bowls for soup or salad from it. Here are some instructions to do that.
That seems like a lot of yeast for two loaves of bread.
I know. It’s more than the average recipe, but it’s what gives this delicious recipe its speed. Trust me. It’s worth it.
Are you sure you mean to say start the sandwich bread in a cold oven?
I’m absolutely positive. This is another moment you’ll need to trust me. Part of the rise of this bread is IN the oven while the oven preheats.
Do not preheat your oven. It will adversely affect your results.
If you love this recipe, and want more like it, please check out my new cookbook “Ready, Set, Dough: Beginner Breads for All Occasions” which is available on Amazon, Barnes and Noble, and at at local retailers!
One Hour Bread
Mixing the dough by Stand Mixer (my preferred method):
Combine flour, instant yeast, sugar, and salt in the bowl of the stand mixer that has been fitted with a dough hook. Mix on low speed for 30 seconds.
With mixer running, slowly pour in the water and olive oil at the same time. Continue mixing on low until the dough comes together and becomes smooth, about 4 minutes.
Remove bowl from the stand mixer, scraping any dough that remains on the dough hook into the bowl. Pull dough from bowl with your hands and form a smooth dough ball. Replace in bowl, cover with a clean tea towel and let rise in a warm place for 15 minutes.
Mixing the dough by Food Processor:
Combine flour, instant yeast, sugar and salt in the bowl of a food processor that has been fitted with a blade or dough blade. Pulse 10 times.
With the food processer running, pour the water and olive oil into the feed chute. Continue processing until the dough forms a cohesive ball.
Spin the dough ball 20 times and shut off the food processor. Remove the dough, form a smooth dough ball and place in a lightly oiled mixing bowl. Cover with a clean tea towel and let rise in a warm place for 15 minutes.
Mixing the dough by Hand:
Combine flour, instant yeast, sugar and salt with a whisk or fork in a large mixing bowl. Pour the warm water and olive oil into the flour mixture and use a sturdy spoon to combine into a shaggy dough.
Use your hands to knead for 8 minutes*. After kneading for 8 minutes, cover the bowl with a clean tea towel and let rise in a warm place for 15 minutes.
*If you find it difficult to knead in the bowl, you can turn the dough out onto a clean surface to knead it. After kneading, just return the dough to the bowl and allow it to rise as instructed above.
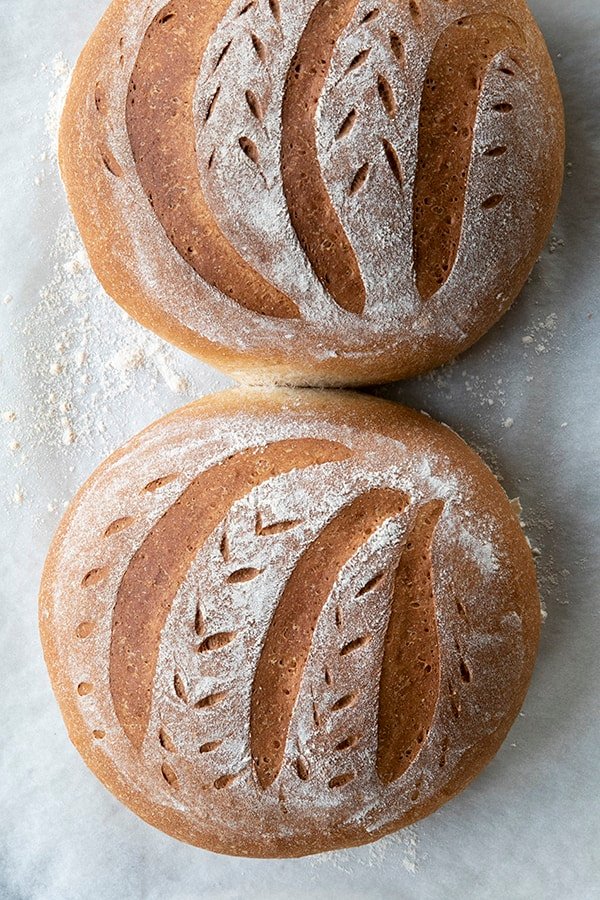
Turn dough out onto a clean surface and divide in half. Form each half into a ball and place 5-6 inches apart on a baking sheet that has been lined with parchment paper or a silpat, or has been lightly greased.
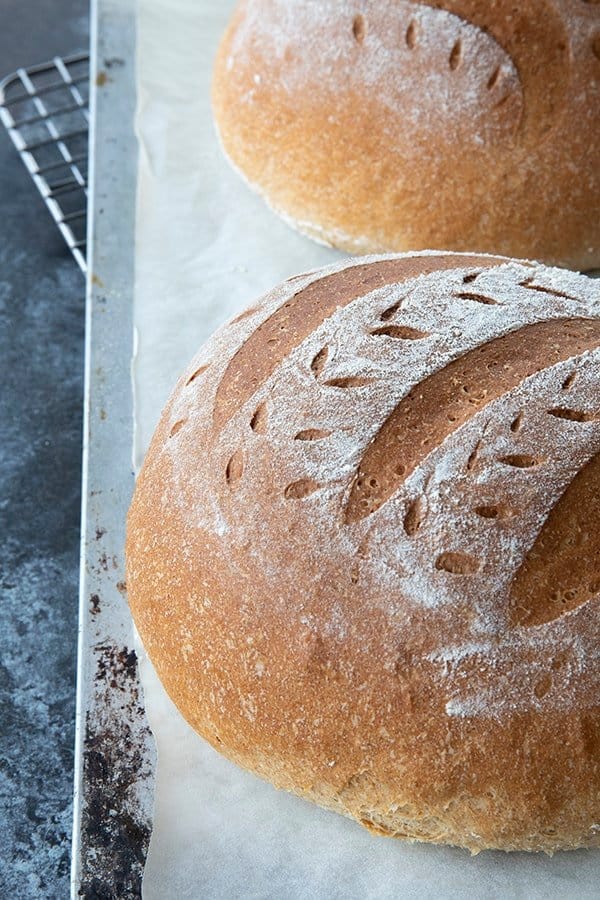
Use a sharp knife to slash the top of the loaf about ¼ of an inch deep. This allows the steam to escape the baking loaf.
To bake the loaves:
Arrange the racks in your cold oven so that one rack is on the very bottom and one is positioned in the center of the oven. Place the baking sheet with the loaves on the center rack and a bread or cake pan that is full of very hot tap water on the bottom rack.
Close the oven and turn your oven on to 400°F. It is imperative that you start this in a cold oven! Set your timer for 40 minutes. That 40 minutes is all that stands between you and fresh bread.
The crust should be a deep brown and quite firm when you remove the loaves from the oven. Transfer the loaves to a rack to cool completely if you wish to slice them, or you can do like I normally do and cool one loaf while tearing the second one into pieces and slathering with cold sweet cream butter.
One Hour Bread
Rate RecipeIngredients
- 6 cups all-purpose flour 1 pound, 9.5 ounces by weight
- 2 Tablespoons instant yeast also known as Bread Machine Yeast
- 2 Tablespoons sugar
- 1 Tablespoon Kosher salt if using table salt, reduce to 1 ½ teaspoons
- 2 cups very warm water about 120°F
- 2 Tablespoons extra virgin olive oil
Instructions
Mixing the dough by Stand Mixer (my preferred method):
- Combine flour, instant yeast, sugar, and salt in the bowl of the stand mixer that has been fitted with a dough hook. Mix on low speed for 30 seconds.
- With mixer running, slowly pour in the water and olive oil at the same time. Continue mixing on low until the dough comes together and becomes smooth, about 4 minutes. Remove bowl from the stand mixer, scraping any dough that remains on the dough hook into the bowl. Pull dough from bowl with your hands and form a smooth dough ball. Replace in bowl, cover with a clean tea towel and let rise in a warm place for 15 minutes.
Mixing the dough by Food Processor:
- Combine flour, instant yeast, sugar and salt in the bowl of a food processor that has been fitted with a blade or dough blade. Pulse 10 times. With the food processer running, pour the water and olive oil into the feed chute. Continue processing until the dough forms a cohesive ball. Spin the dough ball 20 times and shut off the food processor. Remove the dough, form a smooth dough ball and place in a lightly oiled mixing bowl. Cover with a clean tea towel and let rise in a warm place for 15 minutes.
Mixing the dough by Hand:
- Combine flour, instant yeast, sugar and salt with a whisk or fork in a large mixing bowl. Pour the warm water and olive oil into the flour mixture and use a sturdy spoon to combine into a shaggy dough. Use your hands to knead for 8 minutes*. After kneading for 8 minutes, cover the bowl with a clean tea towel and let rise in a warm place for 15 minutes.
- *If you find it difficult to knead in the bowl, you can turn the dough out onto a clean surface to knead it. After kneading, just return the dough to the bowl and allow it to rise as instructed above.
To Shape the Loaves
- Turn dough out onto a clean surface and divide in half. Form each half into a ball and place 5-6 inches apart on a baking sheet that has been lined with parchment paper or a silpat, or has been lightly greased. Alternatively, you can lightly grease two loaf pans. If using the loaf pans, please form each half into an oval roughly the size of the loaf pan before easing them into the pans.Use a sharp knife to slash the top of the loaf about ¼ of an inch deep. This allows the steam to escape the baking loaf.
To bake the loaves:
- Arrange the racks in your cold oven so that one rack is on the very bottom and one is positioned in the center of the oven. Place the baking sheet with the loaves on the center rack and a bread or cake pan that is full of very hot tap water on the bottom rack. Close the oven and turn your oven on to 400°F. It is imperative that you start this in a cold oven! Set your timer for 40 minutes. That 40 minutes is all that stands between you and fresh bread.
- The crust should be a deep brown and quite firm when you remove the loaves from the oven. Transfer the loaves to a rack to cool completely if you wish to slice them, or you can do like I normally do and cool one loaf while tearing the second one into pieces and slathering with cold sweet cream butter.
Nutrition
Nutritional information is an estimate and provided to you as a courtesy. You should calculate the nutritional information with the actual ingredients used in your recipe using your preferred nutrition calculator.
did you make this recipe?
Make sure to tag @foodiewithfam on Instagram and #hashtag it #foodiewithfamily so I can check it out!
Originally published April, 2010. Updated with new photos and improved notes in March 2020.



Reader's Thoughts...
Pamela says
I made a Very Important Discovery yesterday.
Bread will only rise when you add the yeast.
Erika says
I tried this last night, and it was certainly easy, but I must have done something wrong, b/c it was sooo dense. I laughed when I picked up because it was so heavy 🙂 I’m thinking I killed my yeast because it didn’t rise very well.
I am determined to master yeast breads one of these days!!!
If you are good with yeast, this is definitely one to try.
Erika says
Left a comment yesterday, but just wanted to say that even though this bread was dense, it tasted fantastic! I made a grilled turkey and cheese last night using this bread, and decided maybe I didn’t mess it up as much as I thought 😉
I will definitely make again.
Katie | Healthnut Foodie says
Okay, I made this last night to serve with bean soup and it was awesome! Excited to try a whole grain version next week. Will definitely be sharing it on my site soon! (Giving credit to you, of course!)
Kat says
I can’t get this to work for me! It’s so dense, it’s hardly usable for sandwiches. What am I doing wrong?
Rebecca says
Hi Kat… I have a couple ideas where you might be having issues in the recipe. Can you tell me what method you use to measure your flour?
Tracy says
I had the same dense problem – it was great for dense bread, but no way could this be used for sandwiches… I measured the flour with a measuring cup and scraped each 1/2 cup with knife. I live at about 5000 elevation. and I used active dry yeast, and “activated” it w/ 1 cup of the water – waited about 8 min, then added to the dry ingredients – I did this in the kitchenaid mixer. Help! thanks!
Anne says
I used bread flour instead of AP flour, honey instead of sugar, Canola oil instead of EVOO, one hour rise time, rolled into 9×5″ loaf pans, let rise another 30 mins., and then baked at 350F for 35 minutes. This bread had a great rise, was soft, fluffy, and so delicious. We cut into it before it cooled completely because my boys couldn’t wait to try it. Thanks for posting a great sandwich bread recipe!
sarah says
I’ve never used rapid yeast. I was a traditionalist. This was great! My husband was questioning my white sandwich bread, but the entire family loved it! Thanks
Thistle says
This is the BEST, quick bread recipe that I’ve ever seen! And I’ve seen more than a few. I’ve given loaves of this bread (along with your website and recipe) to many, many people to rave reviews. Besides making great bread; it also makes scrumptious toast, french toast, croutons, bread pudding, bread crumbs…..and I’m trying cinnamon rolls today! Yum!
martha says
I am a big fan of your blog. I have several of your recipes I wanted to try-this past holiday weekend I was finally able to bake this bread. Absolutely wonderful- my son loved it. I also made your “unicorn” chicken recipe again. Keep these great recipes coming!
Kate says
I am new to breadmaking and this seemed to good to be true. But I tried it and am in love, this is my new favorite bread recipe!! And what a great blog 🙂
Kay says
Made this this evening for tea, my daughter and her friend loved it and my husband finished off the rest of one loaf with his kedgeree, and soooo simple , wow
Kimberly says
I baked this bread this morning in a loaf pan. I used an extra large pan and made just one loaf. It passed my husband’s PB&J test, but next time I will divide it into two smaller pans. Don’t be afraid to use a loaf pan!
Martha says
Love this bread!! It makes me feel like superwoman. I can bake bread and fix a computer 🙂
Just like whatthefork i would like to know if you can bake it in loaf pans? I may also try and use my baking stone one time to see if that would work. I will still use the water though.
Angie says
Thank you for this post!
This bread is wonderful!
My family & I LOVE it!
I have made it every week now for 3 wks! Oh so tasty!
Thank You!
Jeniece (Miss Mrs.) says
I’ve made this bread twice and won’t go back to store bought. I love it fresh from the oven with butter and honey. Dear lord, so incredible!
Erin @ what the fork says
Would it be possible to make these in a loaf pan? I love the free form style but it doesn’t fit well in the kid’s sandwich boxes for school.
Kristi @ Creative Kristi says
This sounds lovely but would it still be as easy (and yummy) if I replaced the all-purpose flour with whole wheat flour? I can’t stand white bread lol
Rebecca says
Kristi- I do often replace half of the all-purpose with white whole wheat. You could easily do the same with red or coarse whole wheat but you would end up with a slightly denser loaf both because of the flour’s texture and because whole wheat rises much more slowly than all-purpose.
SueP says
Working on overcoming my yeast-bread-phobia, aka: YBP – I think it’s officially in the JAMA now… and this looks so good. Plus? Immediate gratification. Which I am in favor of.
lyn says
I’d love to make fresh bread for breakfast, but couldnt stand the idea of getting up at 3am (!), so I’m so gonna give this a try, Thanks!
Mindy says
I made this bread tonight for supper. Wow, was it ever good & so easy! We’re going to be making this over & over & over. Thanks so much for the recipe! Drats, now I’m hungry for another piece – think it needs jam on it this time!
Amy says
Gorgeous – and no, I cannot think of anything finer than fresh baked bread. (Well, except pie, but consider who you’re asking.) Oh, and the smell of bacon and garlic make me swoon.
I still need to talk to you about my yeast problem…bread, that is 😉 Soon.